TECH EX 3
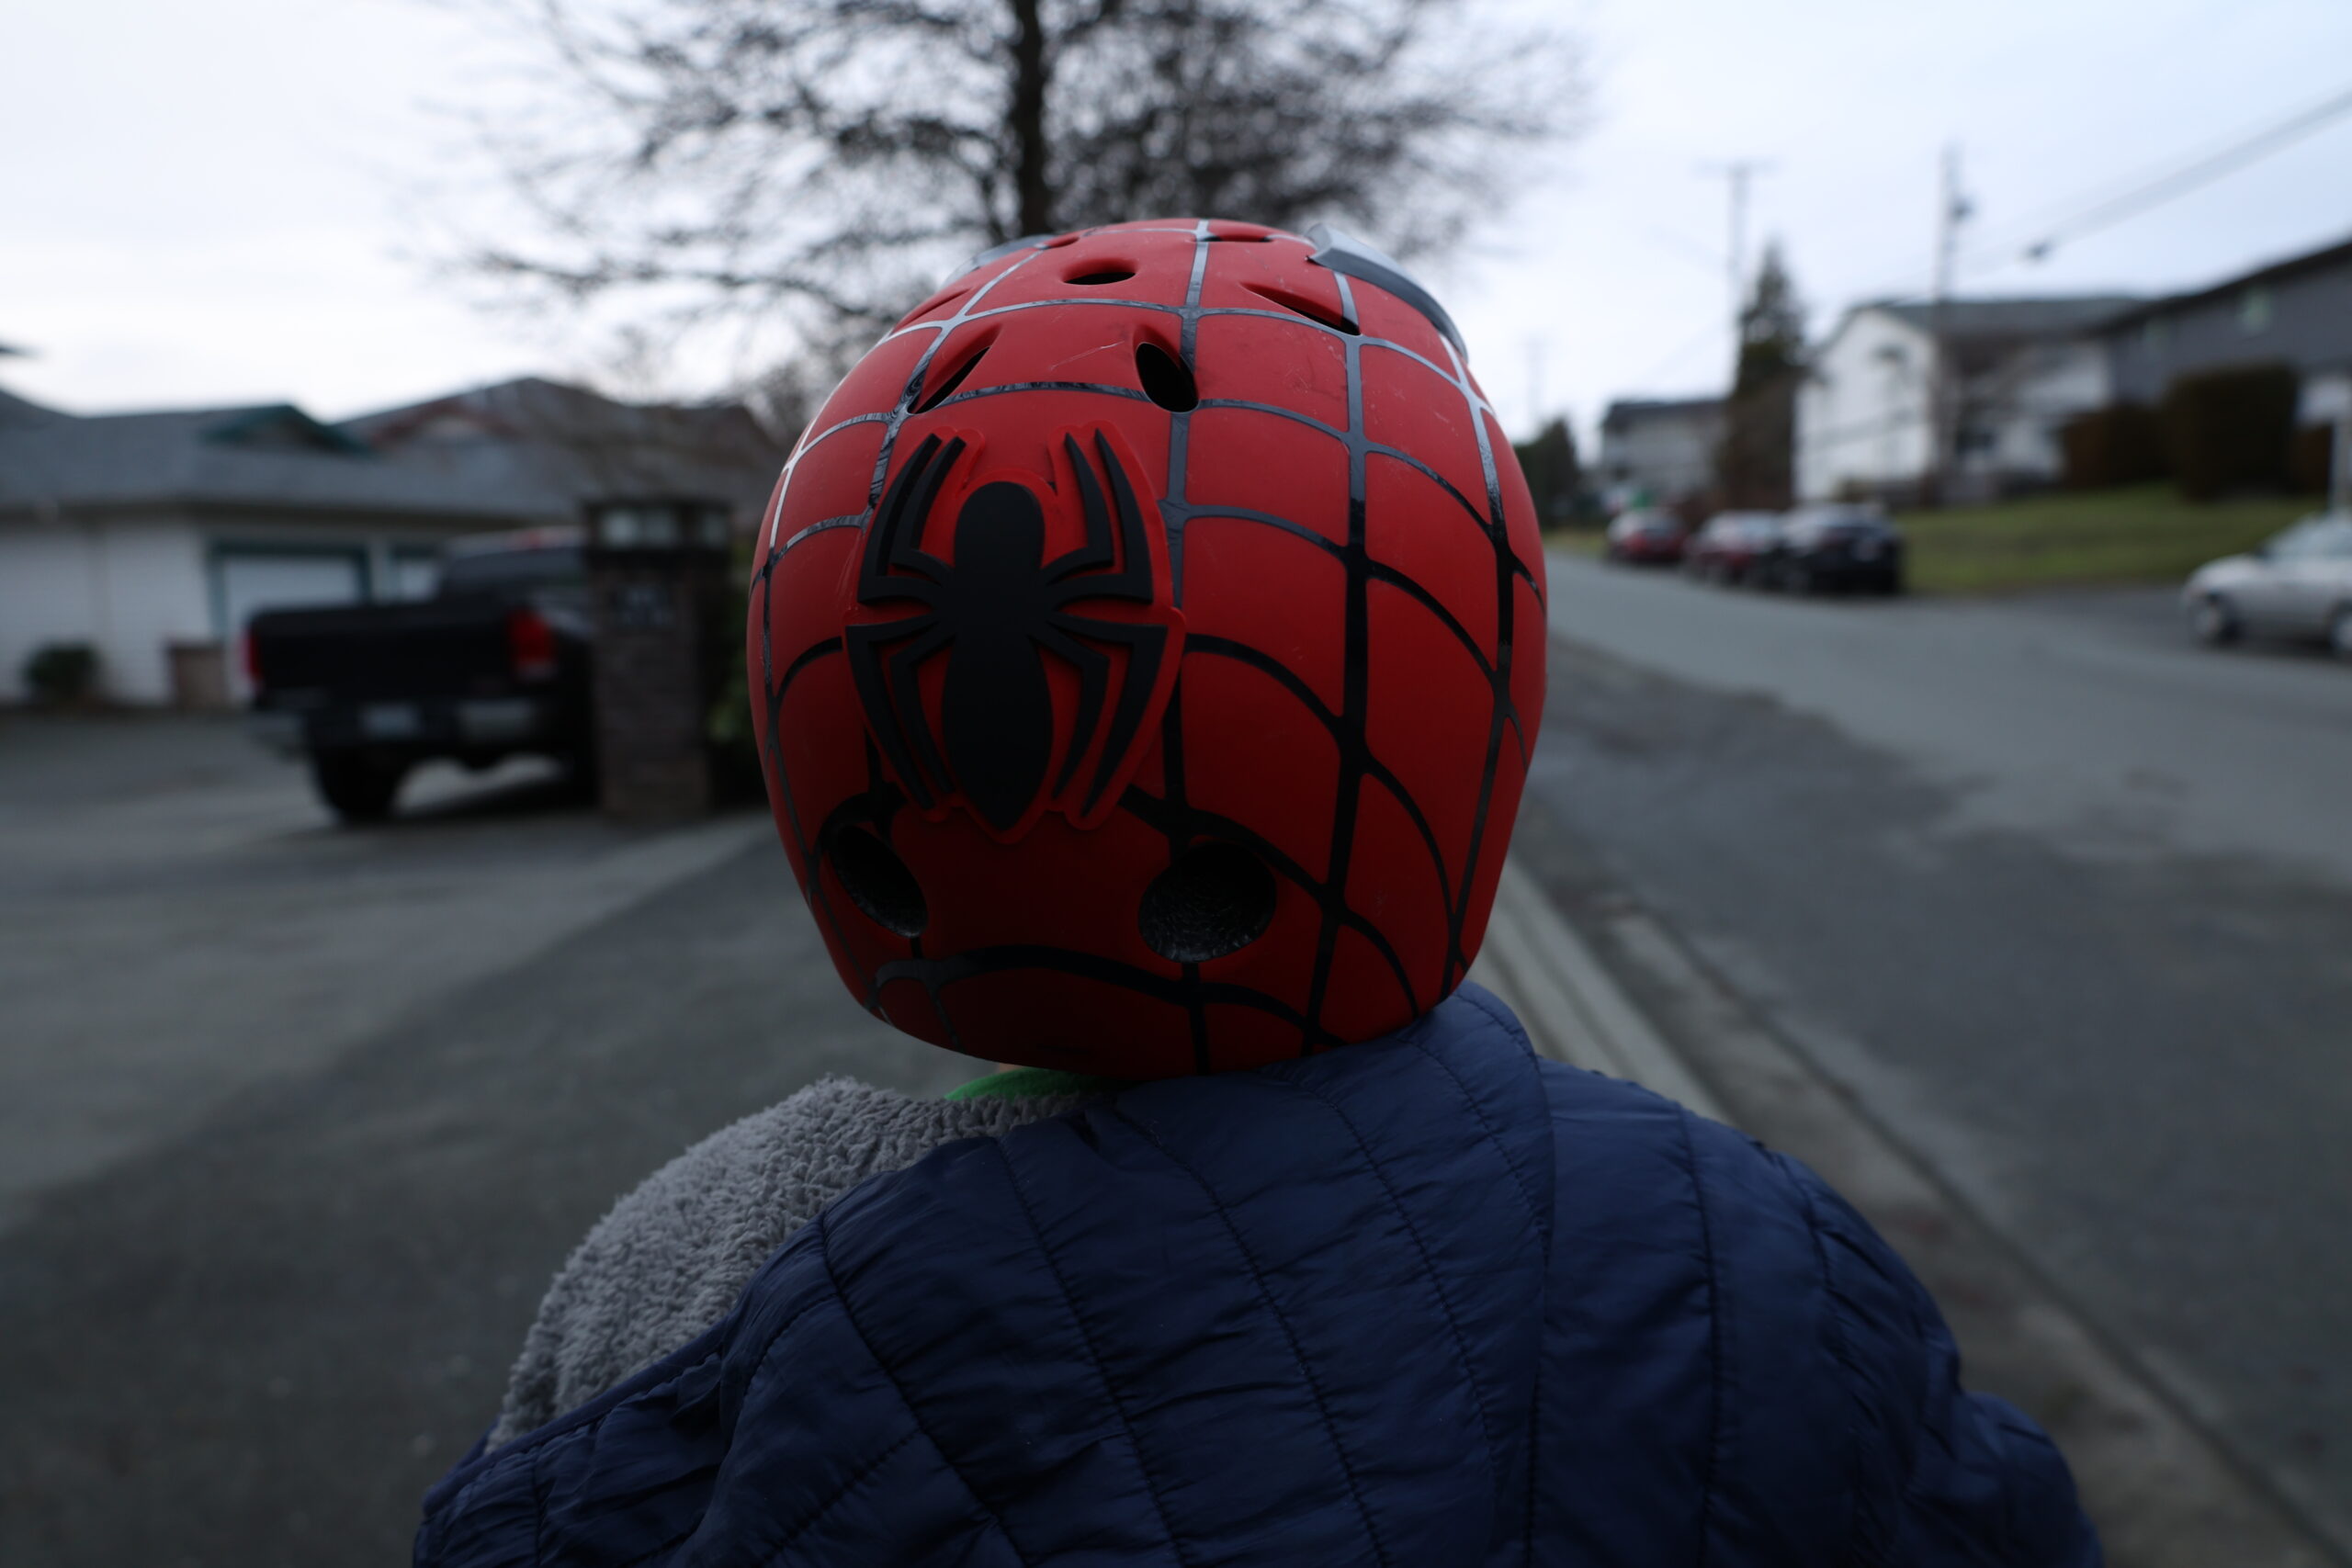
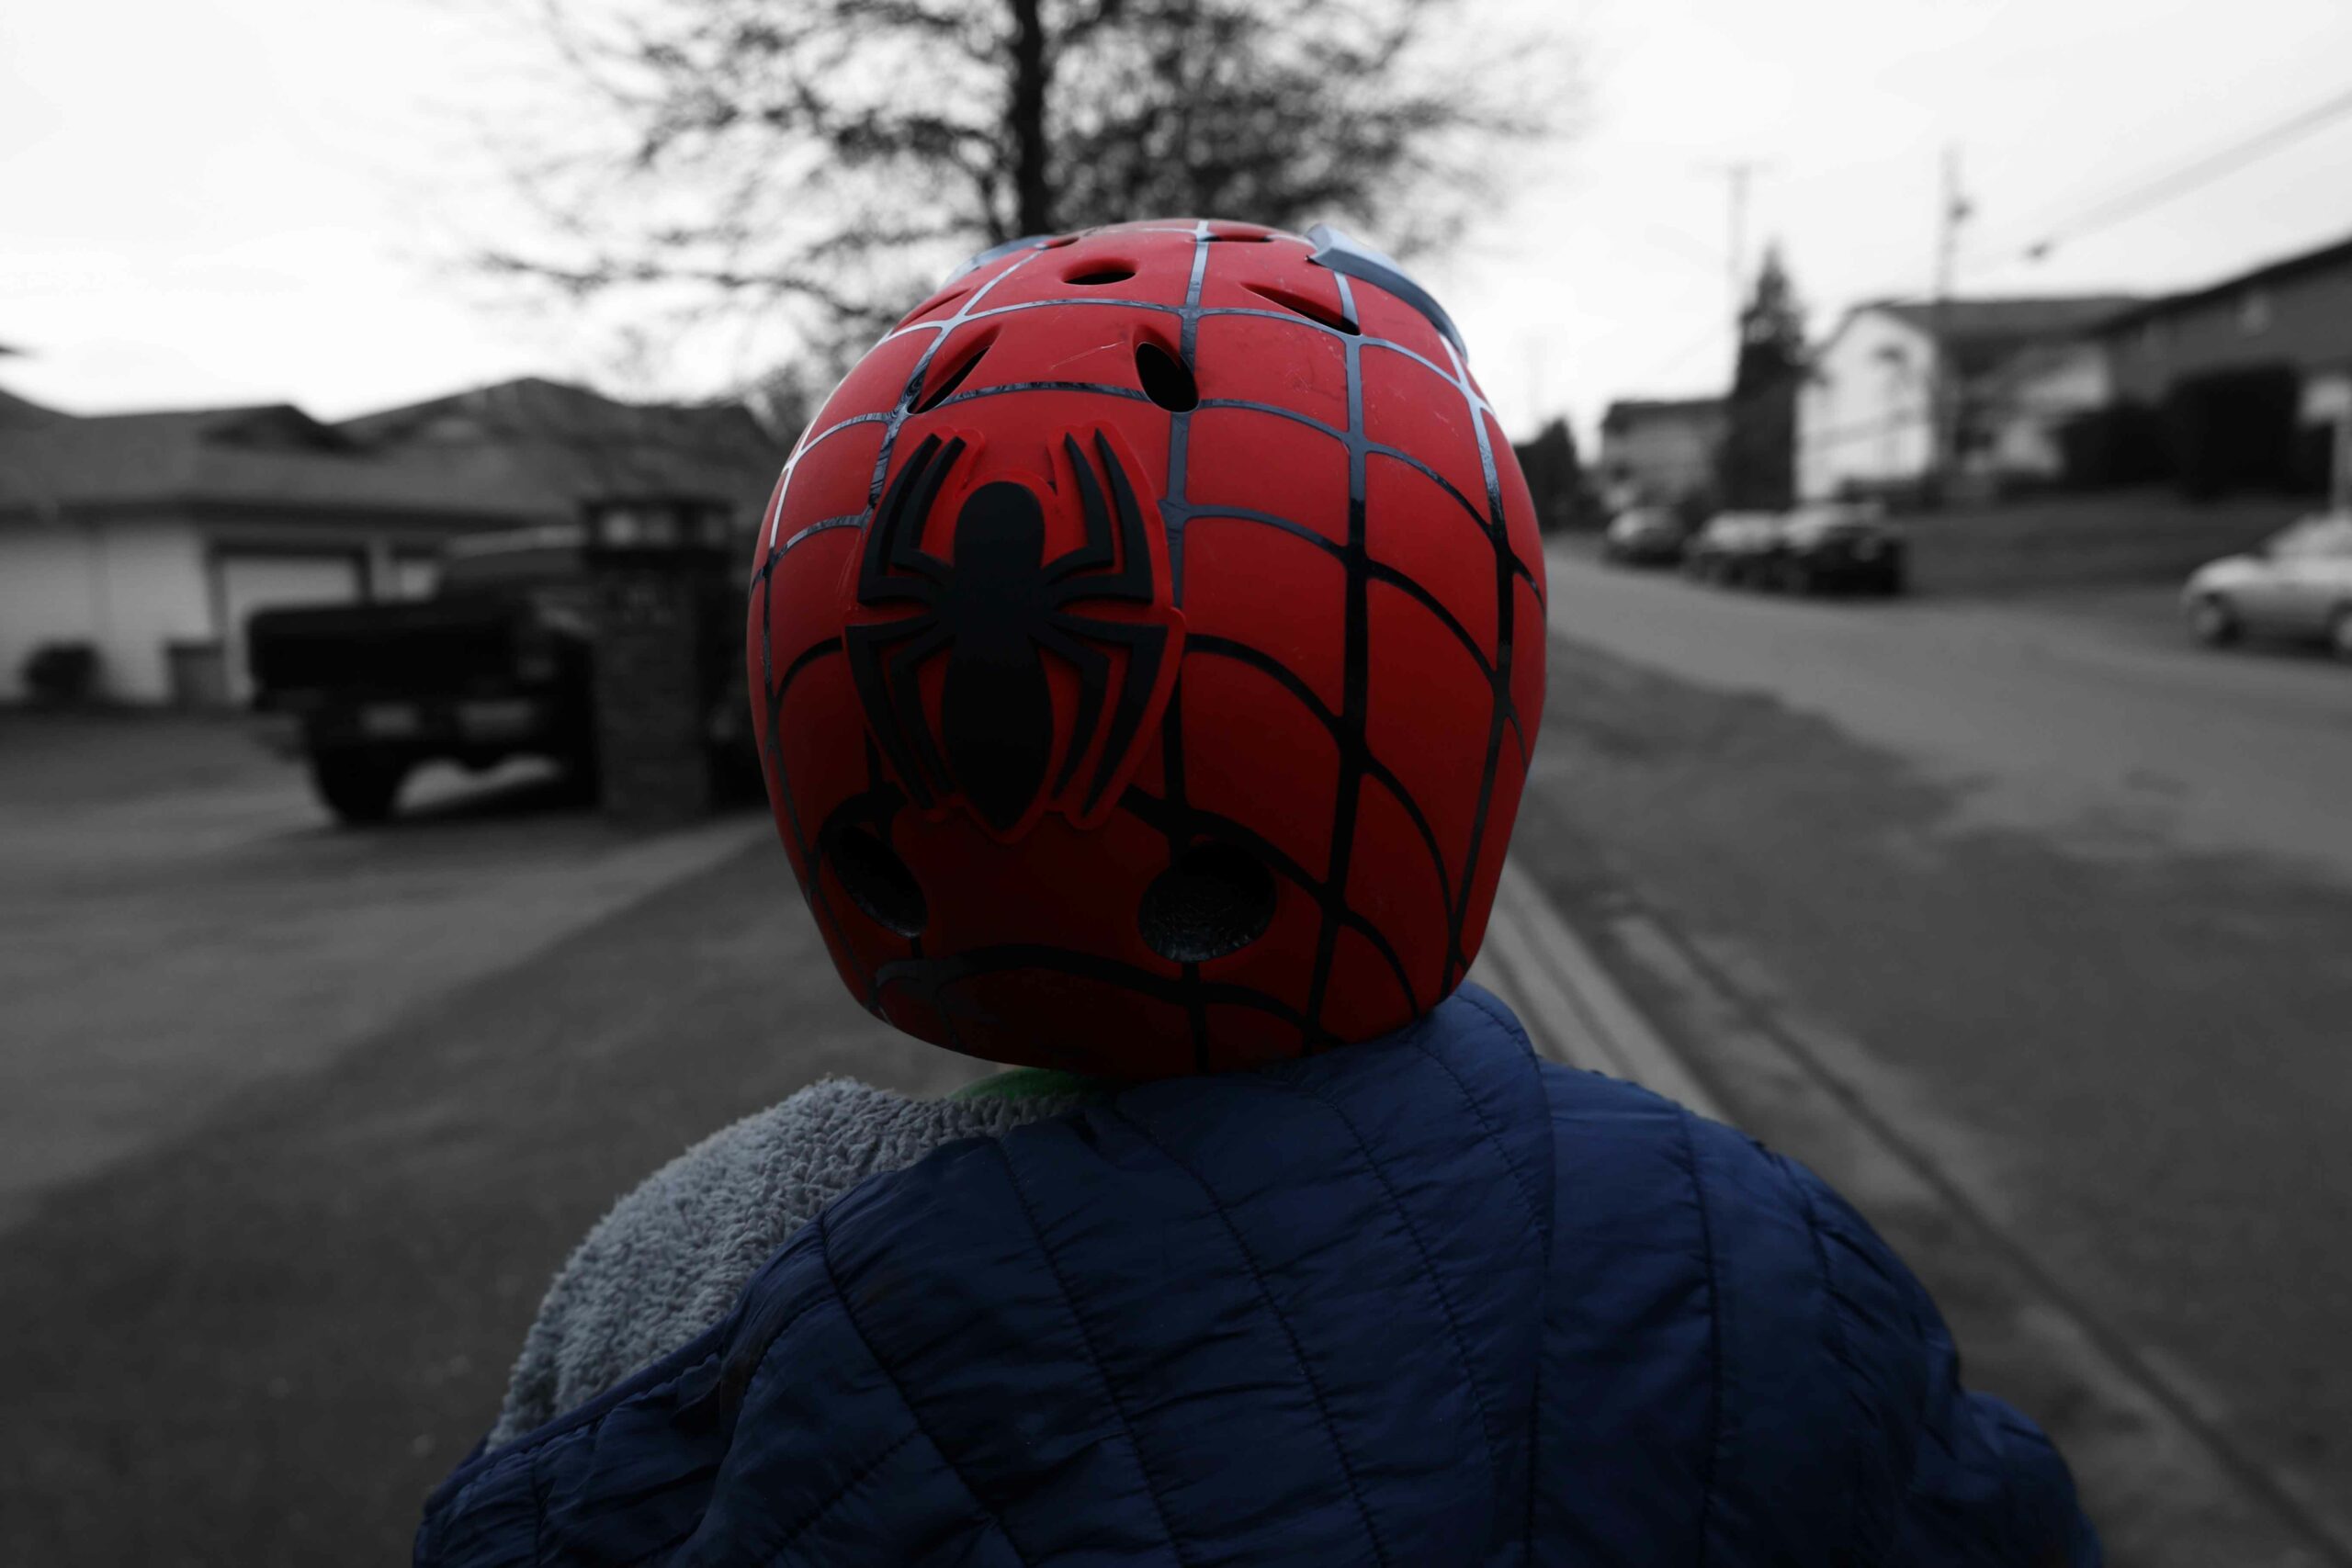
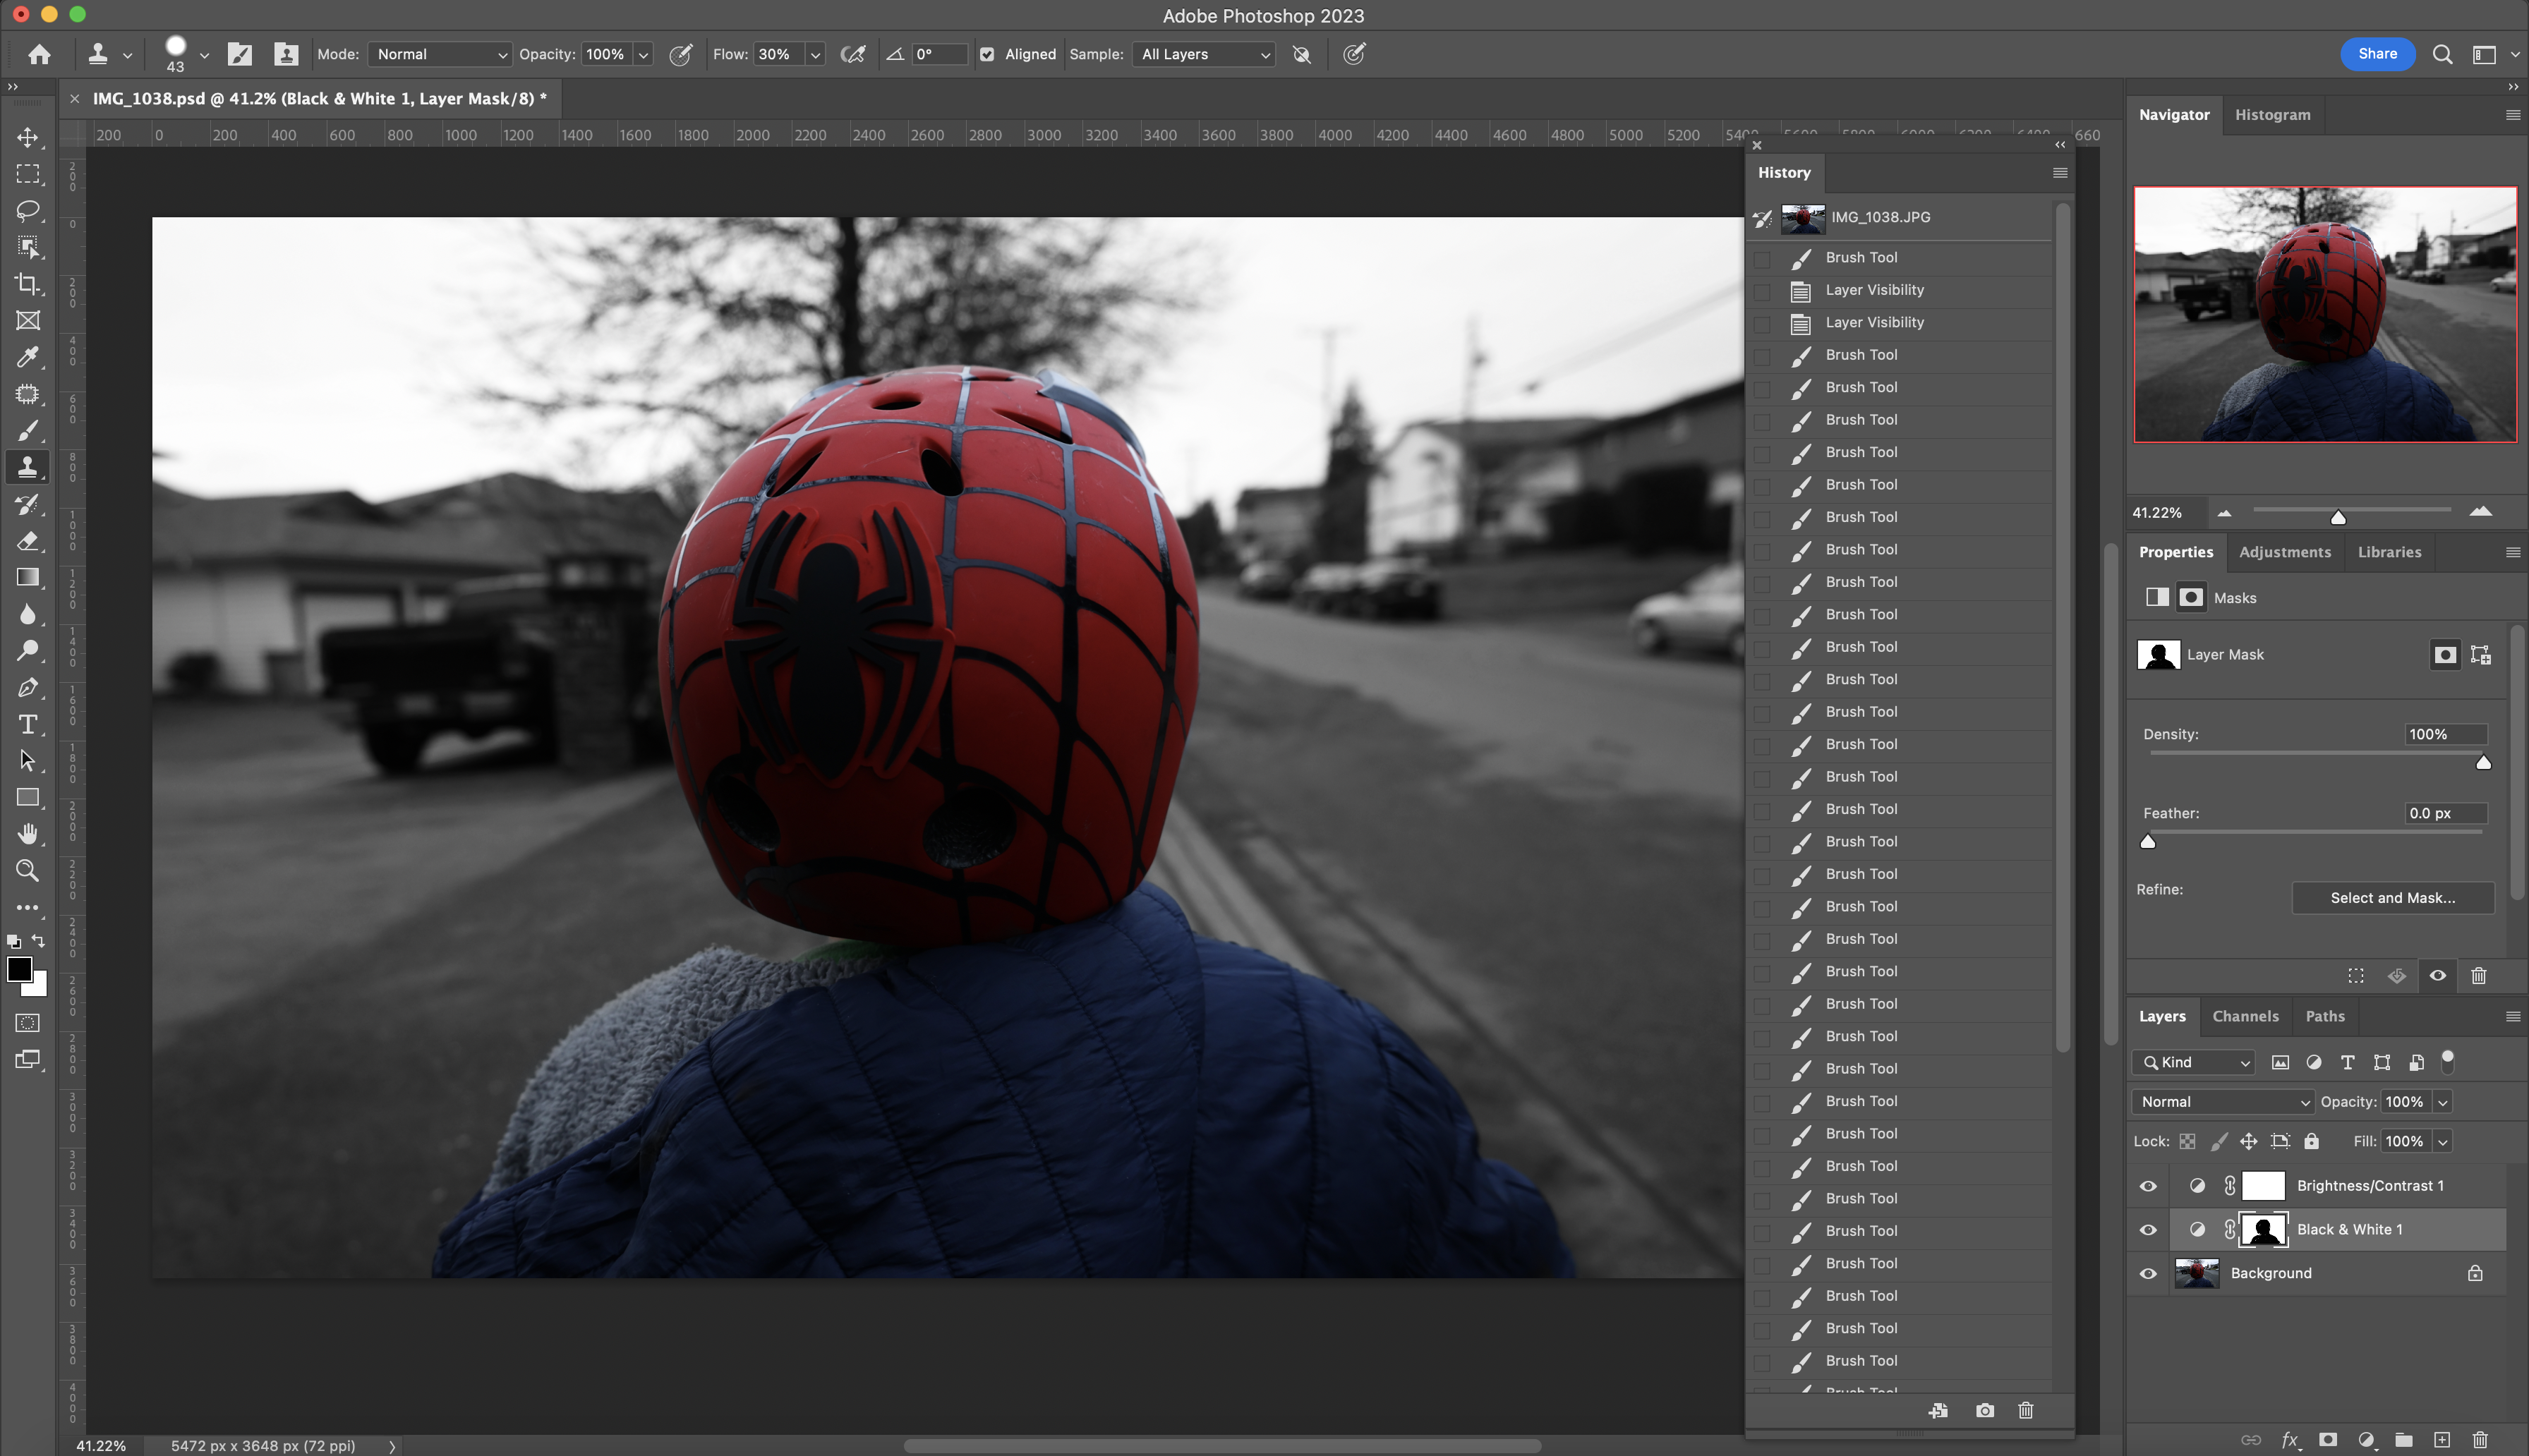
For this photo, I decided to create a layer mask that put the photo into black and white. After that, I adjusted the contract slightly to make it more dramatic. Finally I the subject from the layer mask using the paintbrush tool.
I did this because I enjoy the perspective of the photo and just wanted to use this photo for something. Looking at the image after it is finished making the background black and white gives it a dystopian feel and reminds me of the book The Giver.
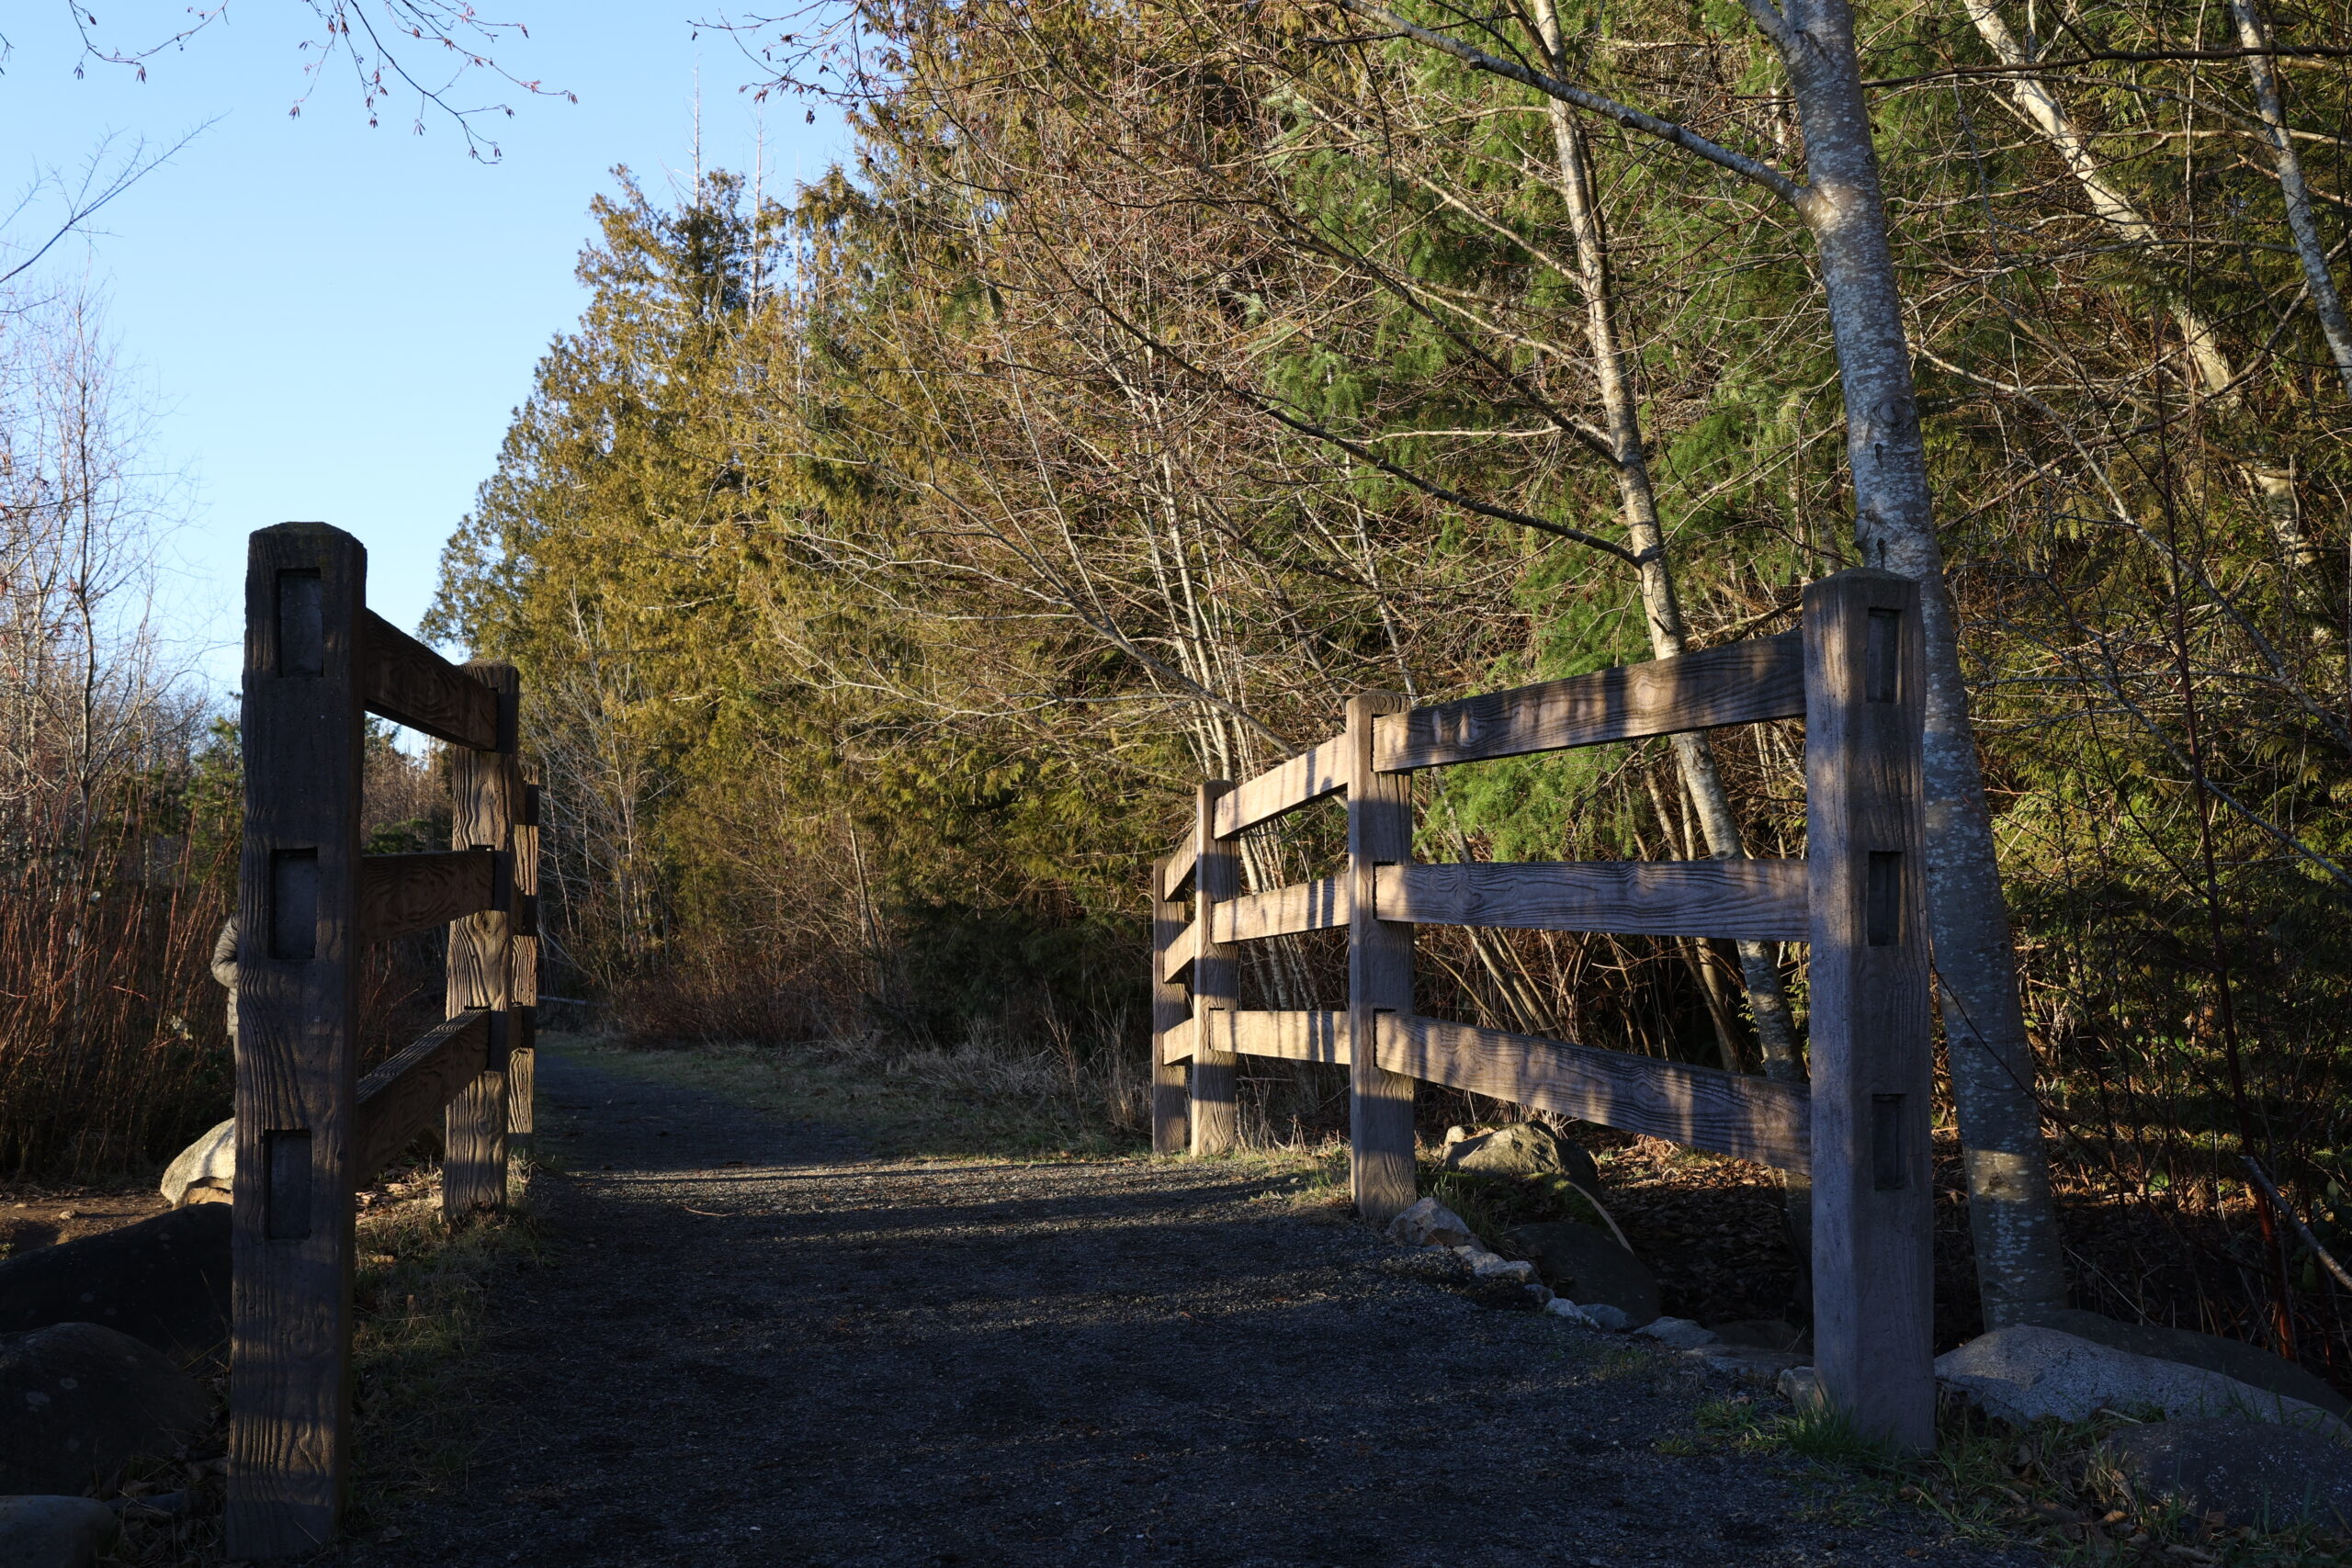
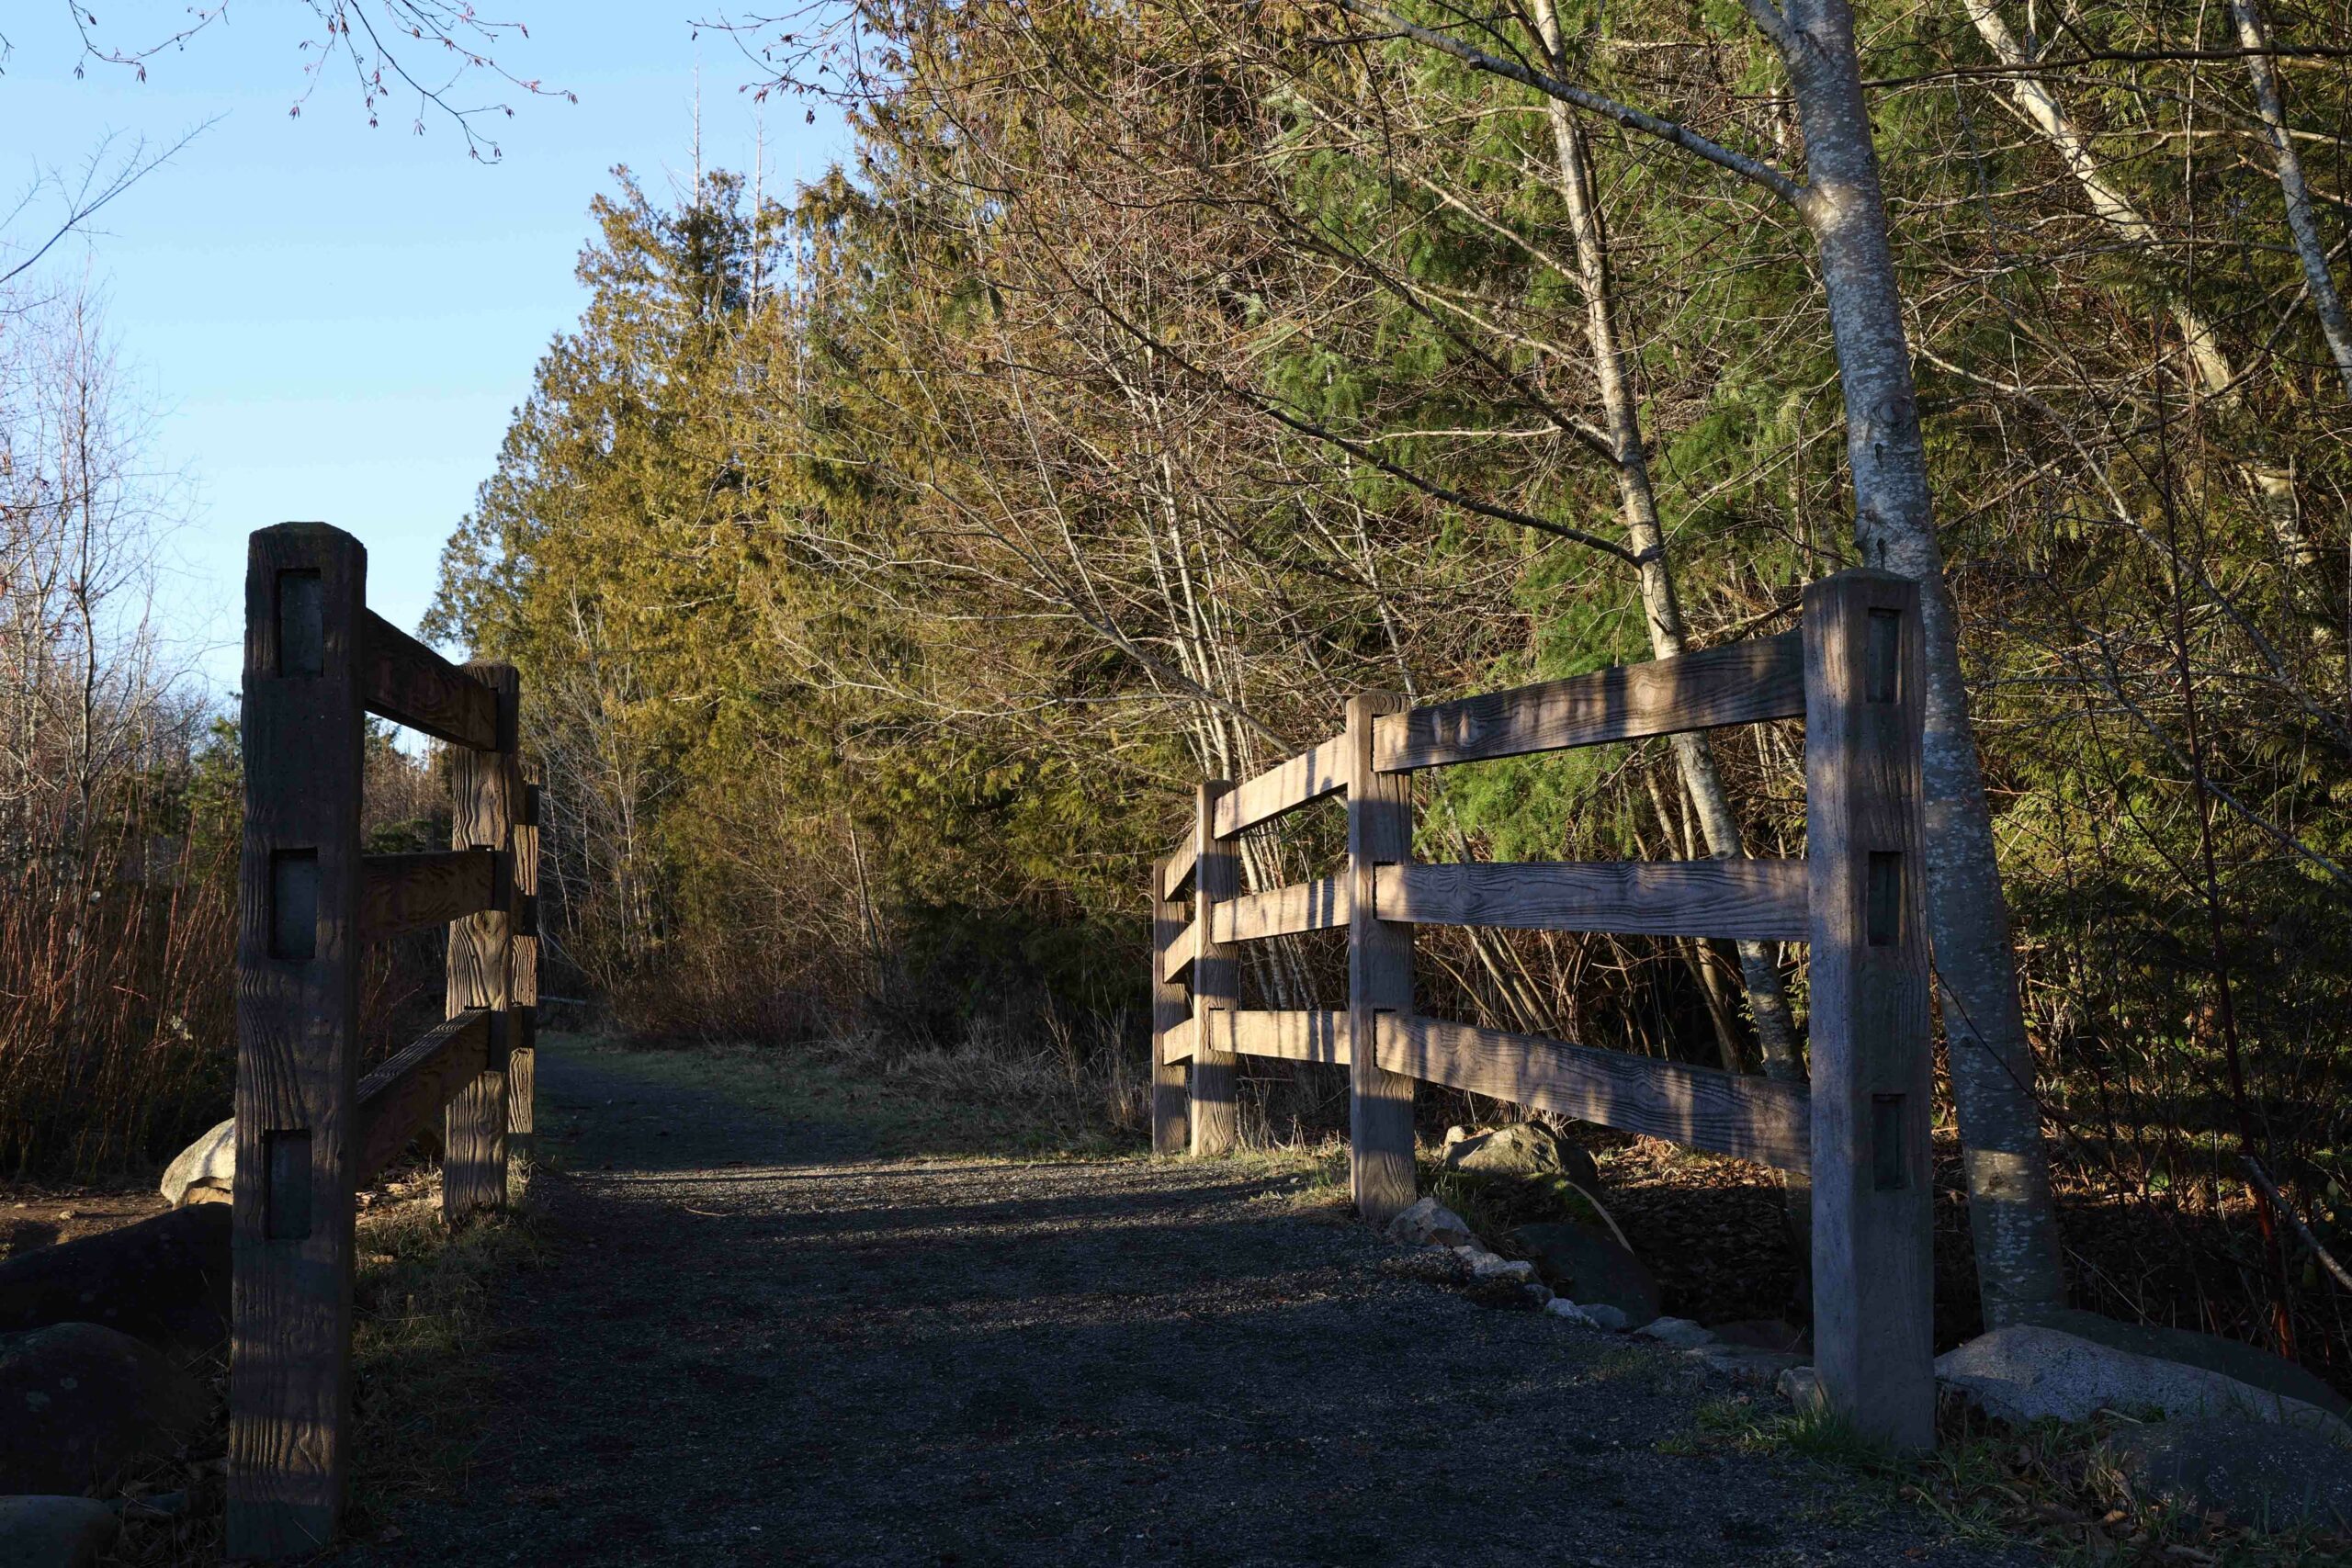
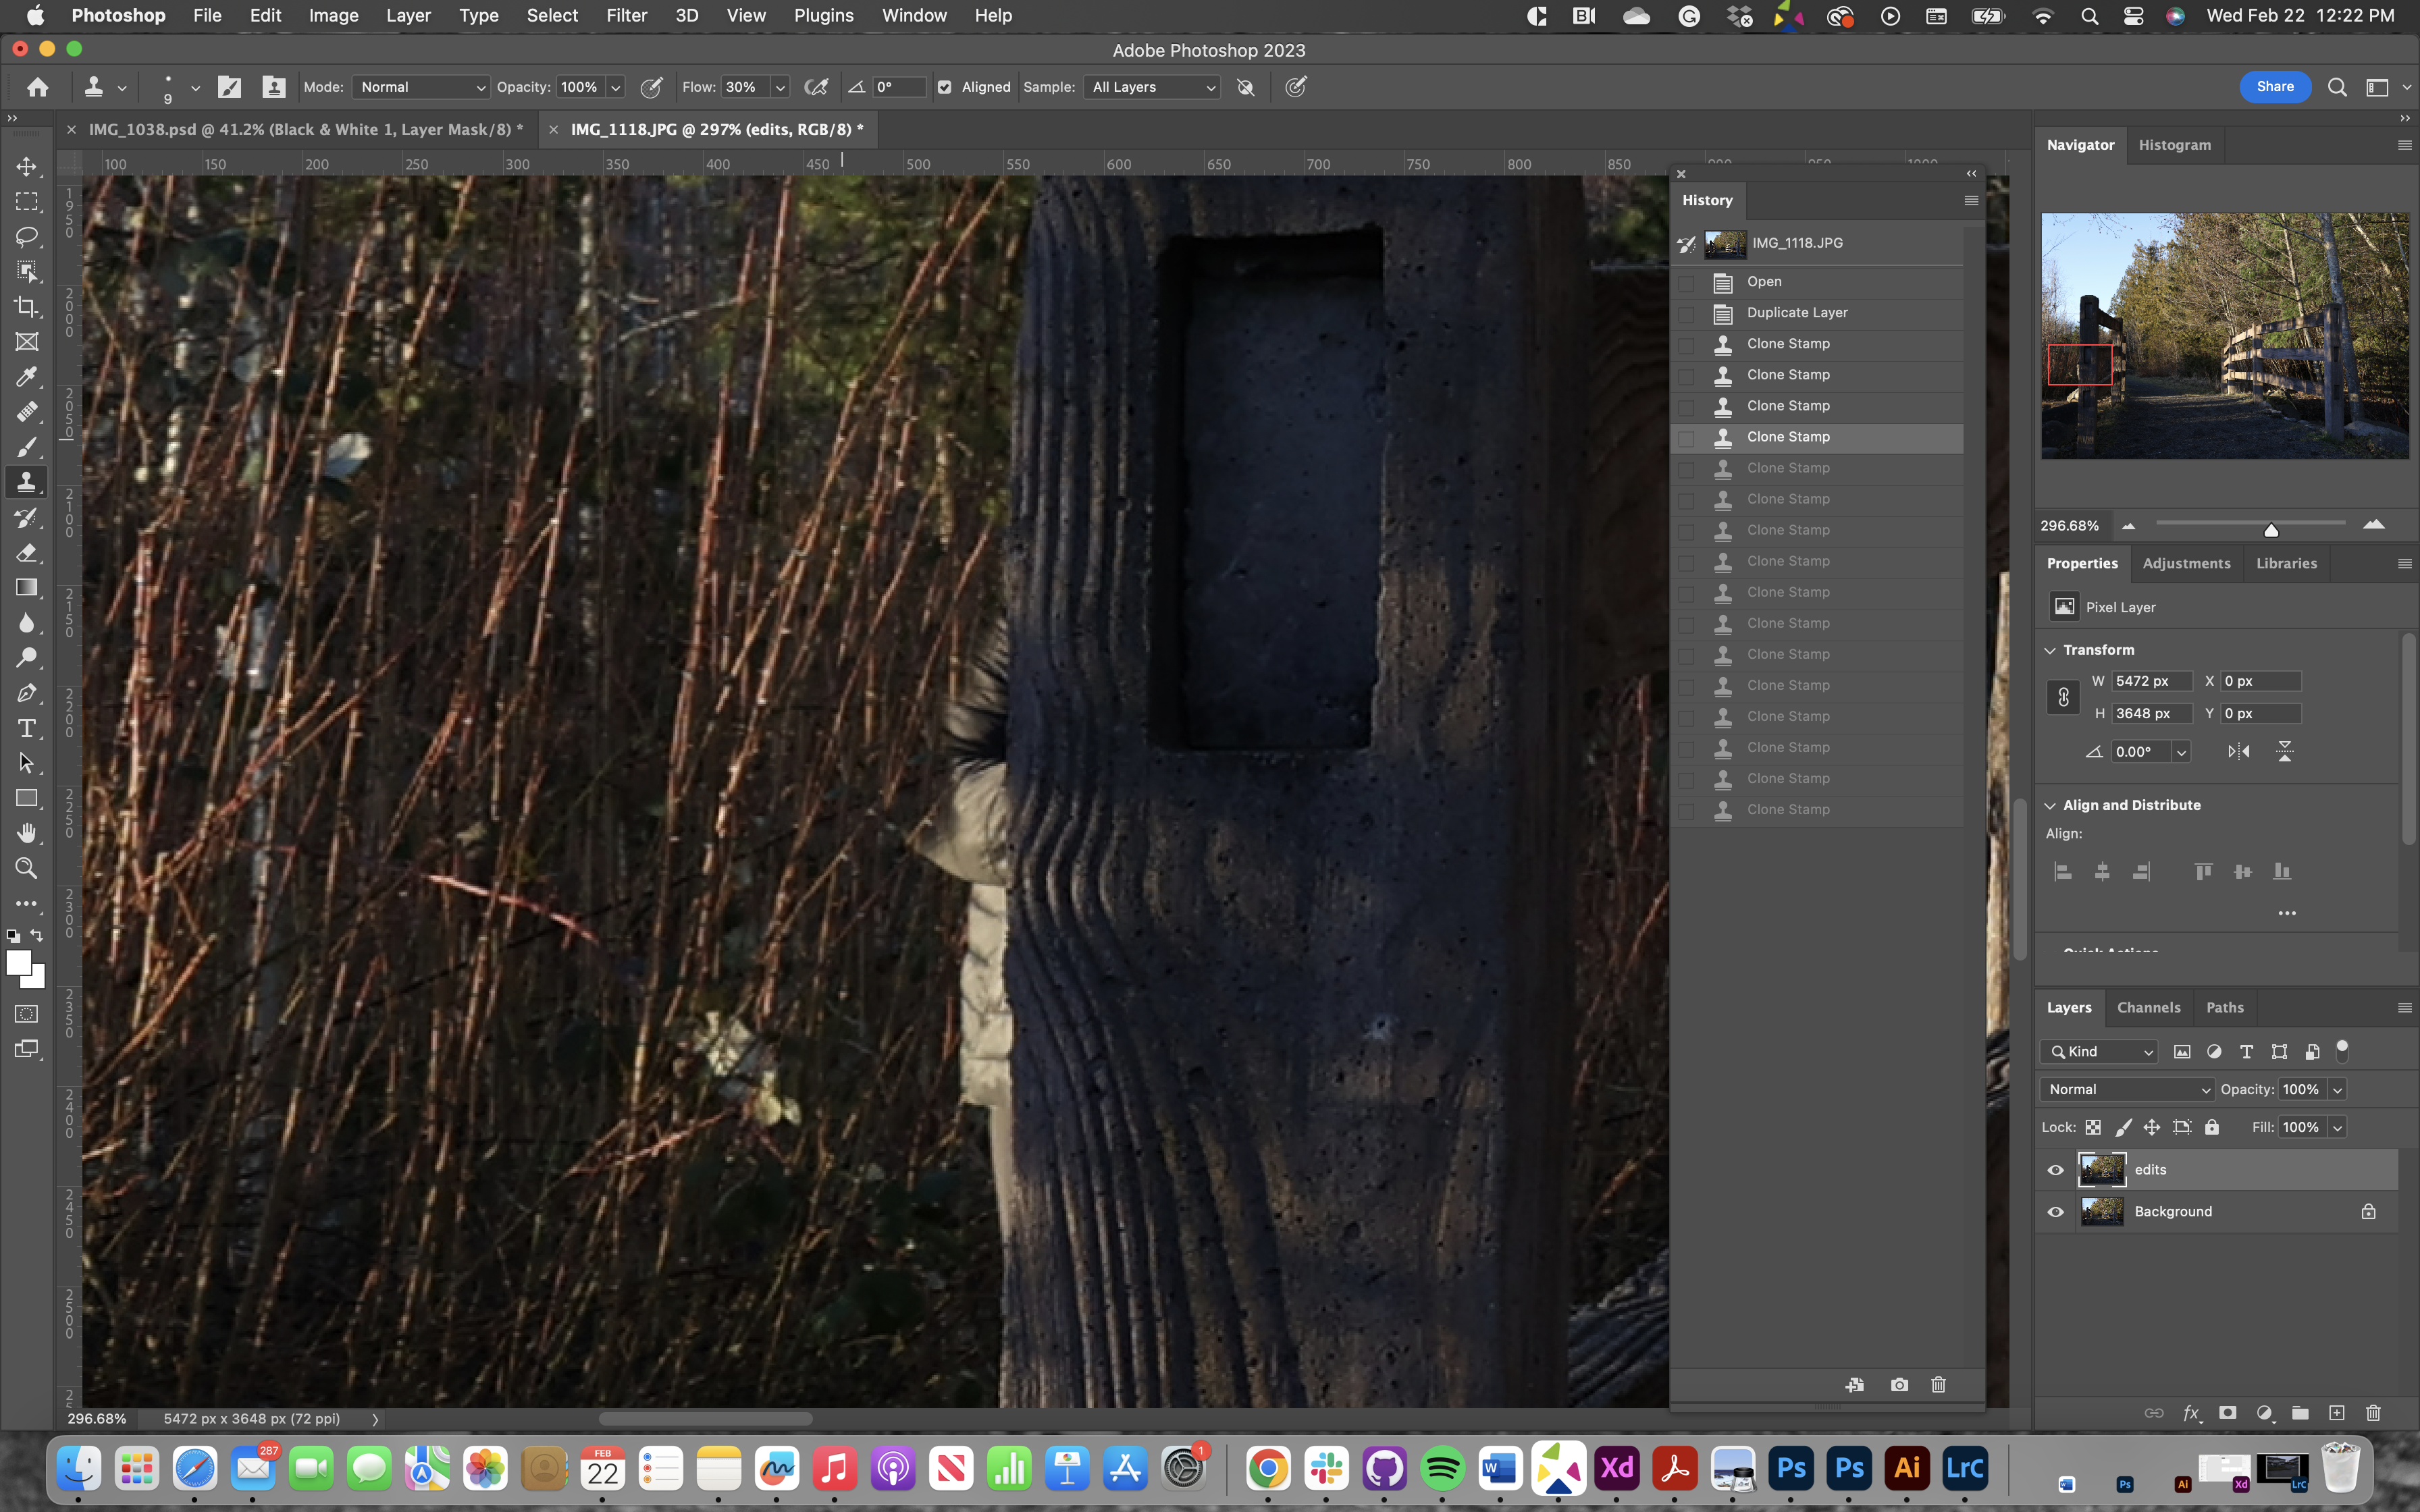
For this image, I wanted to take out part of a person peeking out behind the fence. For this, I decided to use the clone stamp tool. Removing the figure and replacing it with some of the surrounding foliage it creates less distraction from the main element of the composition which is the fence.
In my Layers, you will notice that I created a duplicate layer of the image. I did this to make my editing as no destructive as possible. All of my edits were applied to the copy of the layer and if I decided I did not like this all I would have to do is delete the copy layer and I would be back to the original layer.
Final Thoughts
I already knew how to do most of the stuff in the tutorials already from DGL 105, so none of this was really new to me. For the most part, I am comfortable working in photoshop. That being said these were pretty quickly done and could have with some time could be refined to a higher detail. End of the day it was fun to play around in photoshop a little.
TECH EX 4
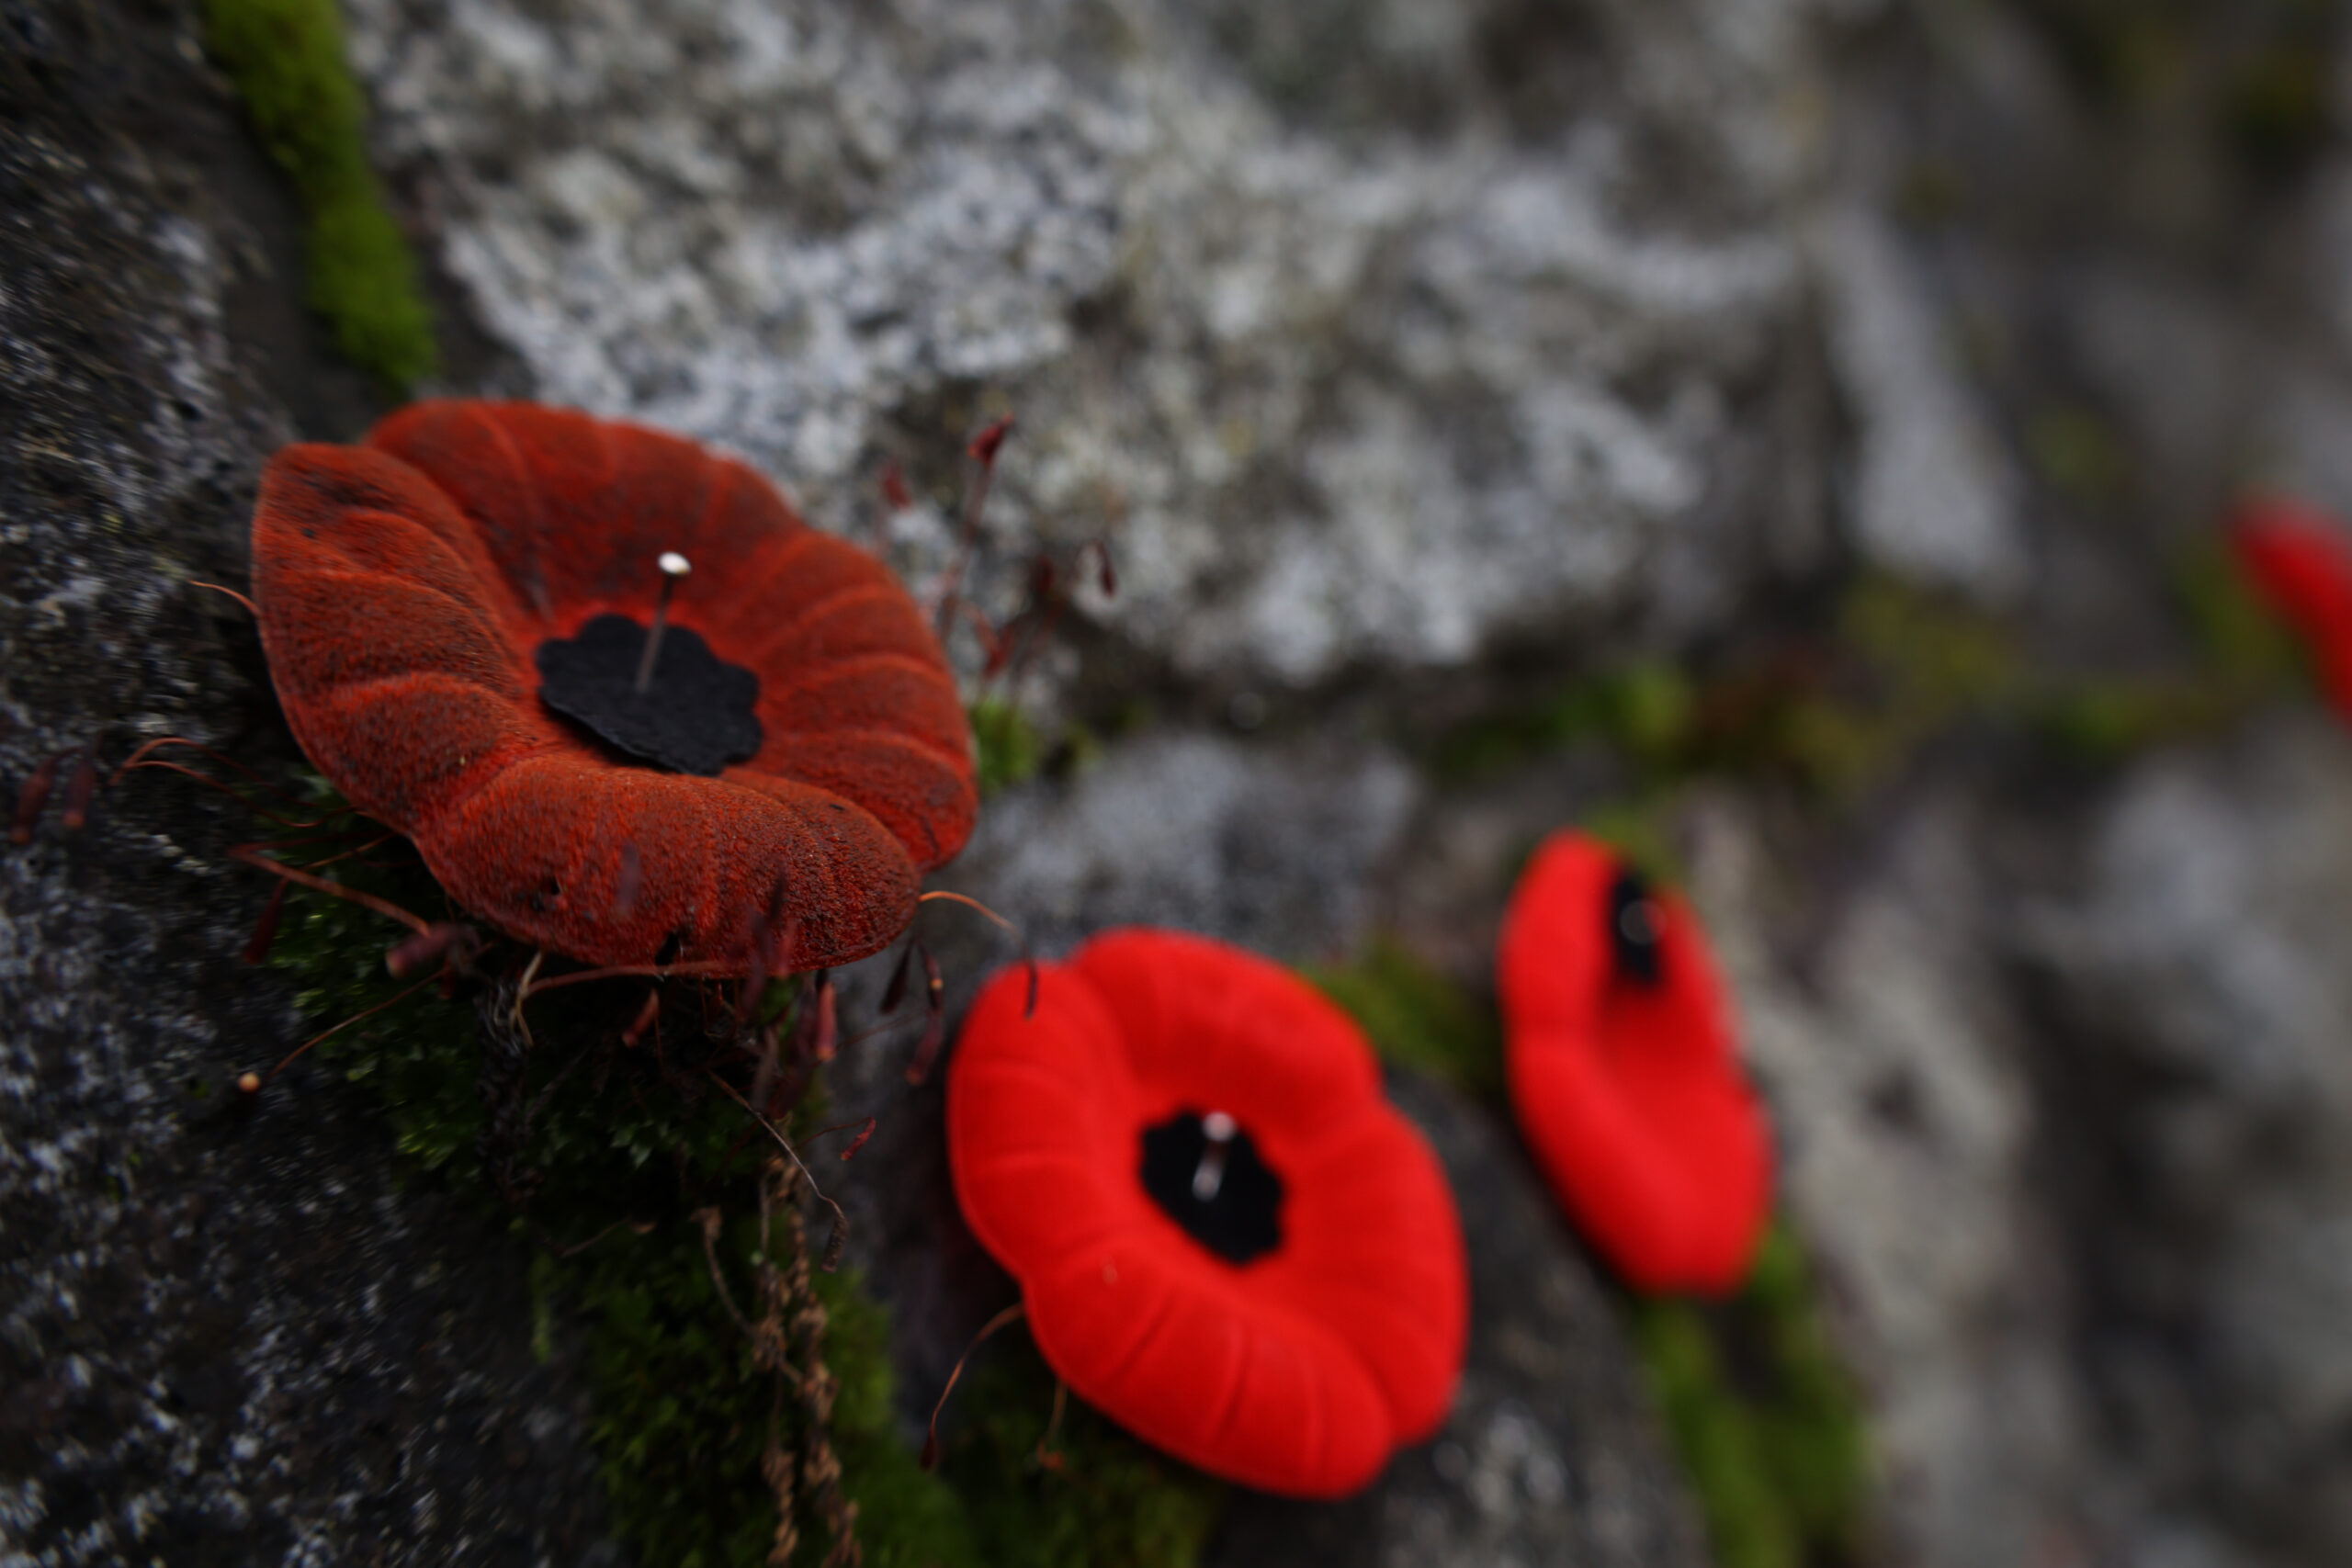
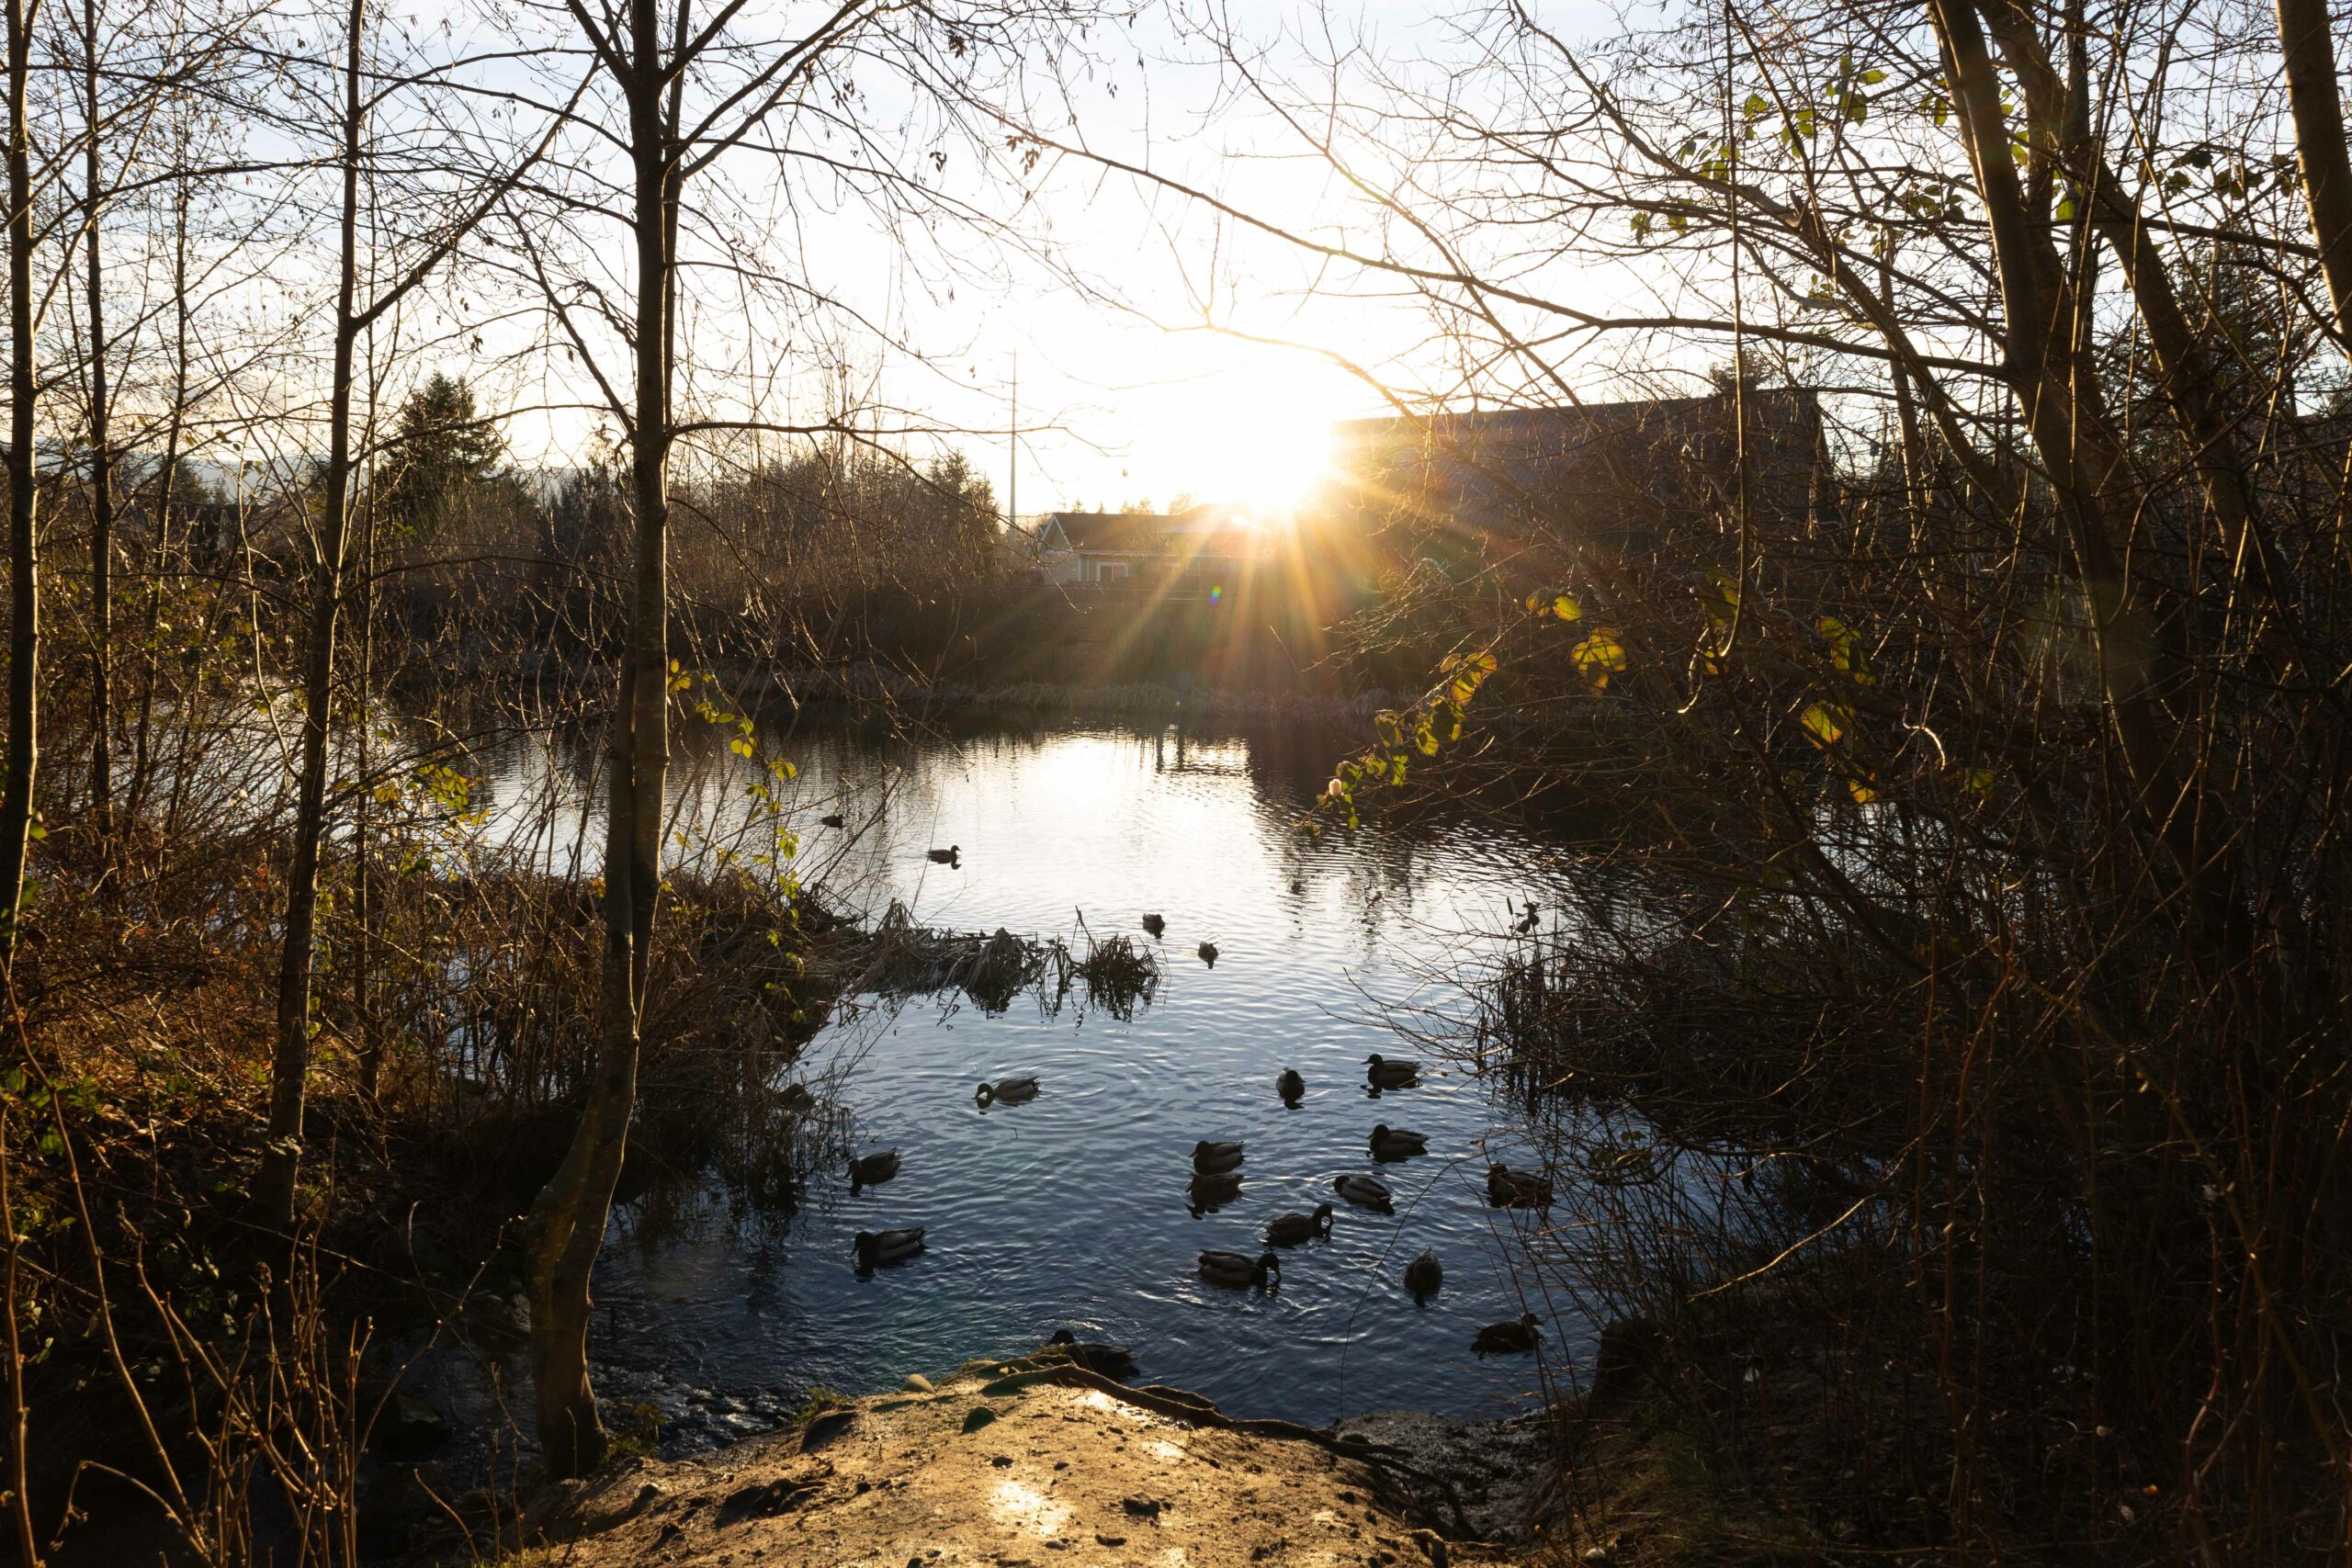
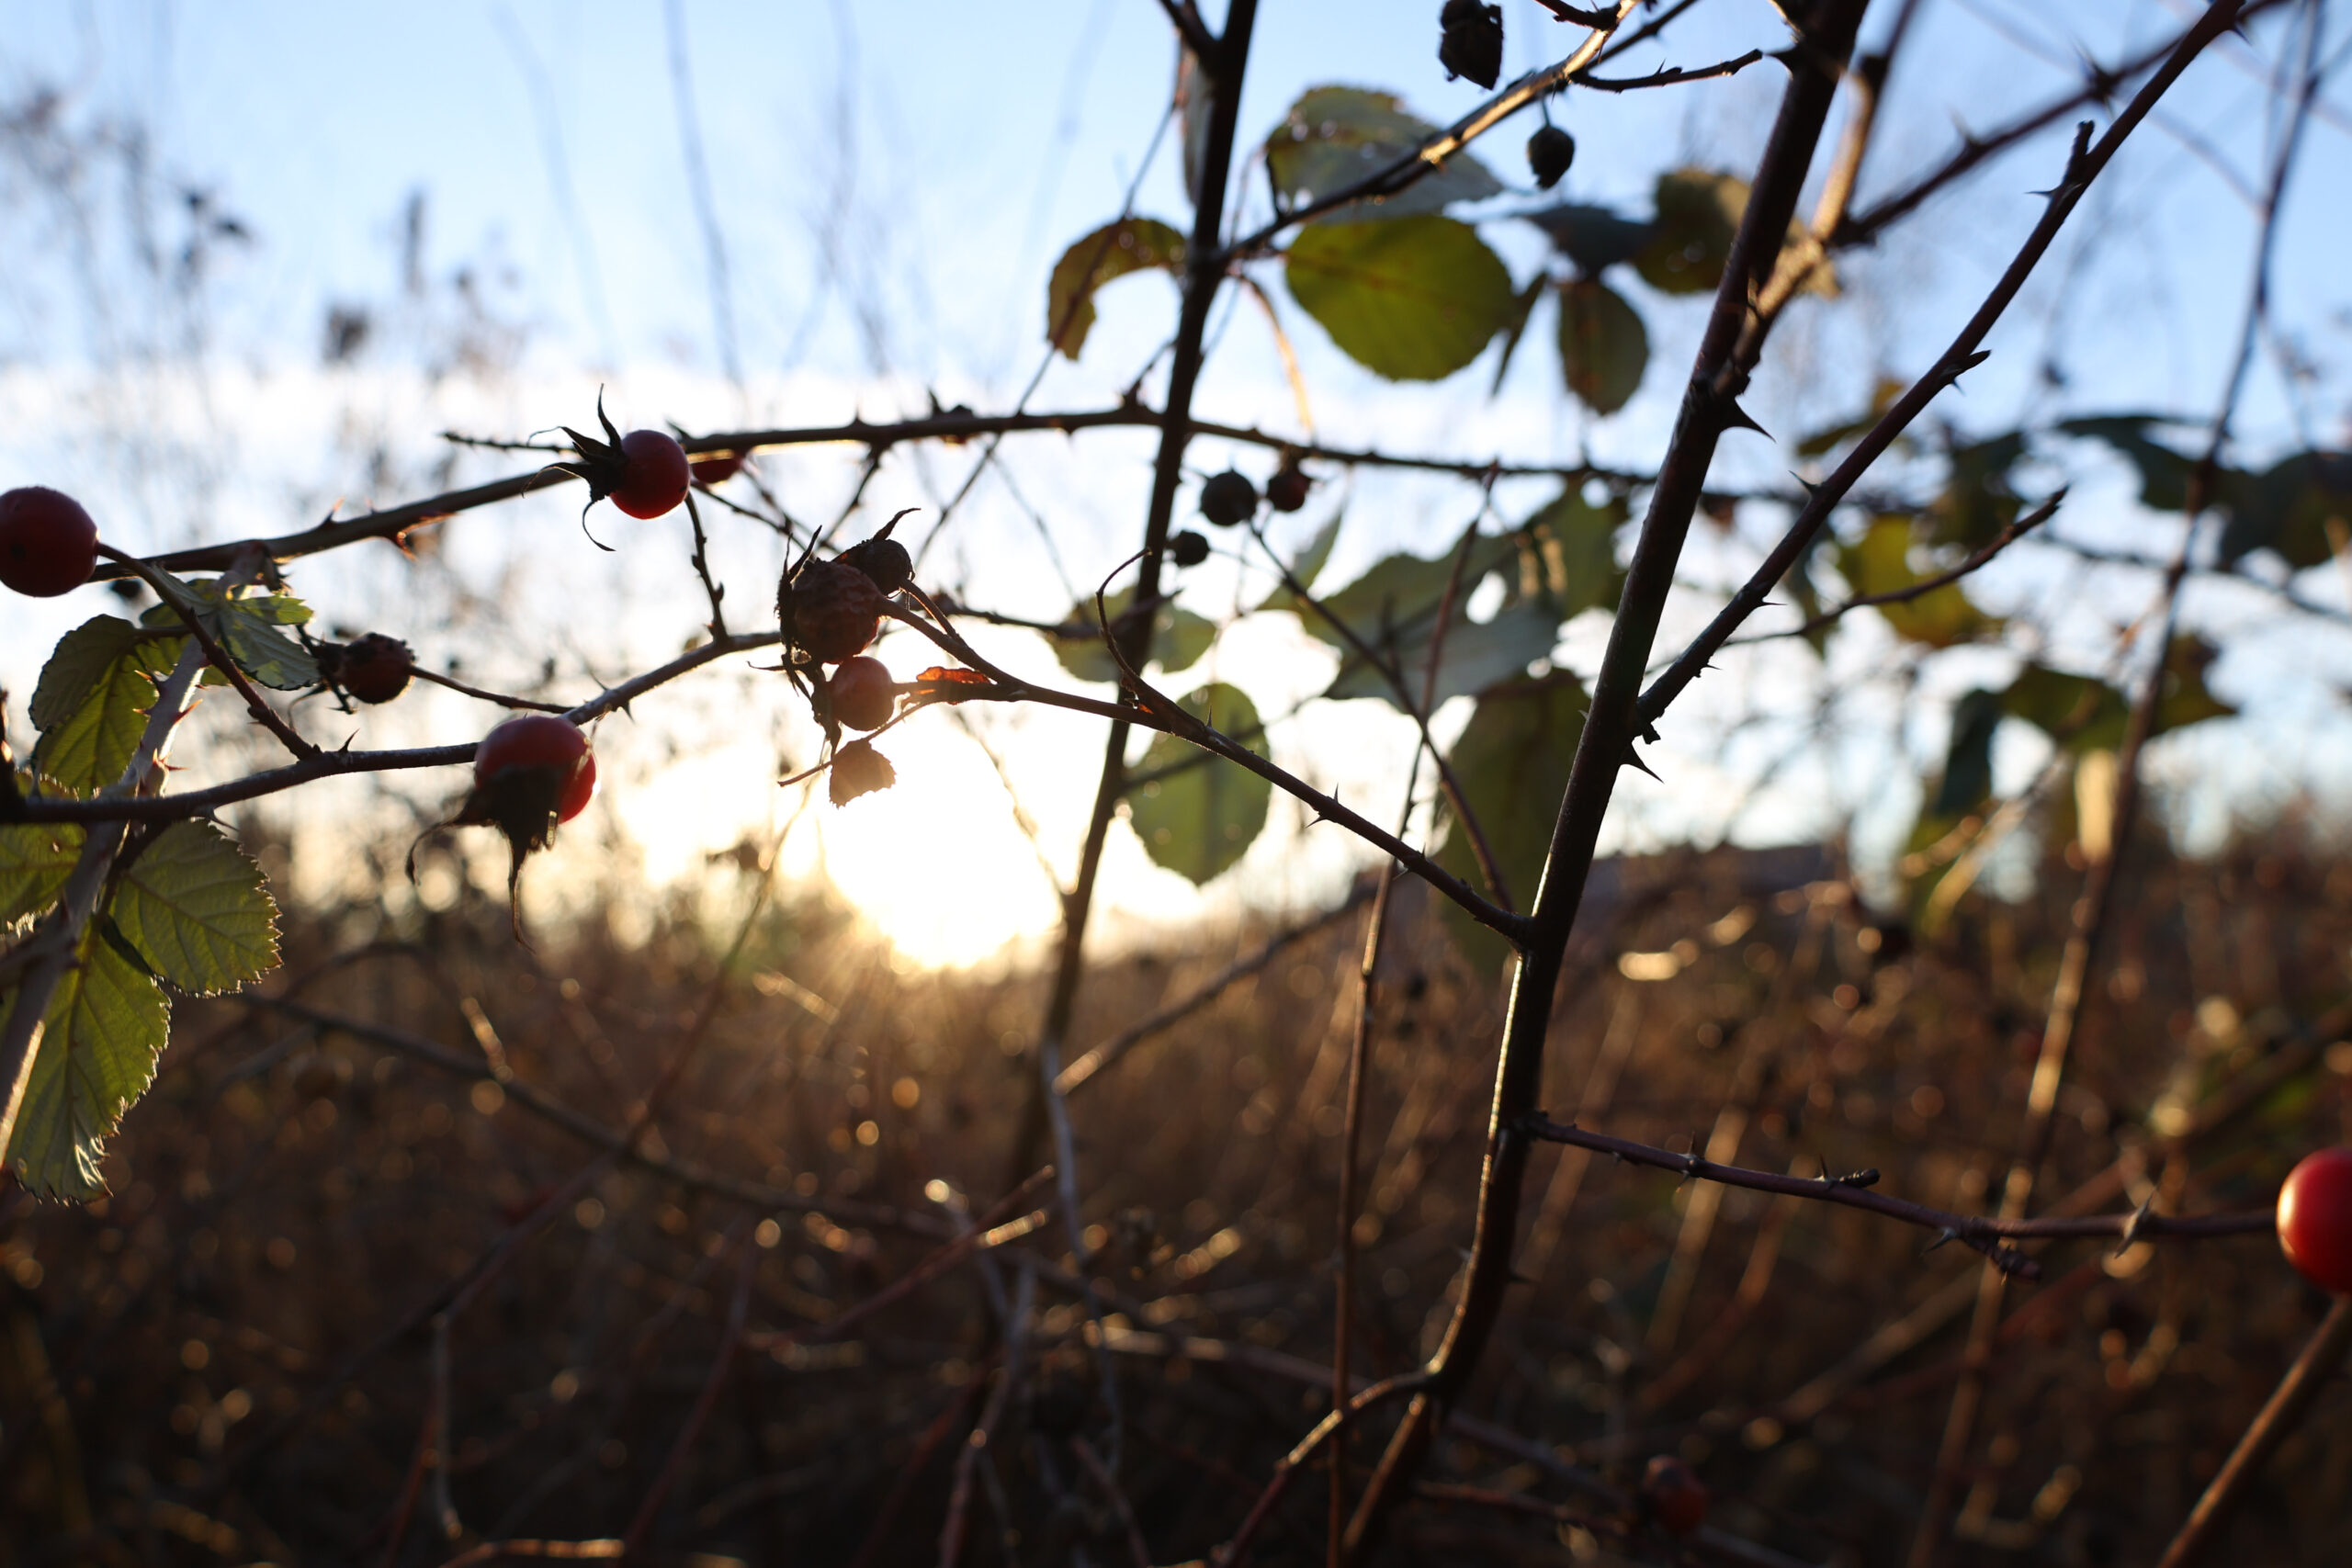

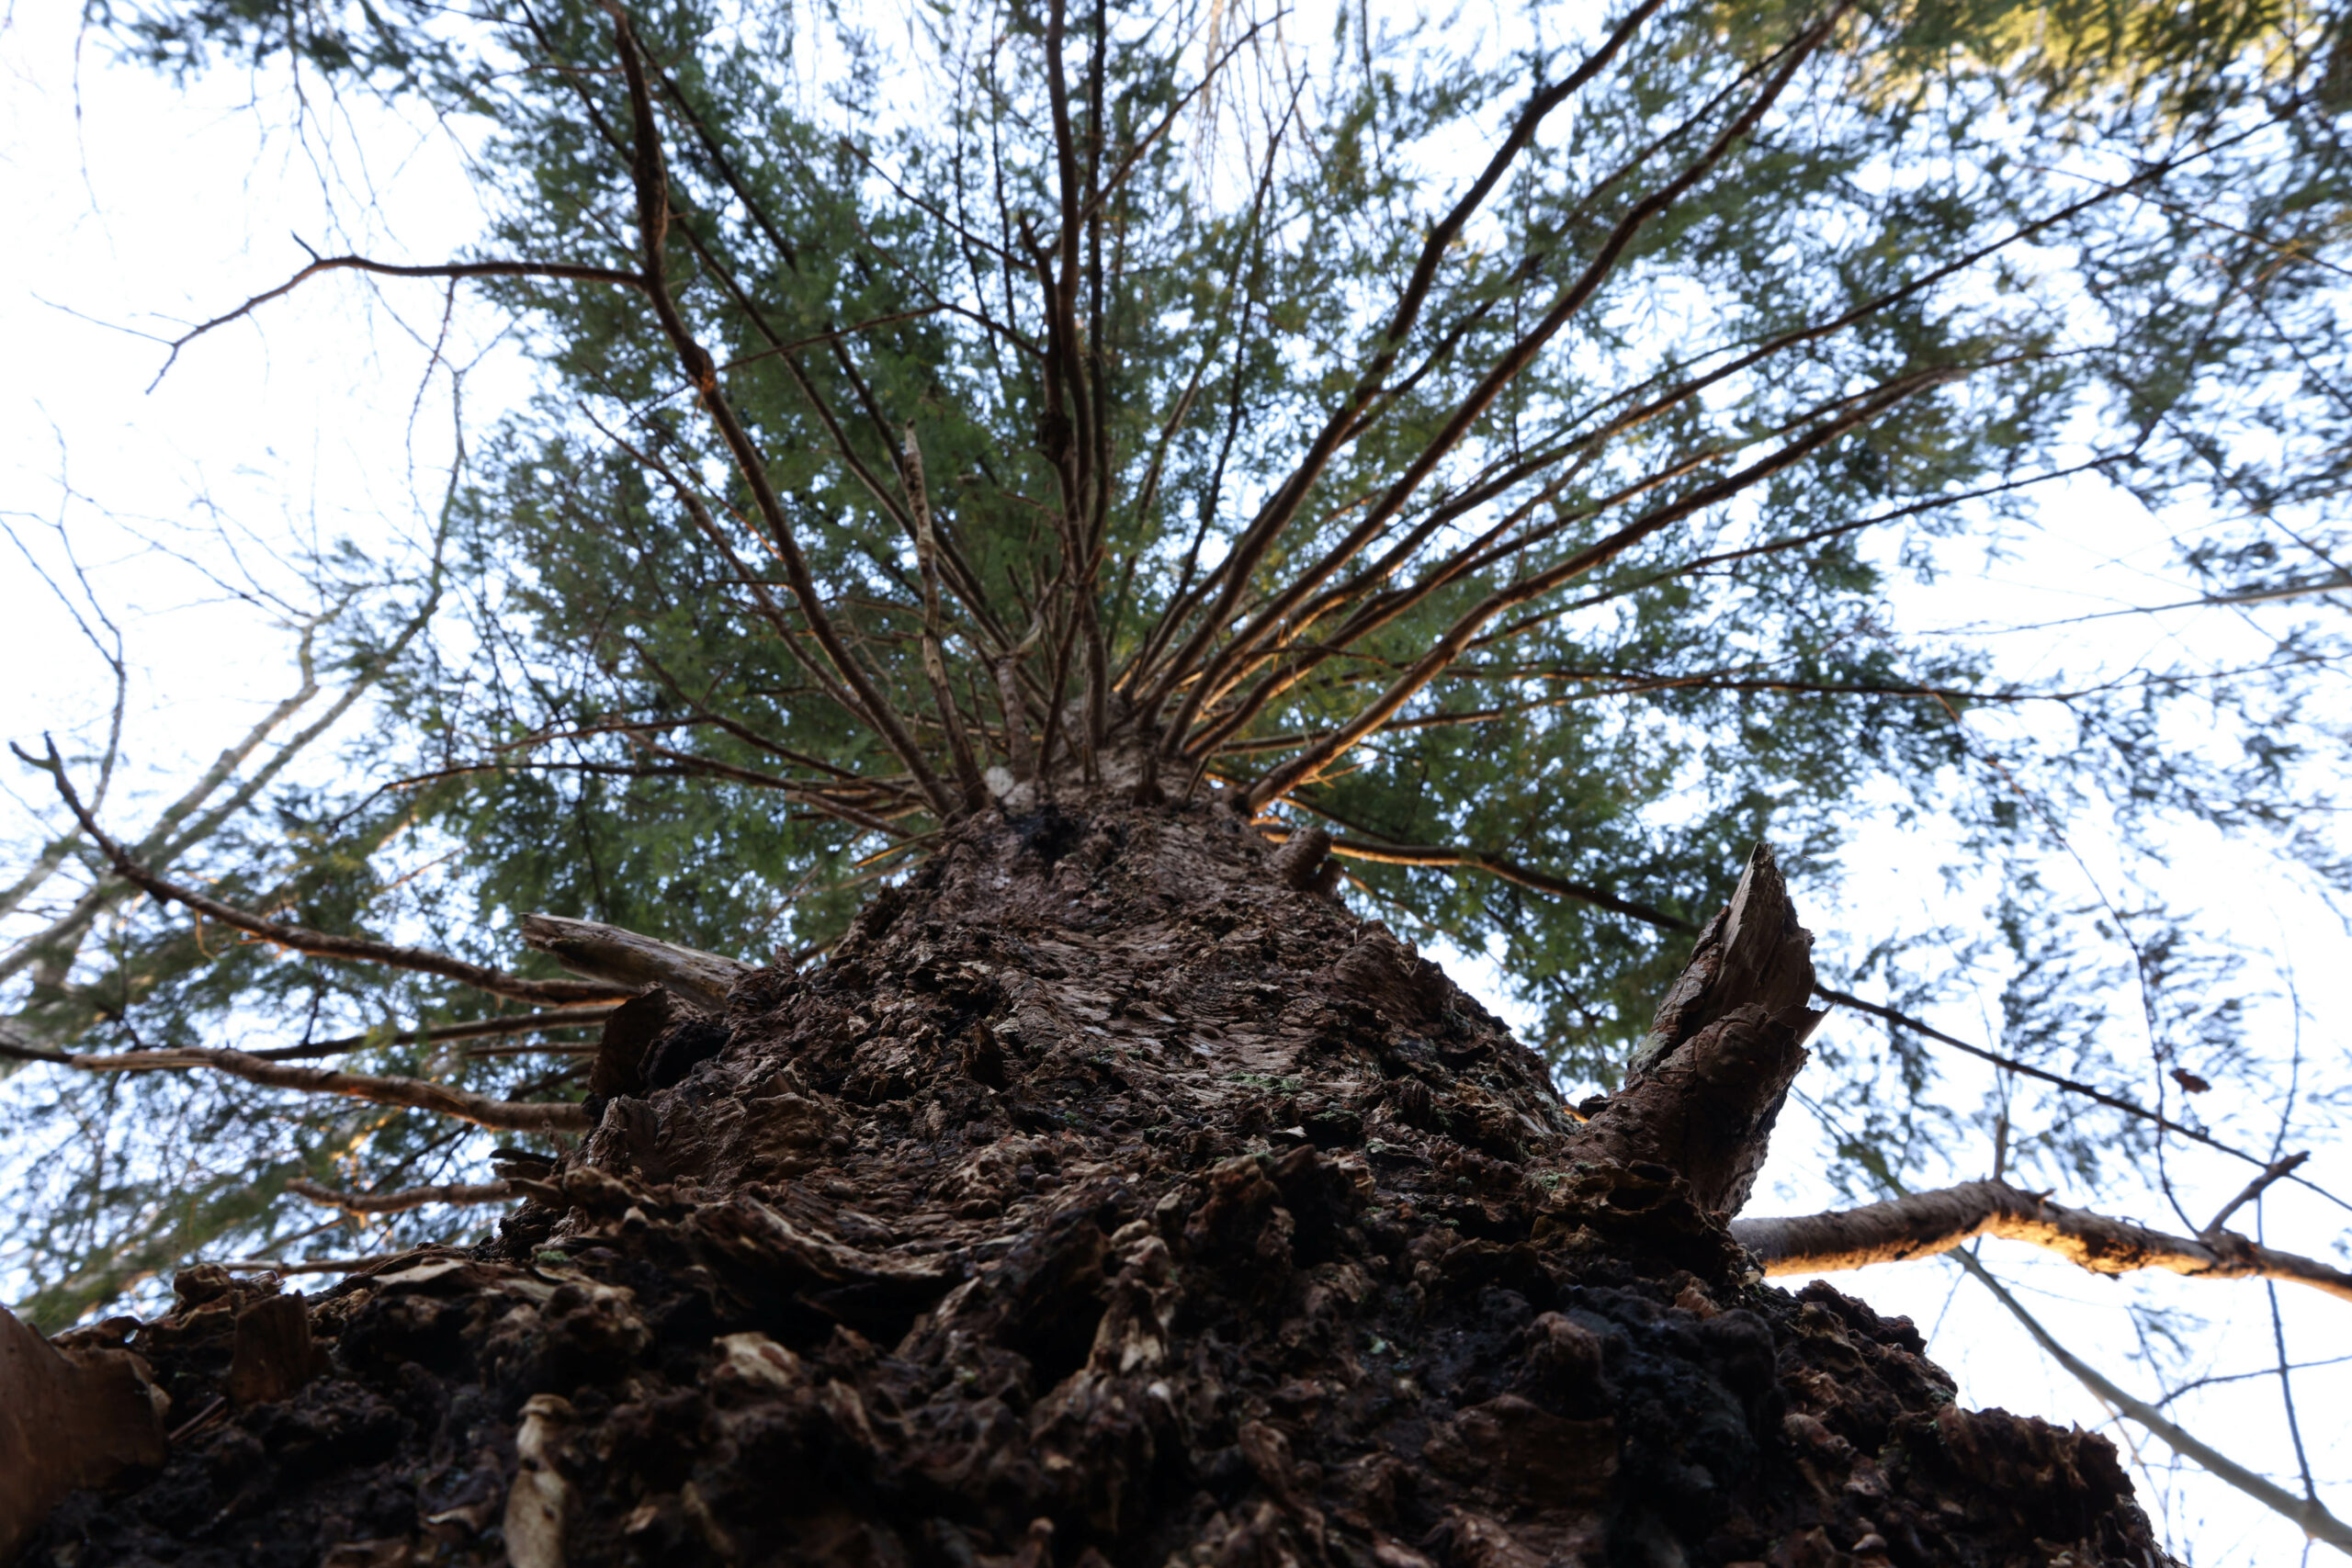
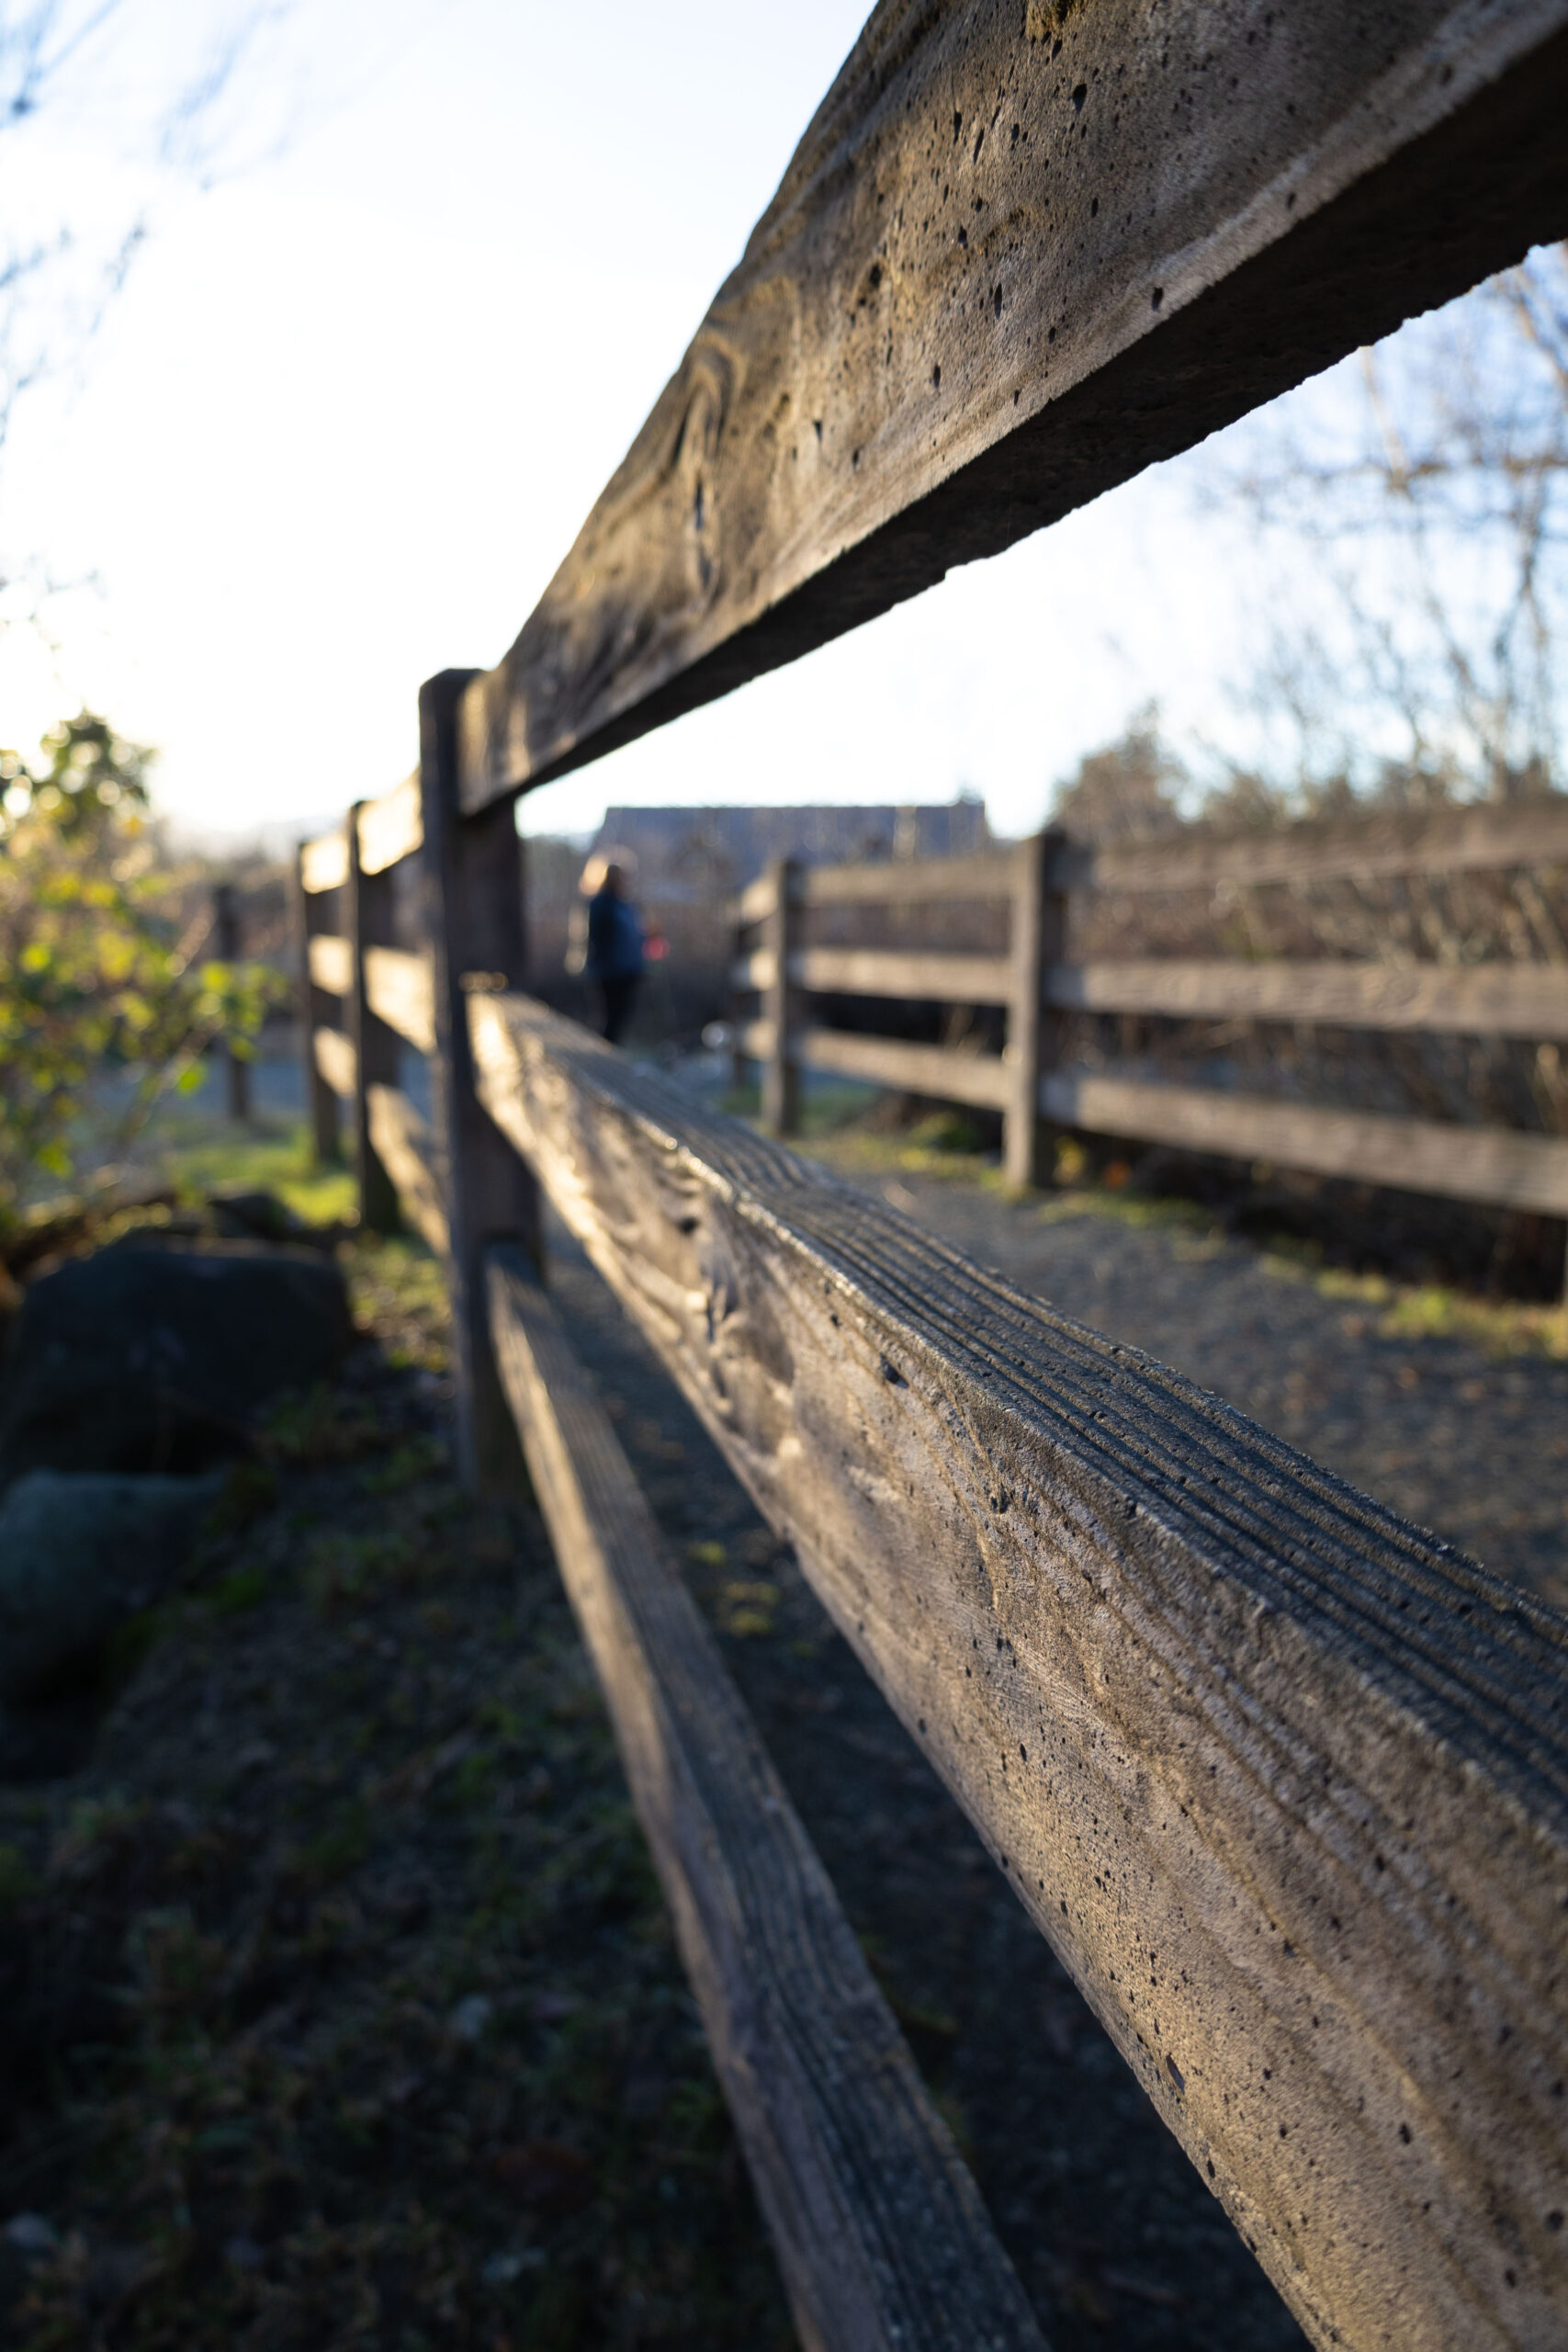
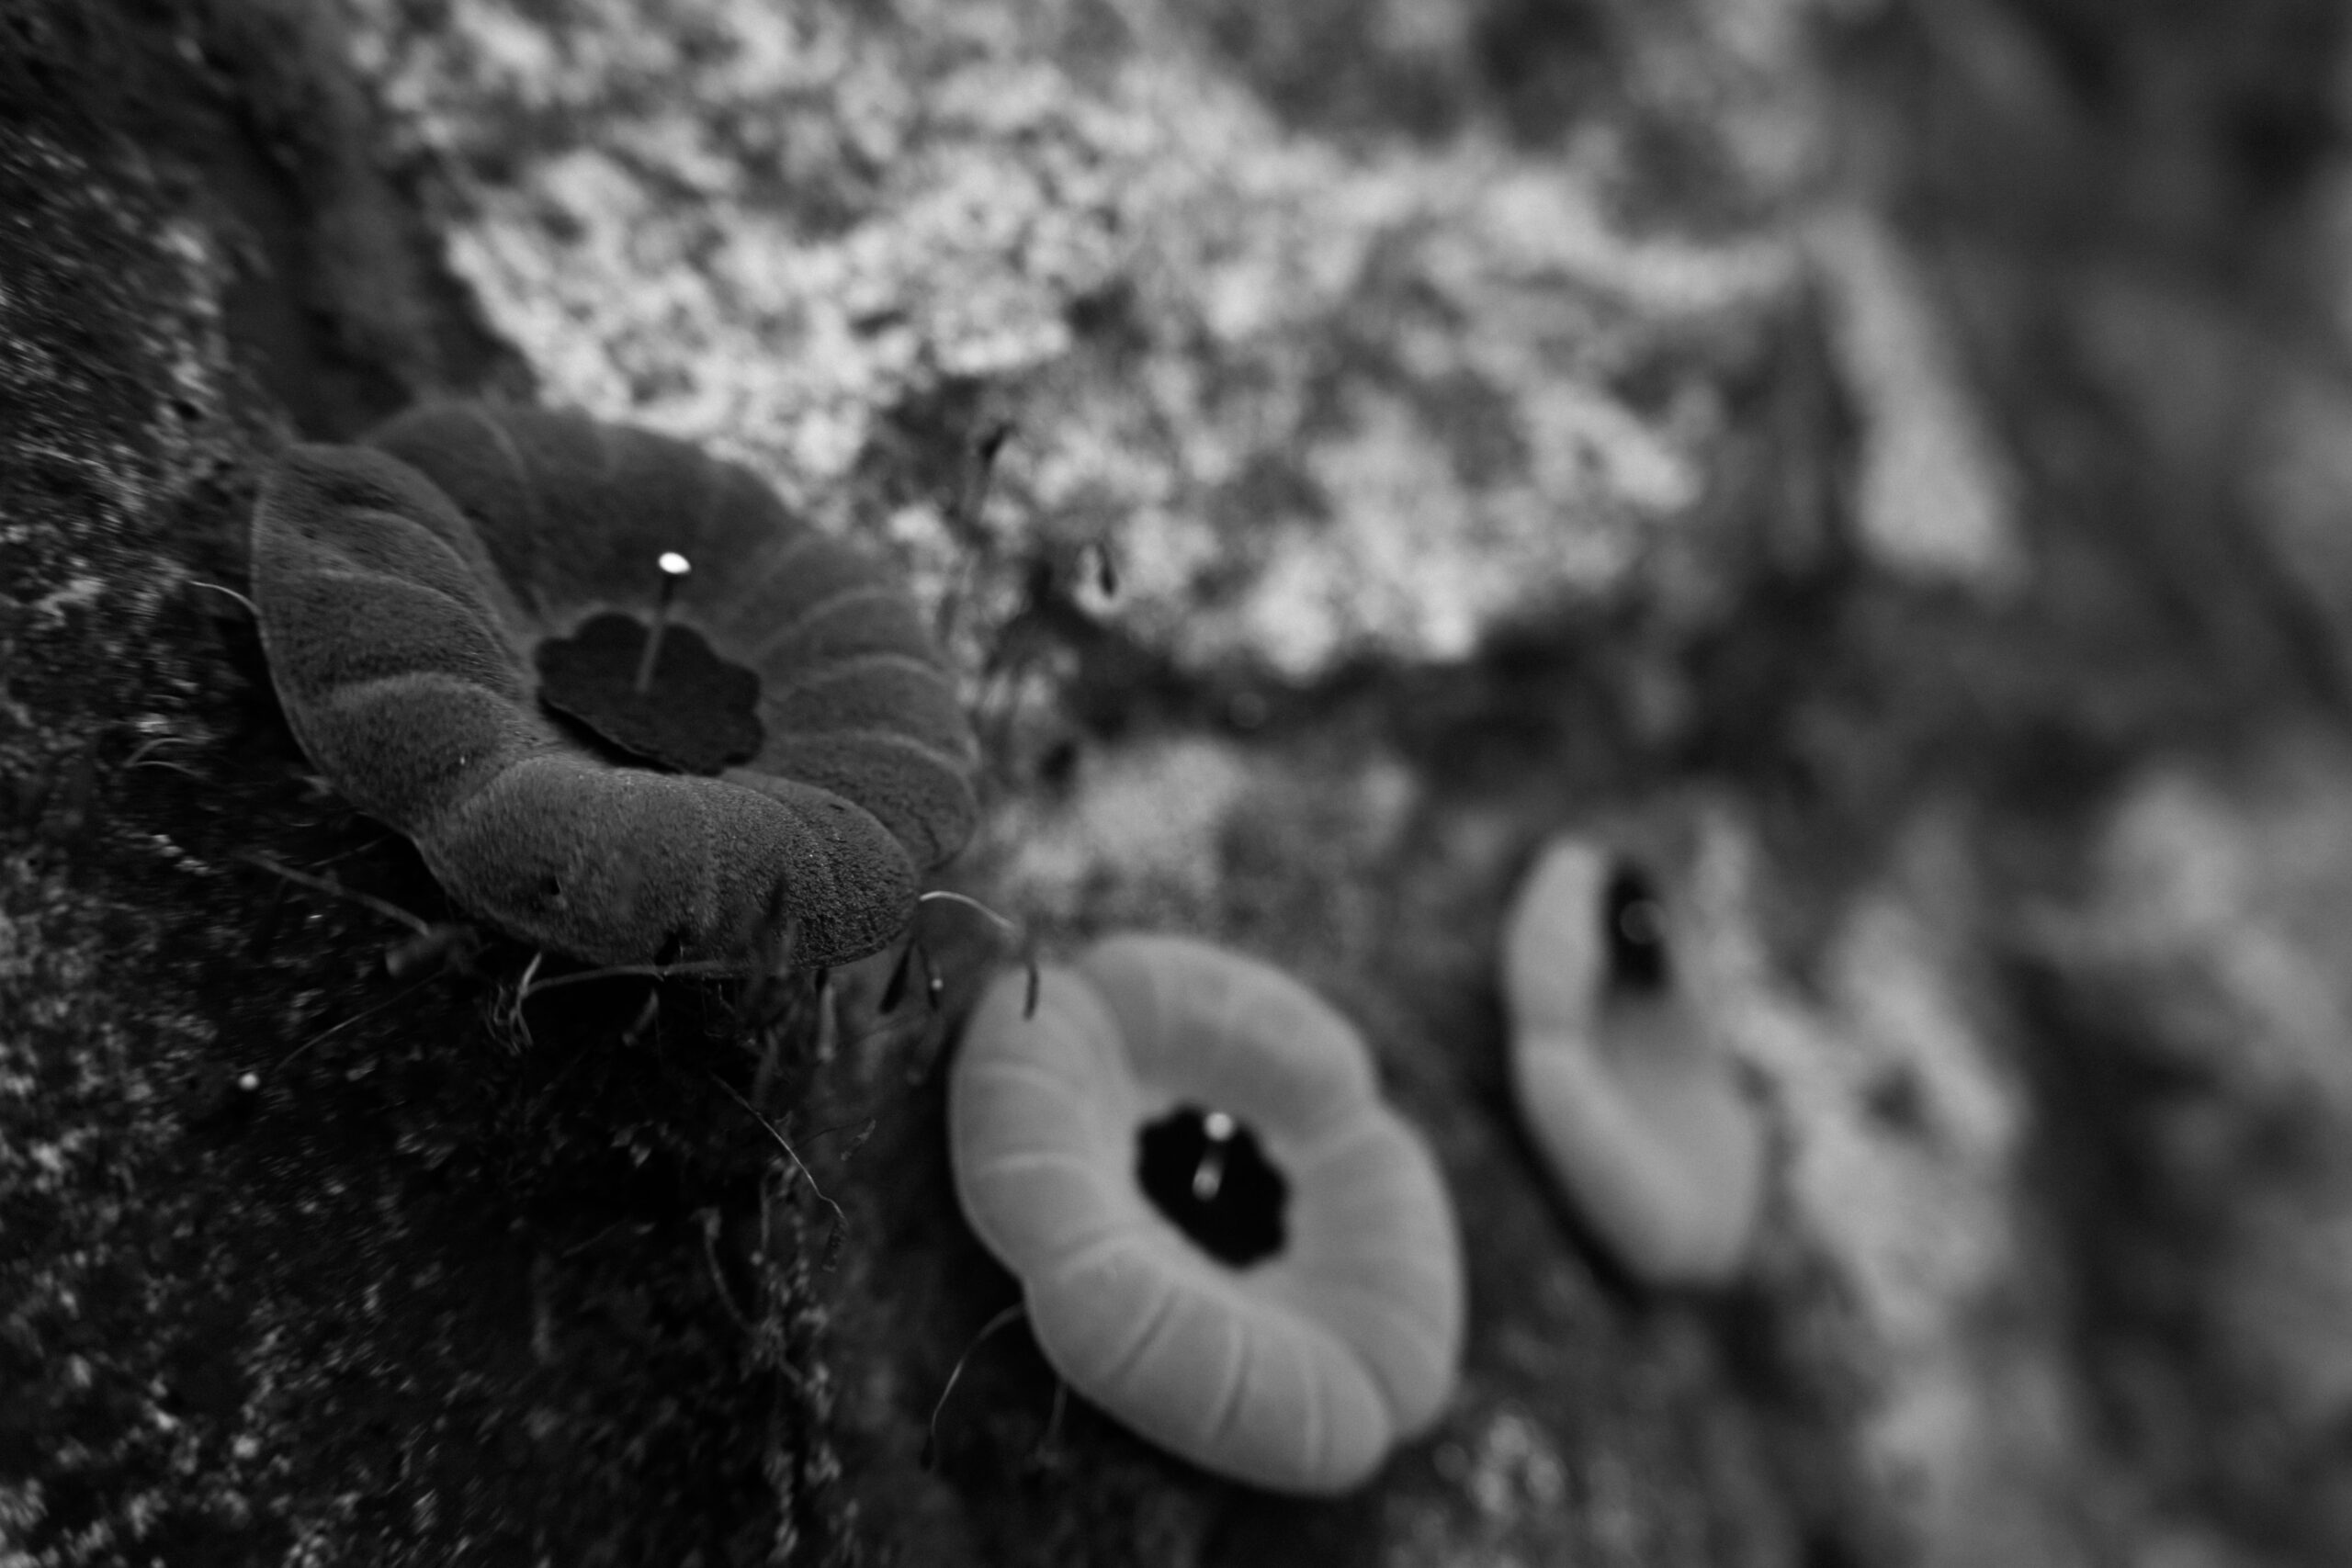
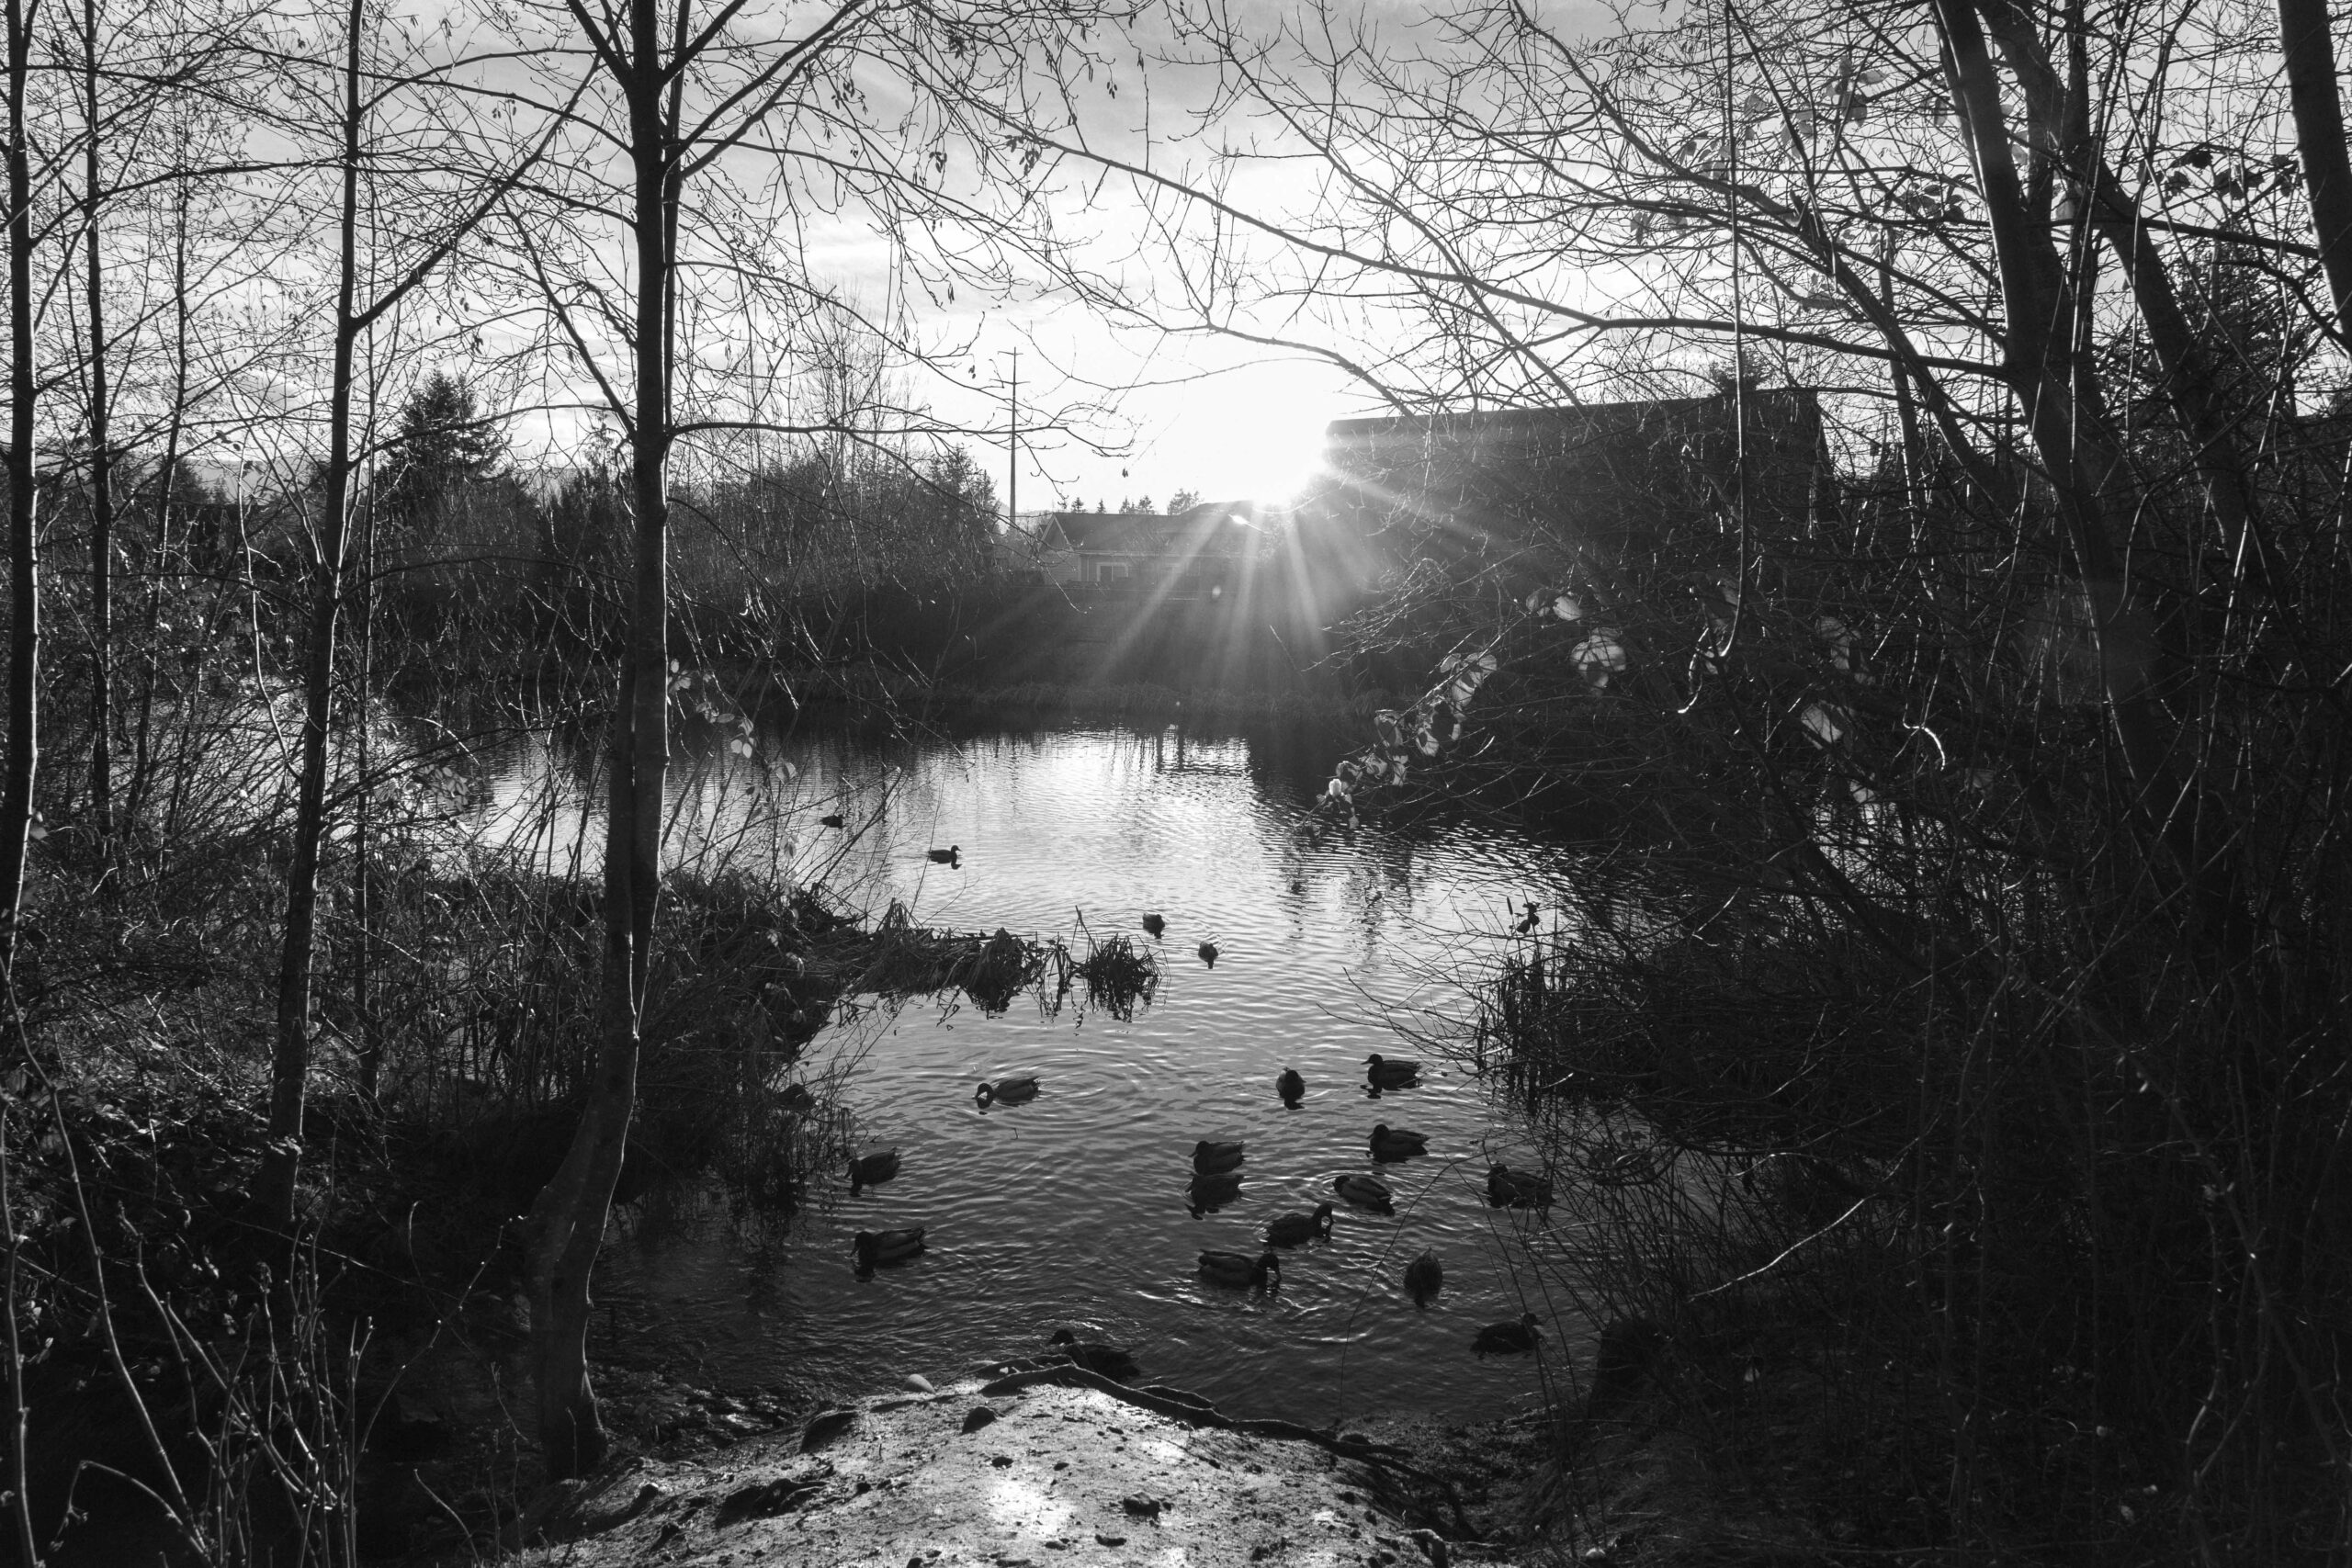
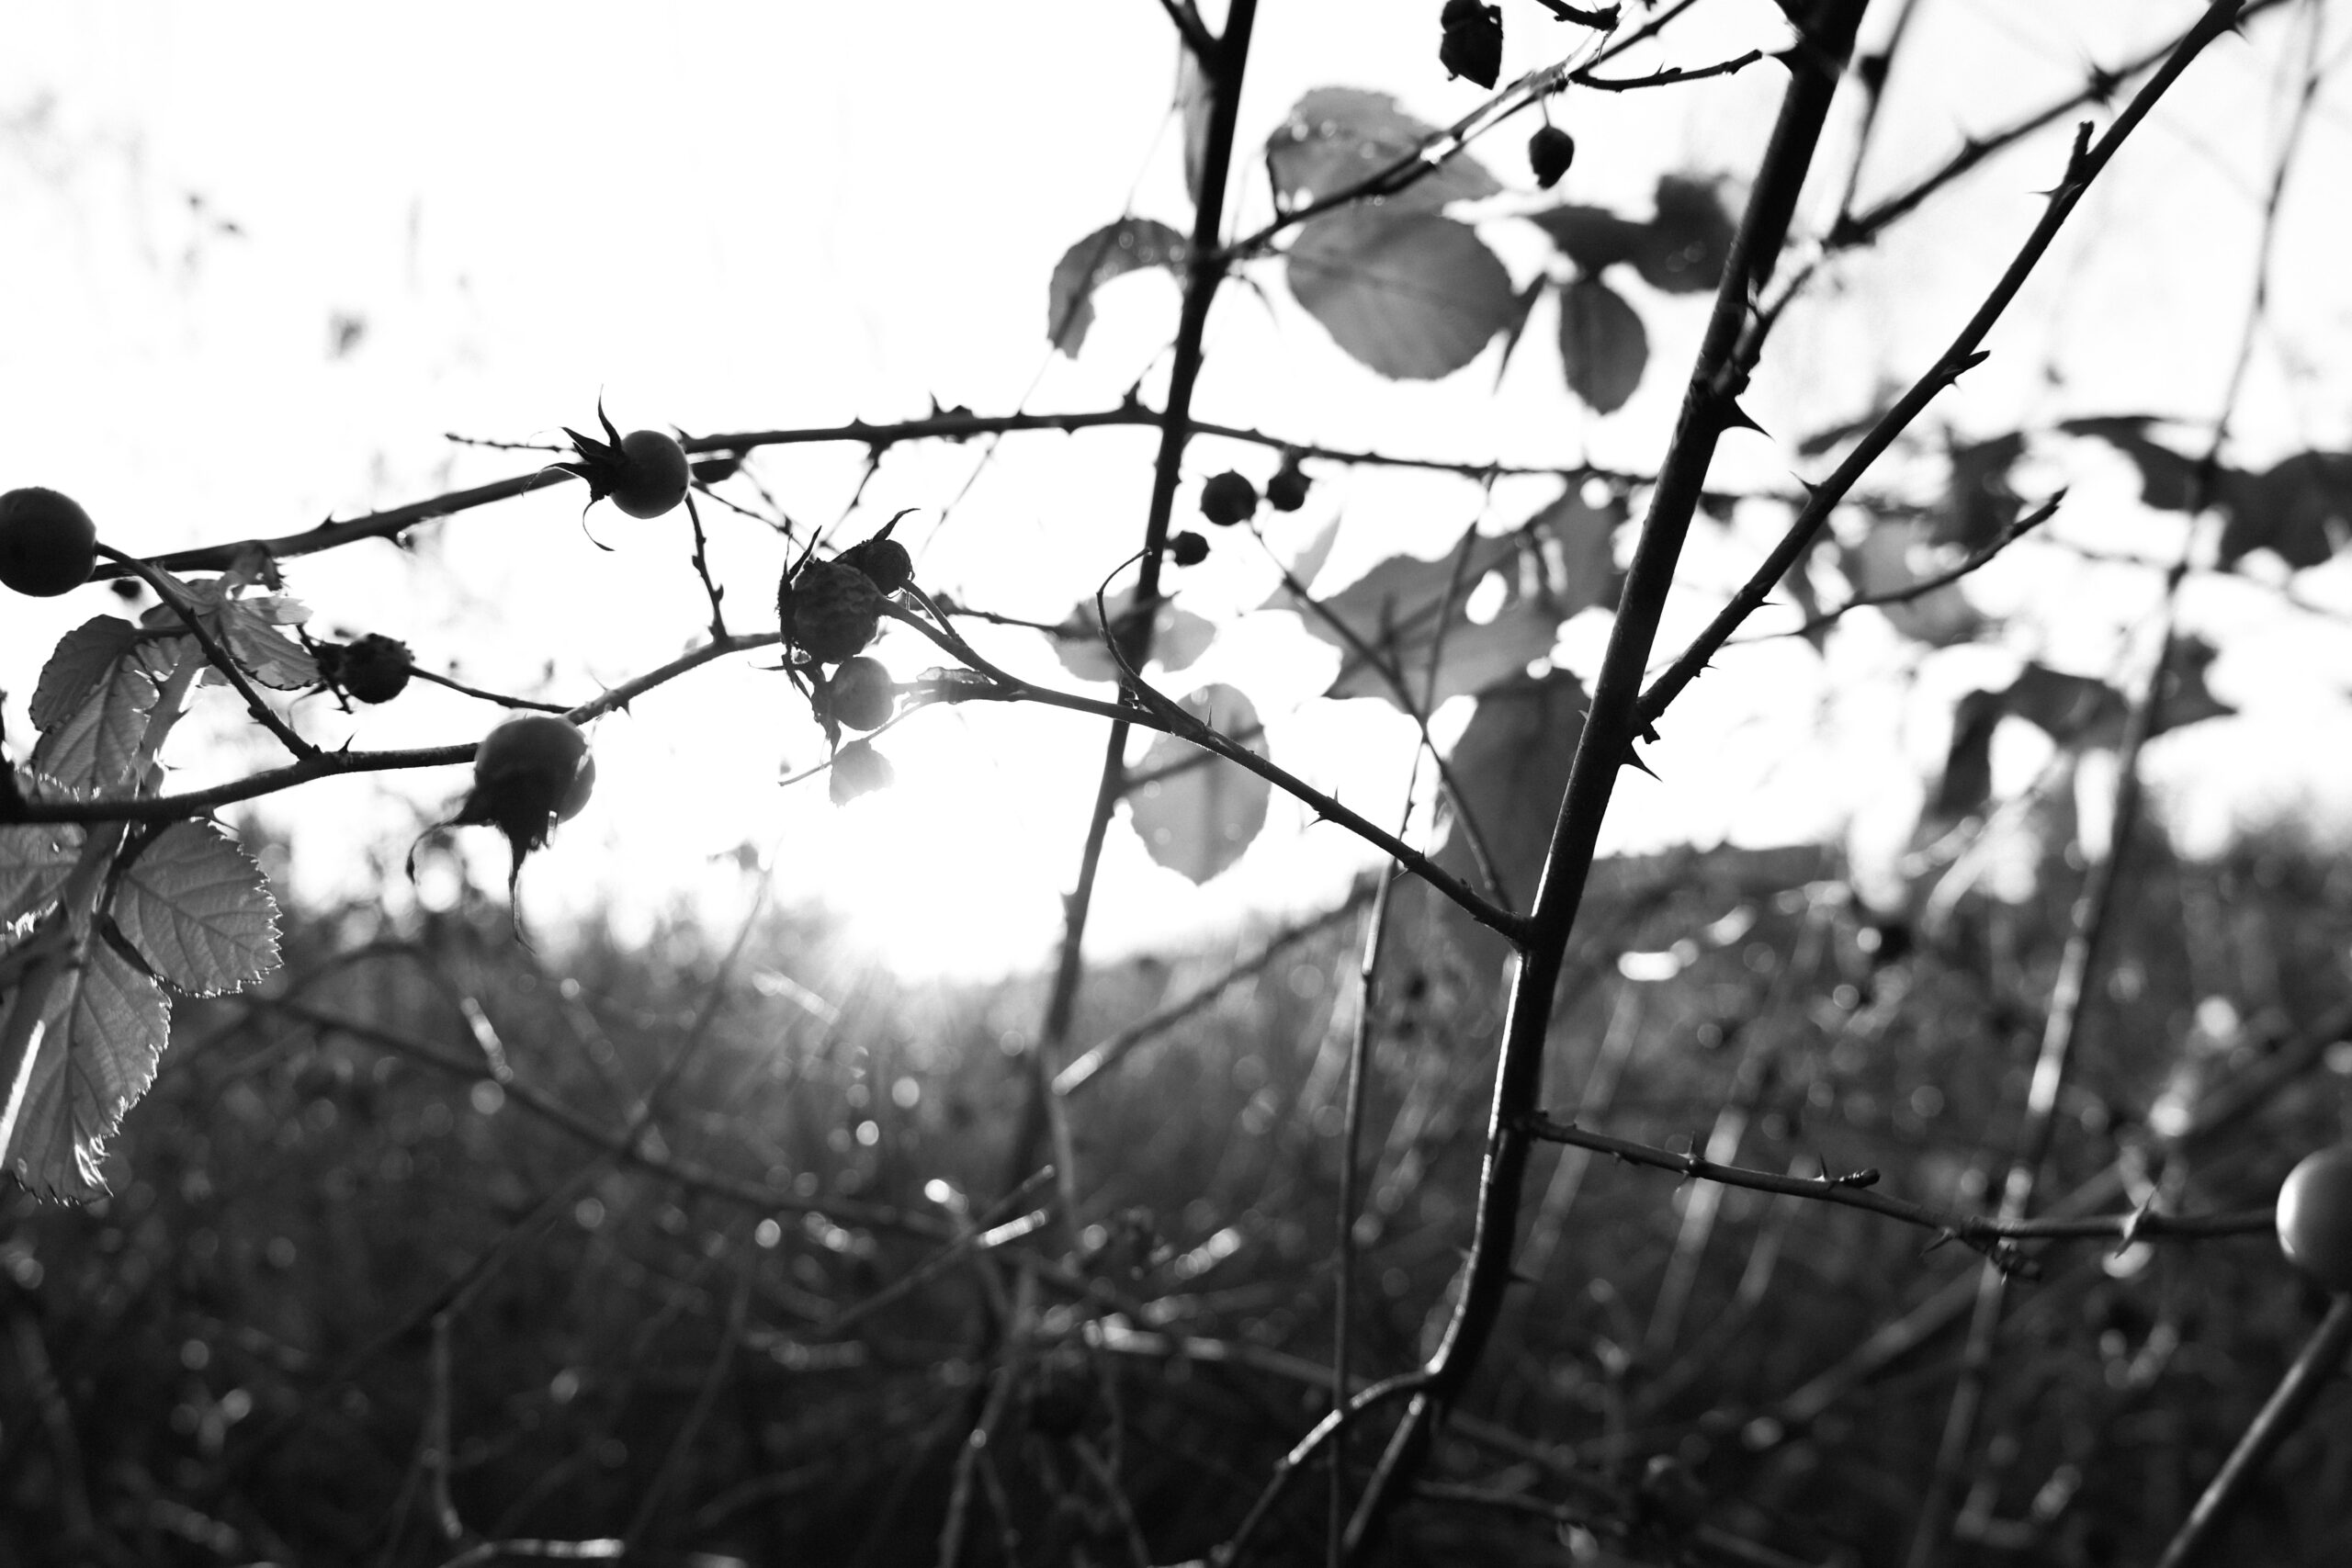
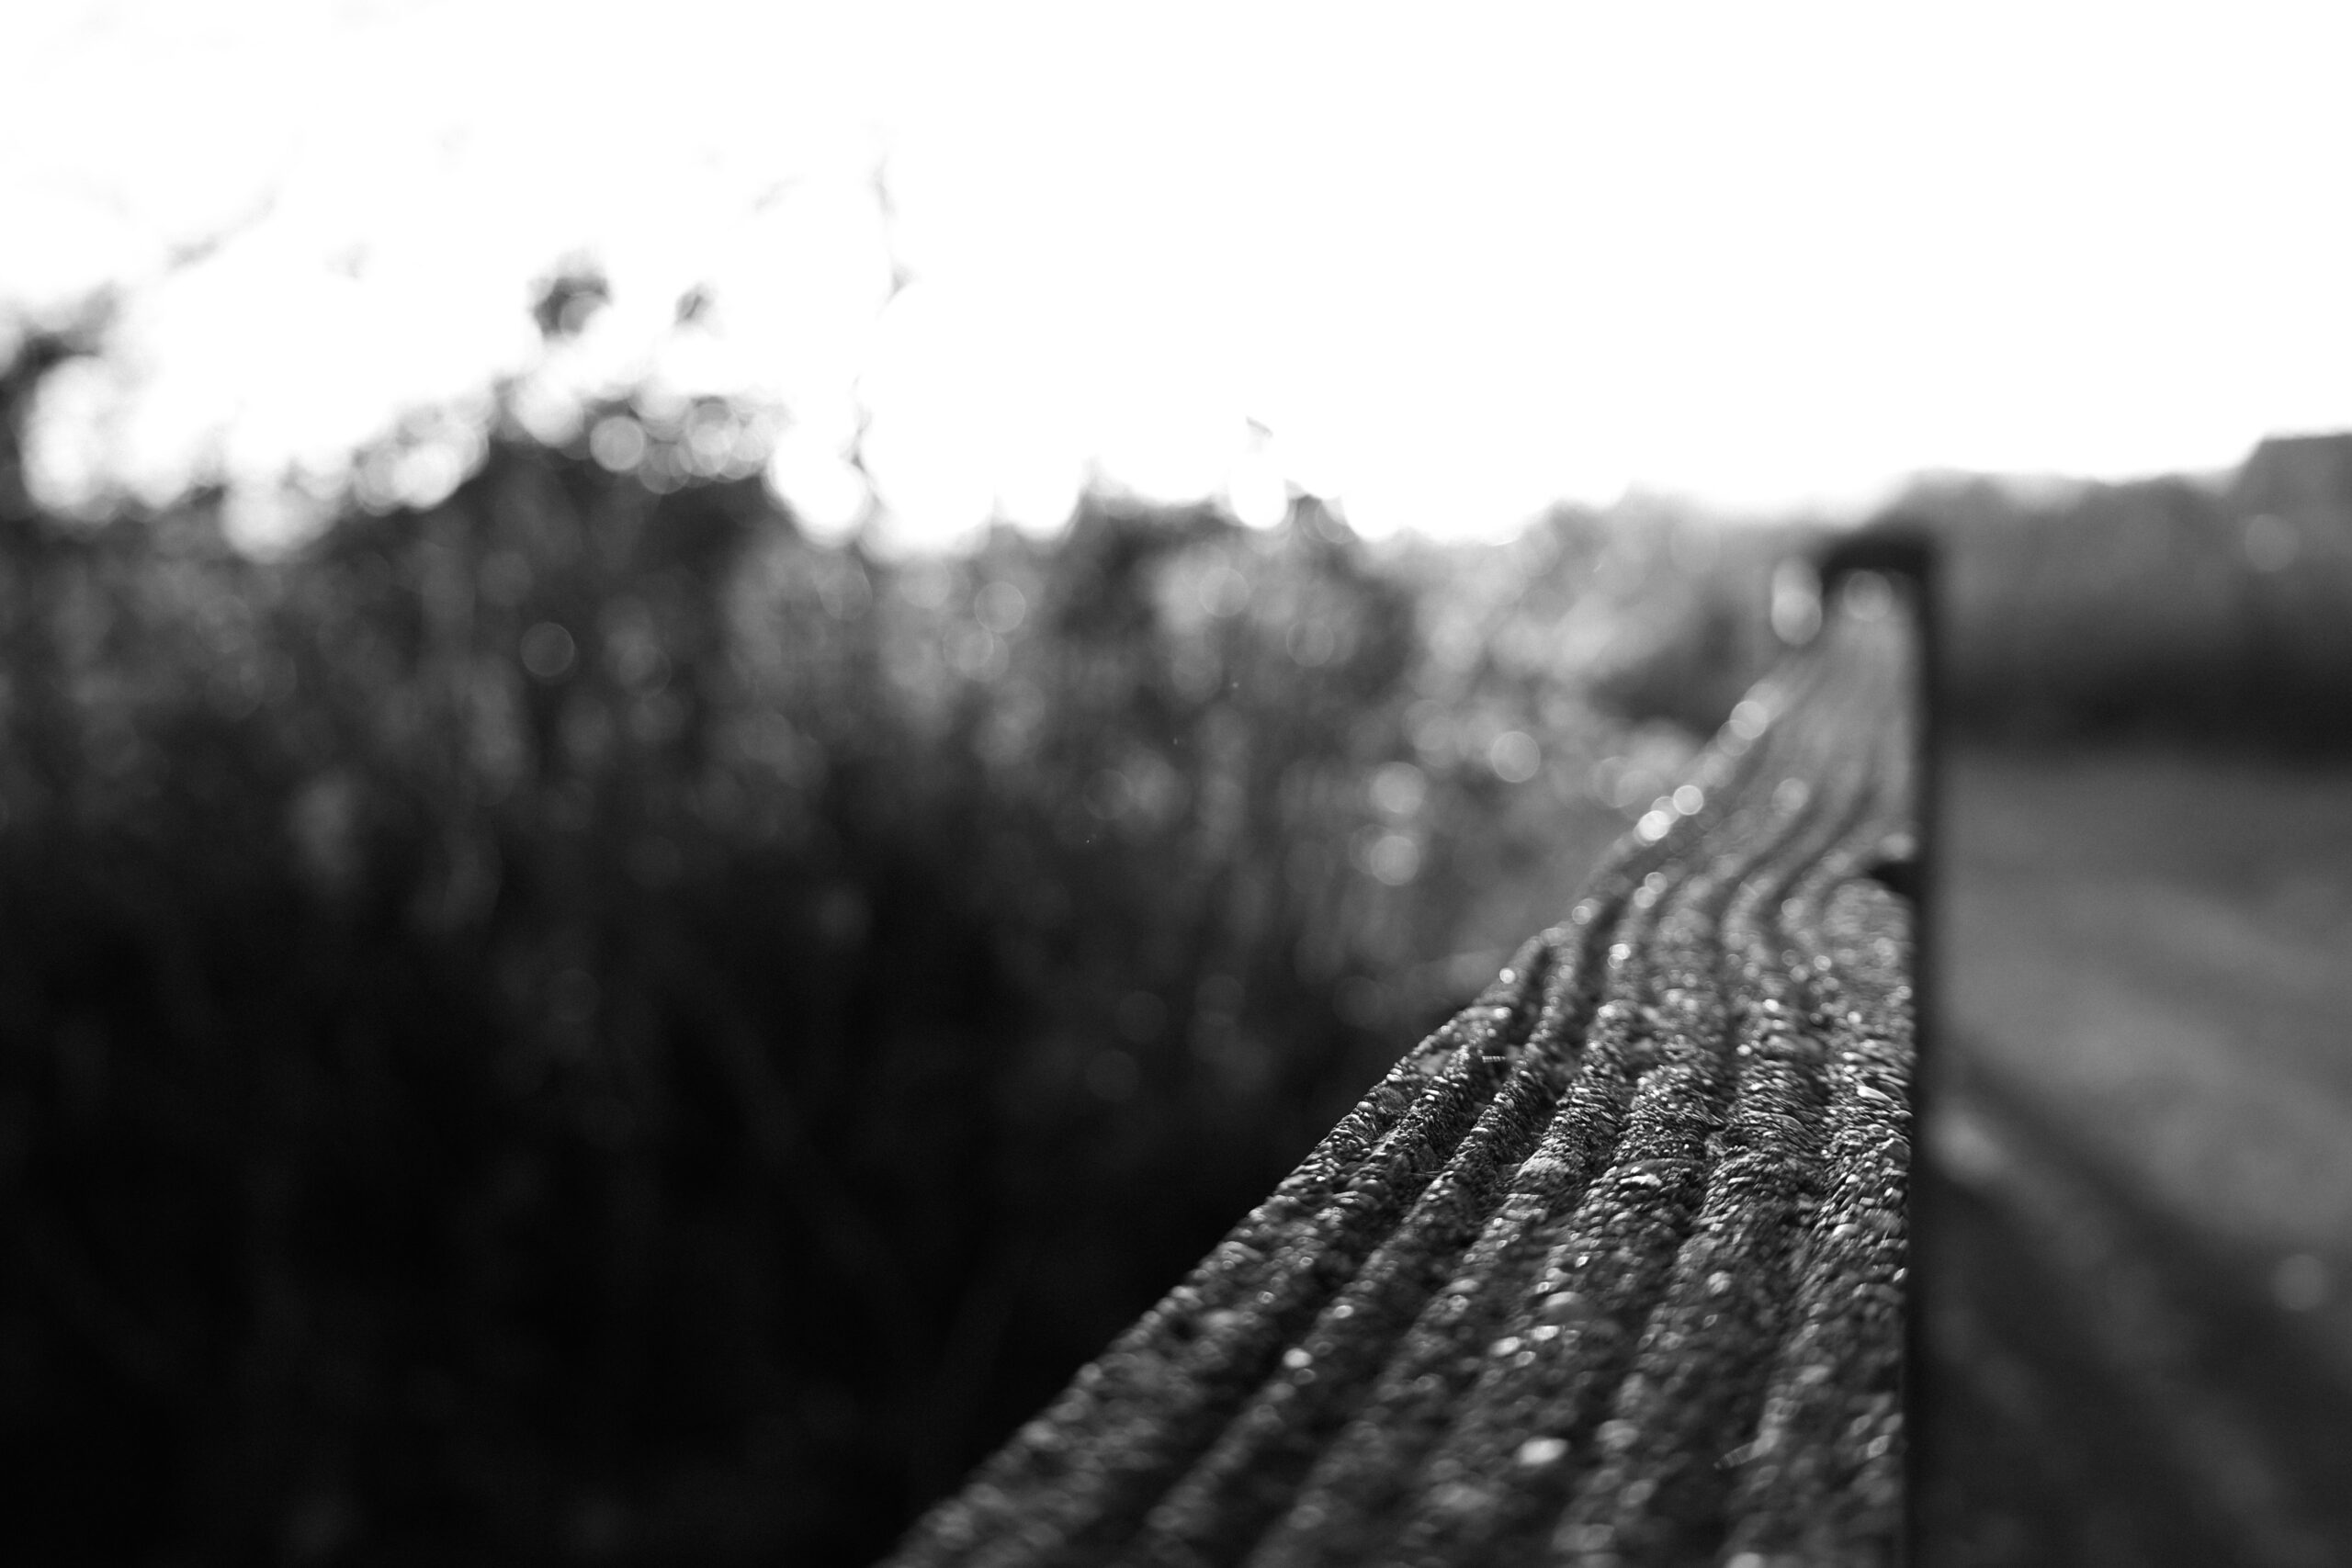
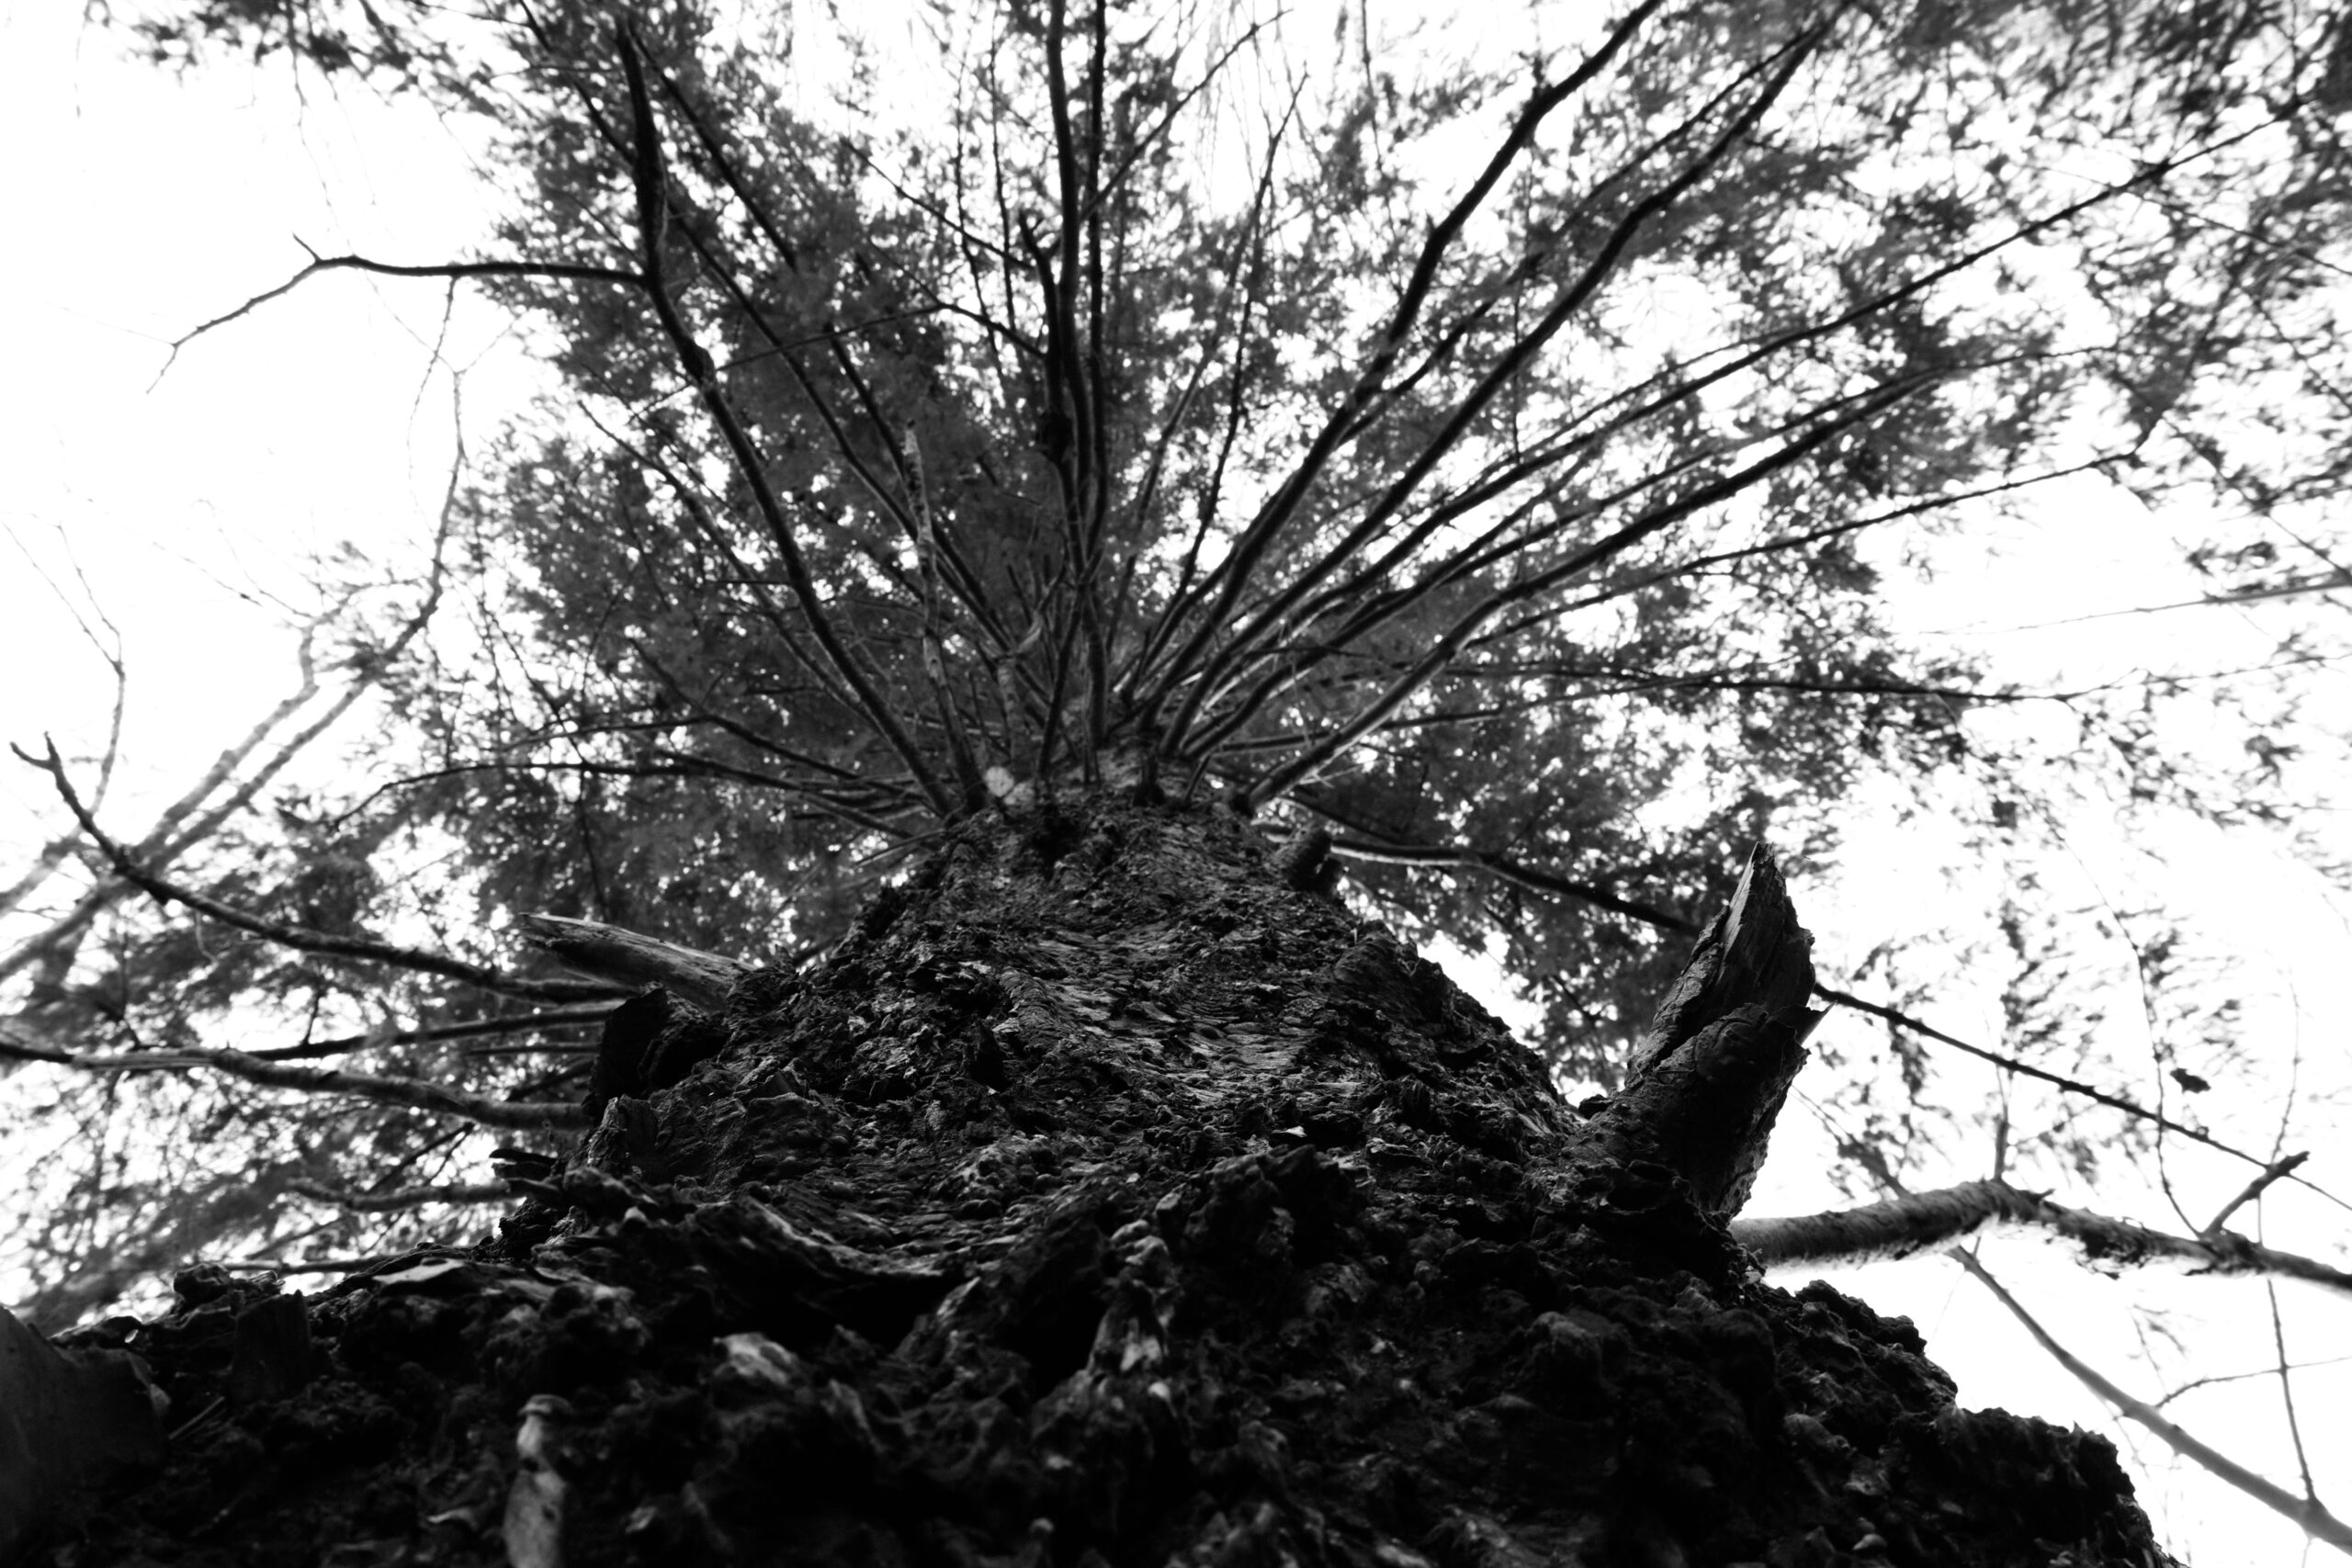
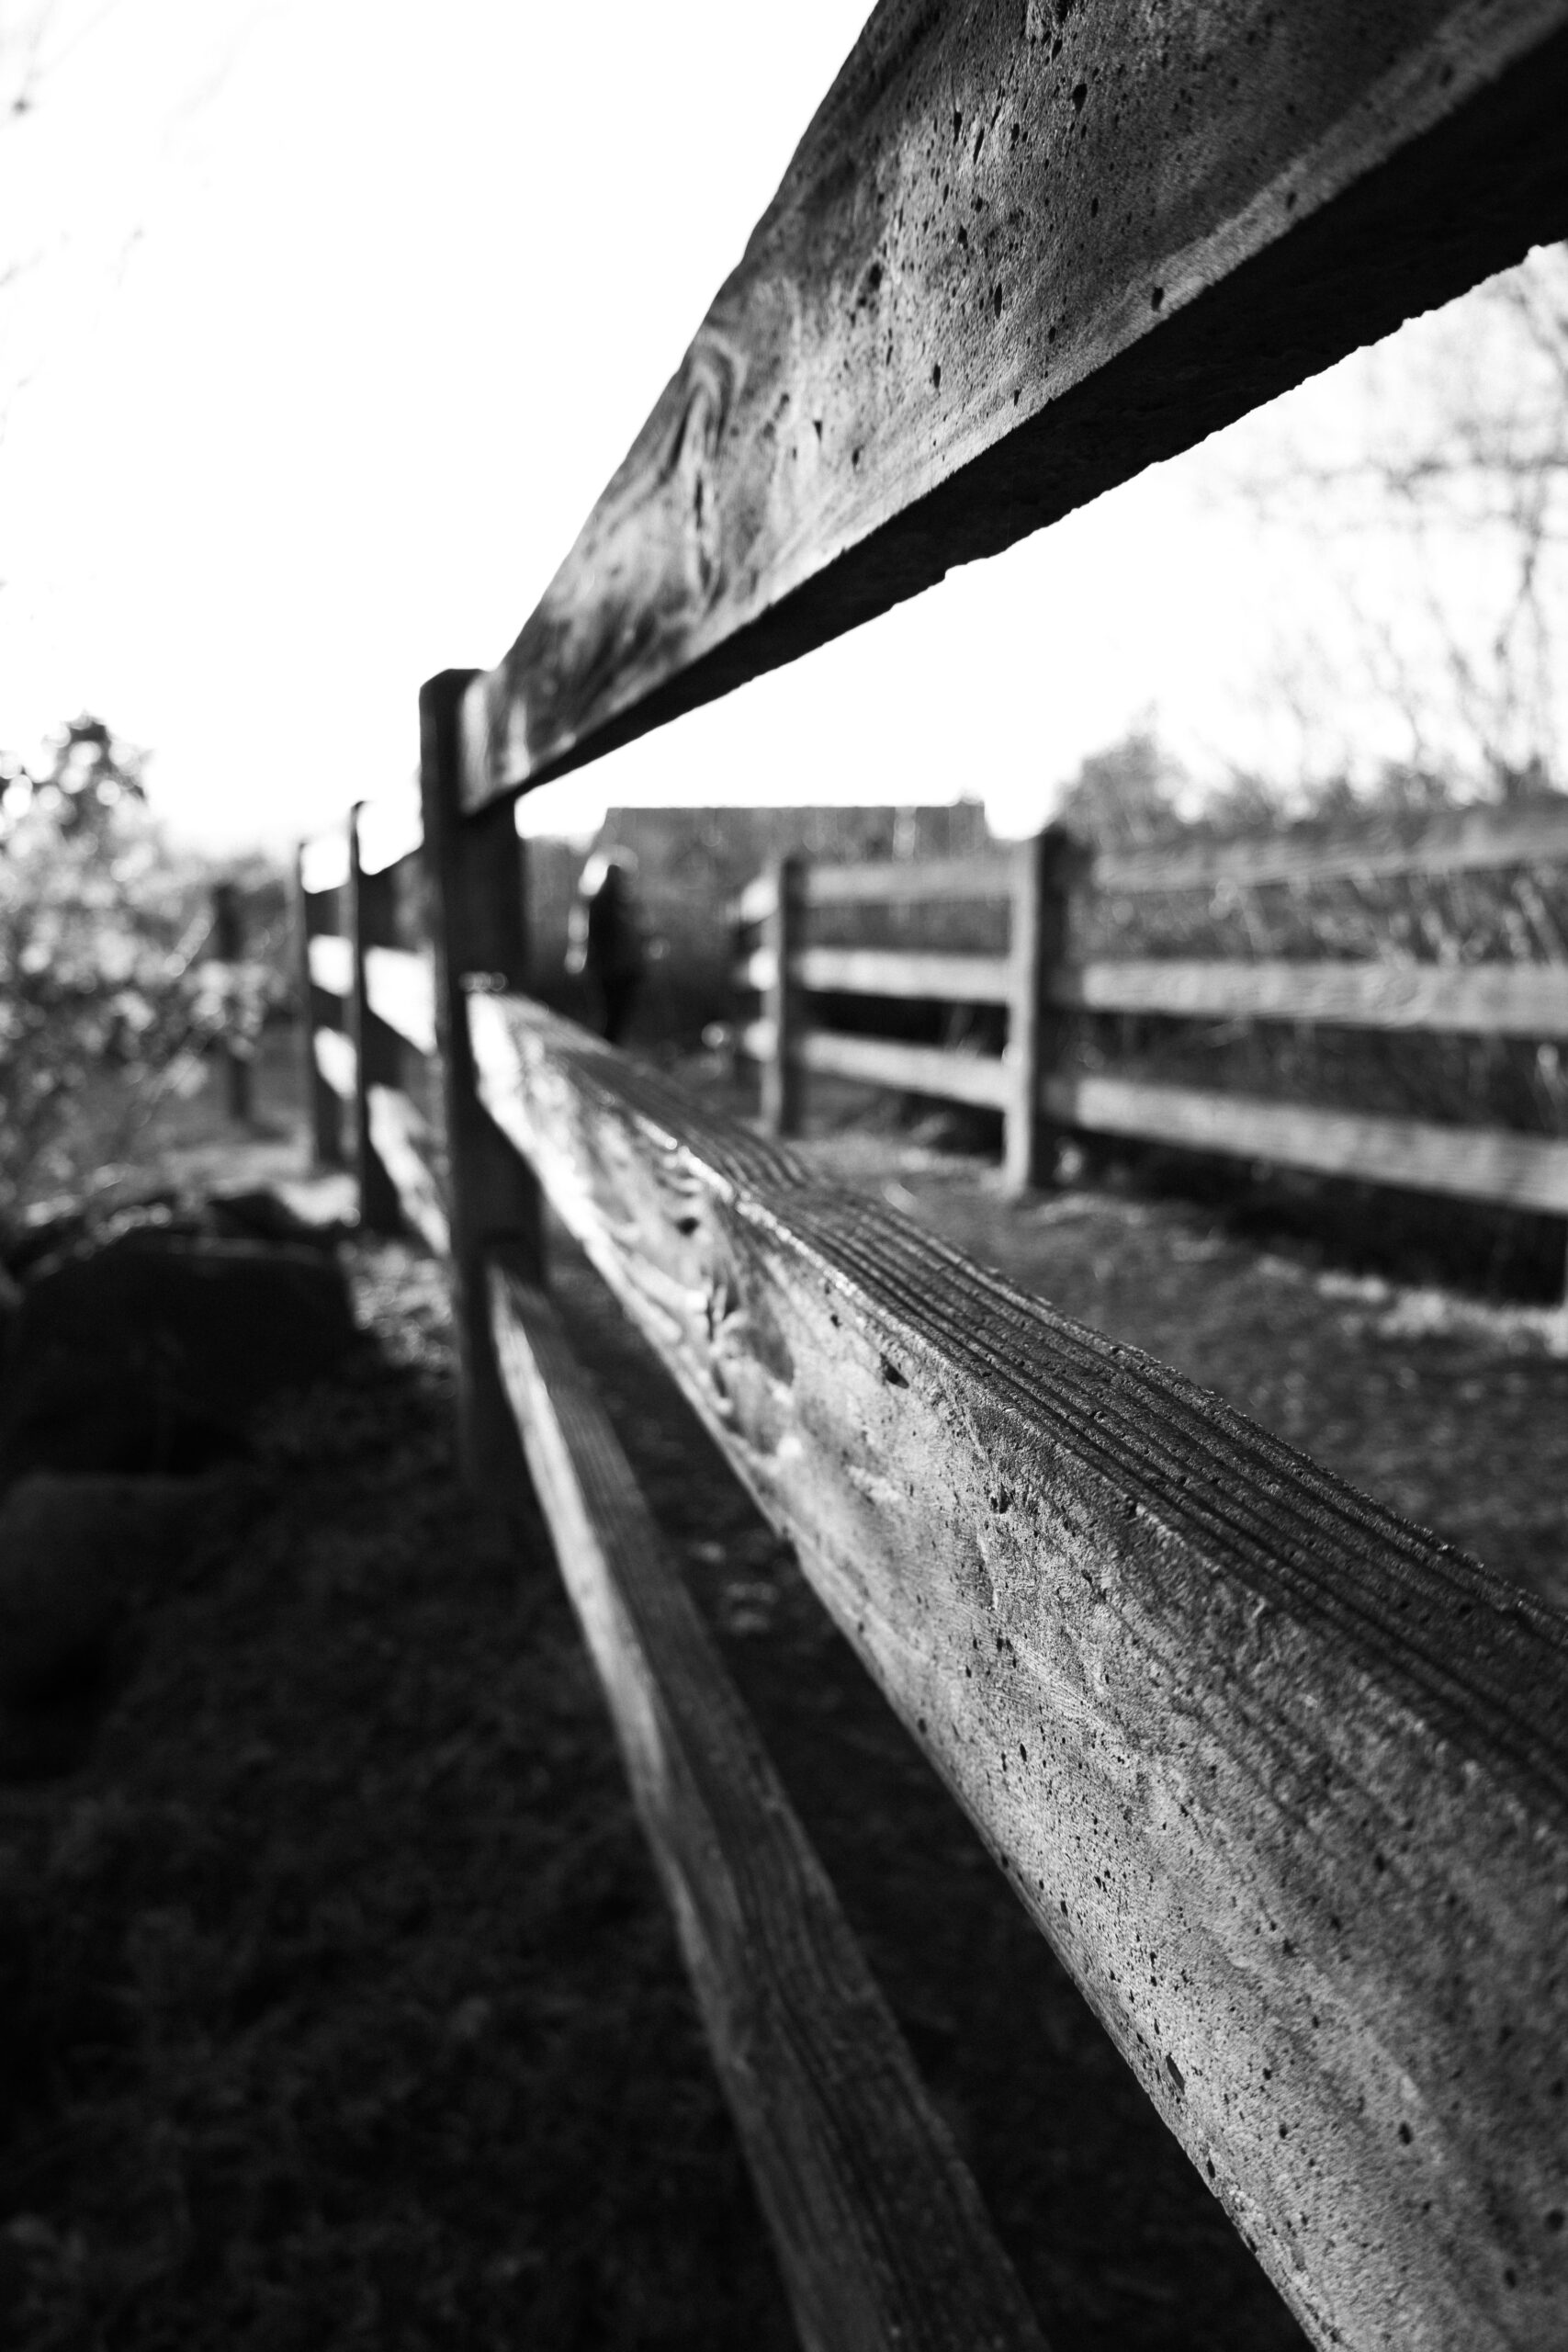
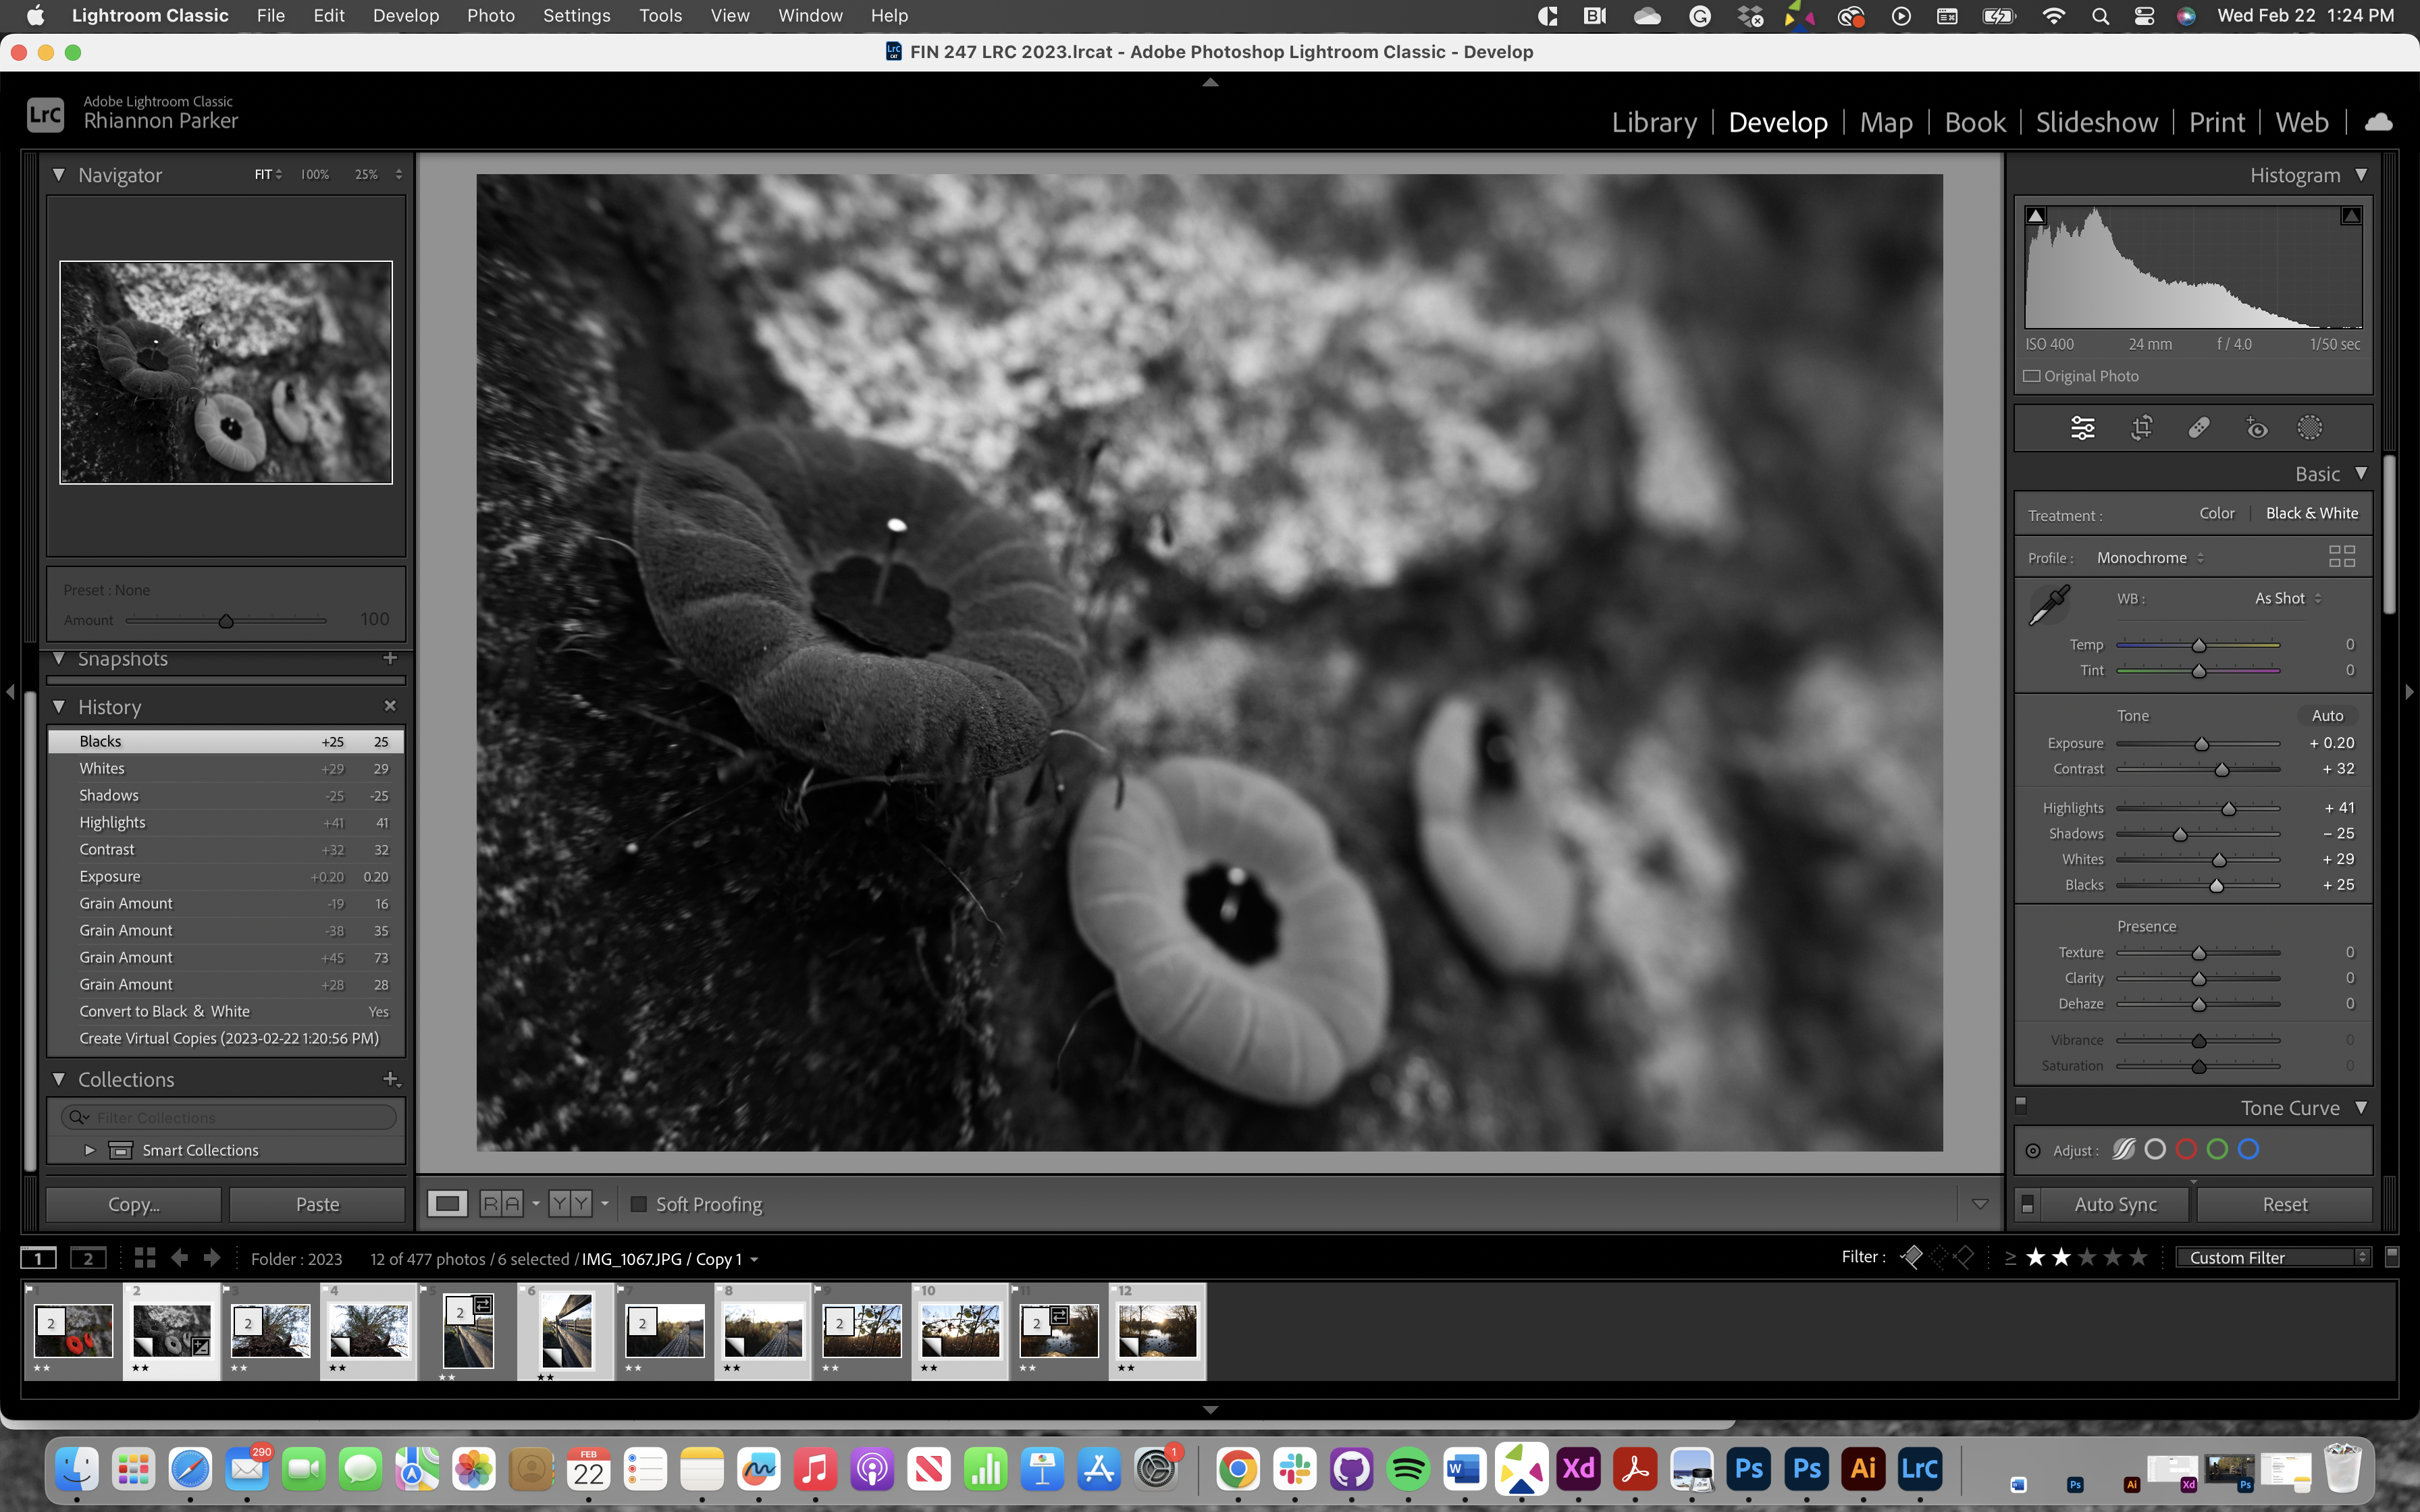
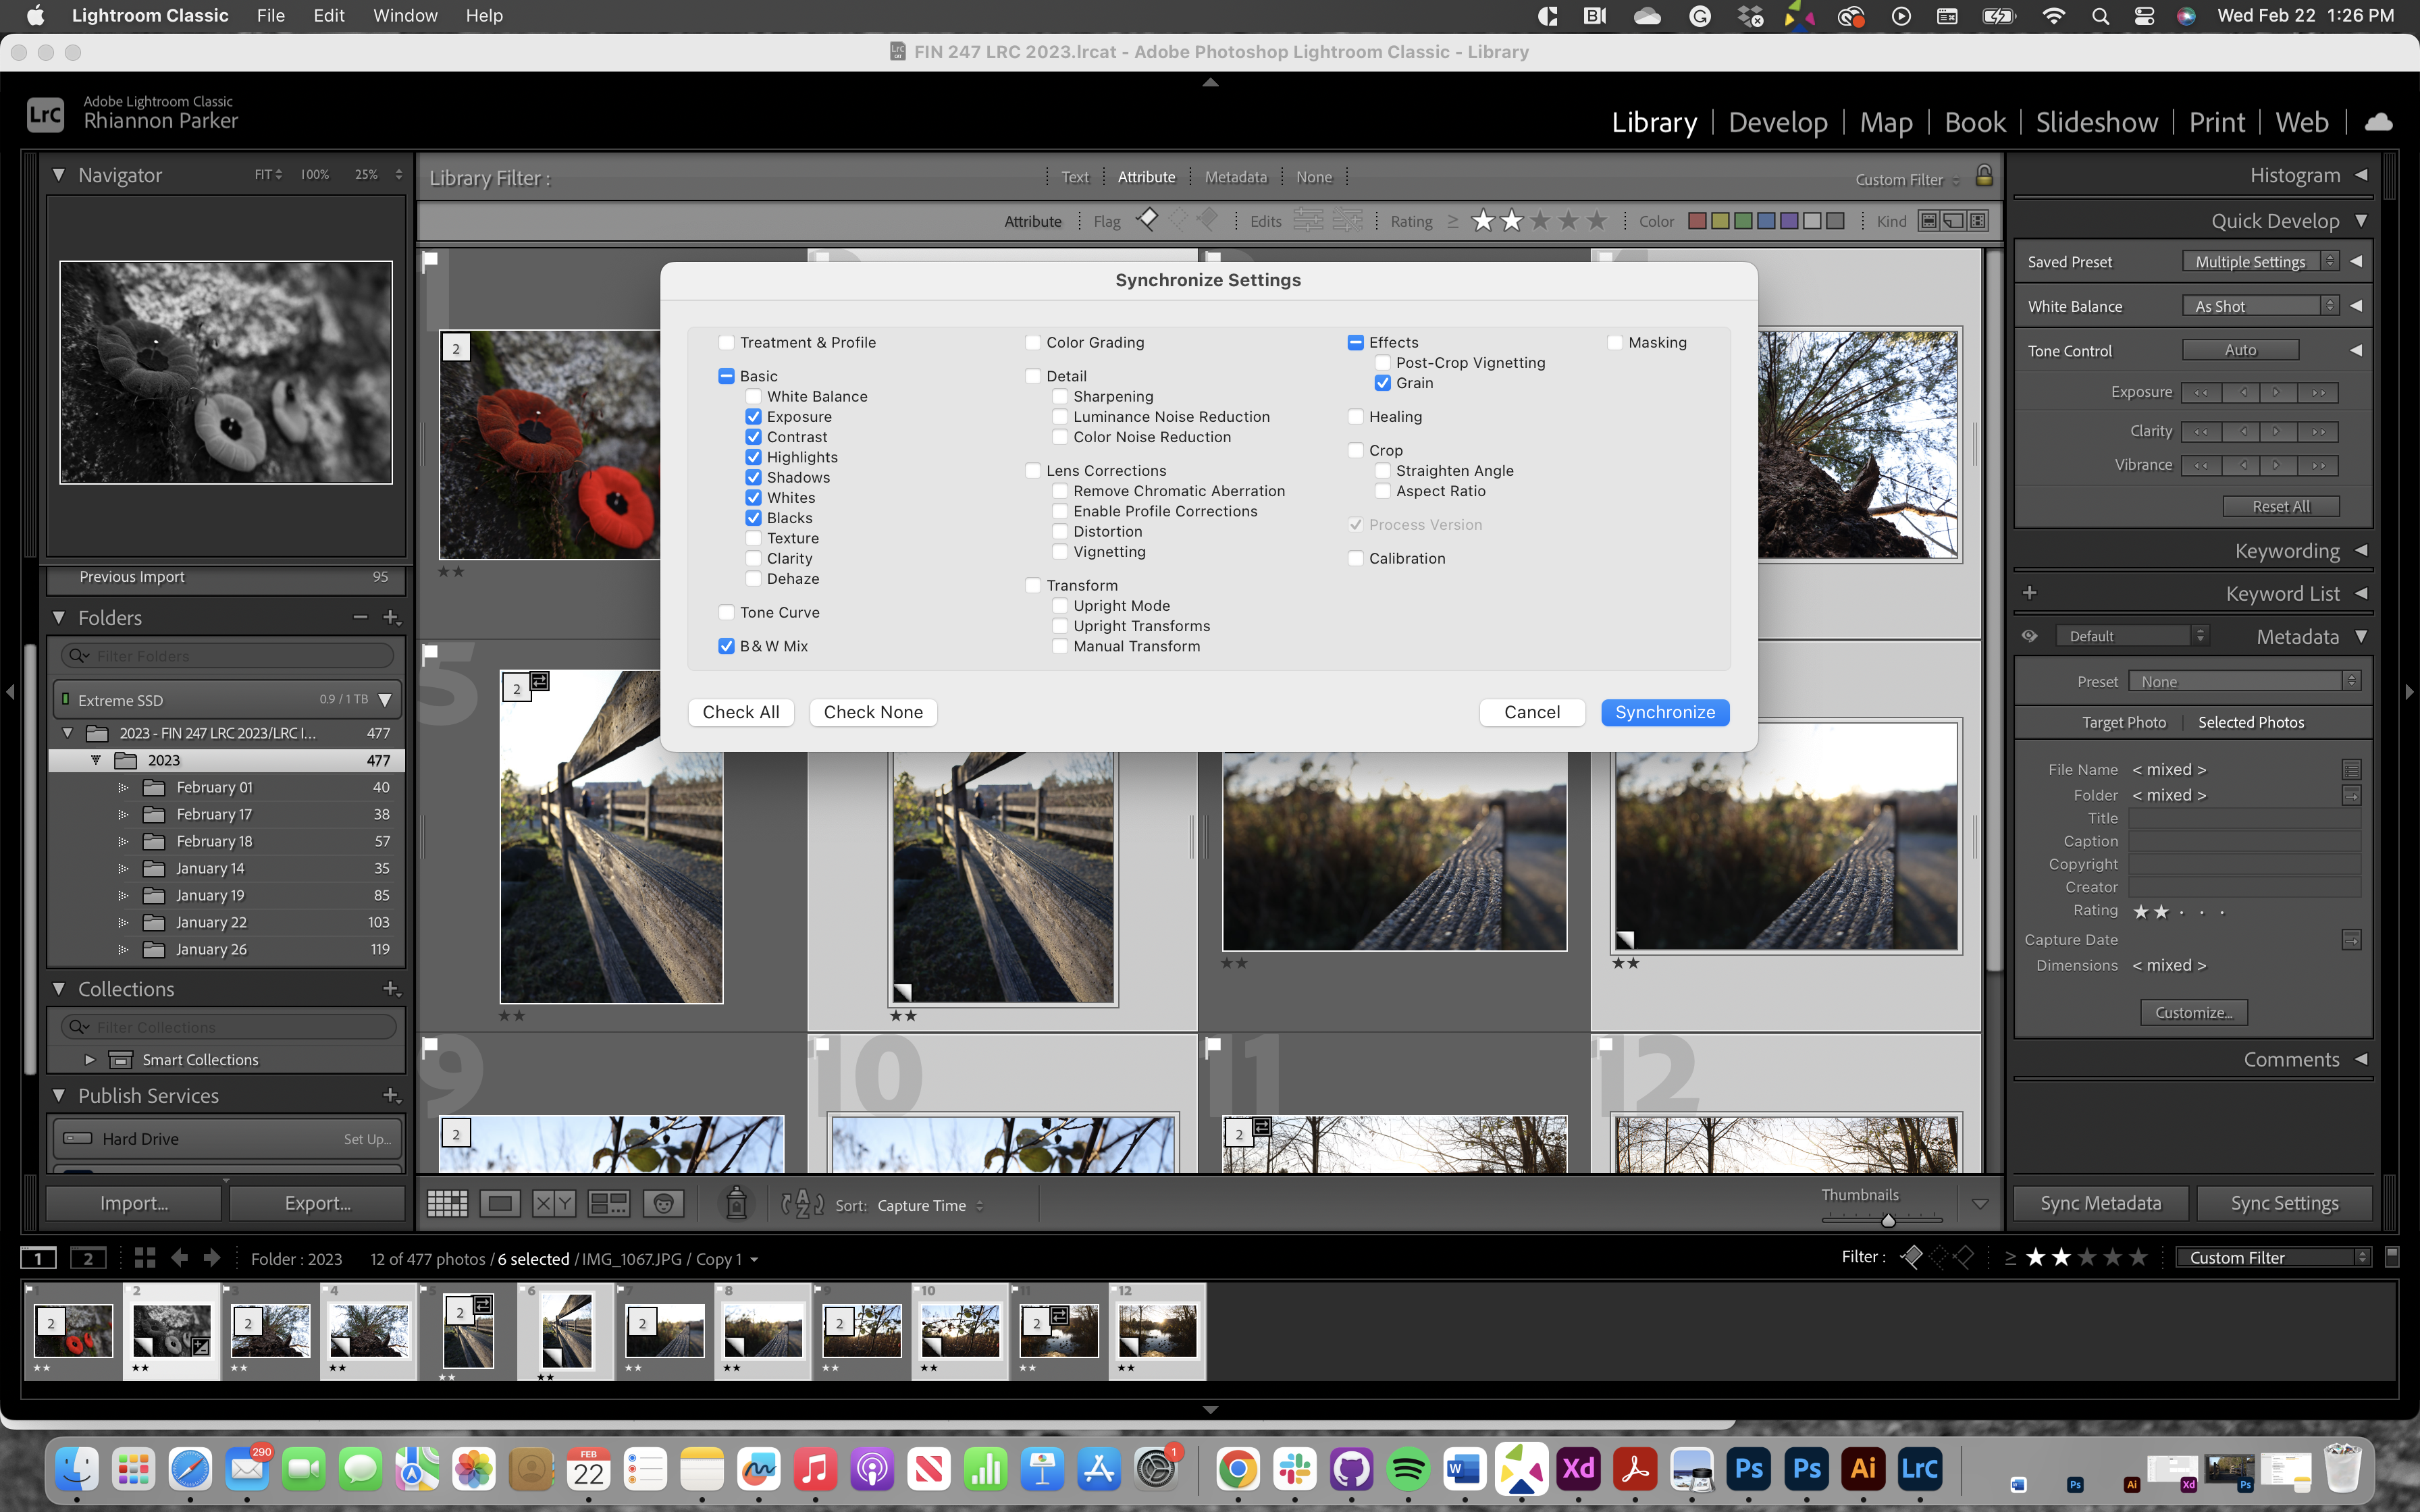
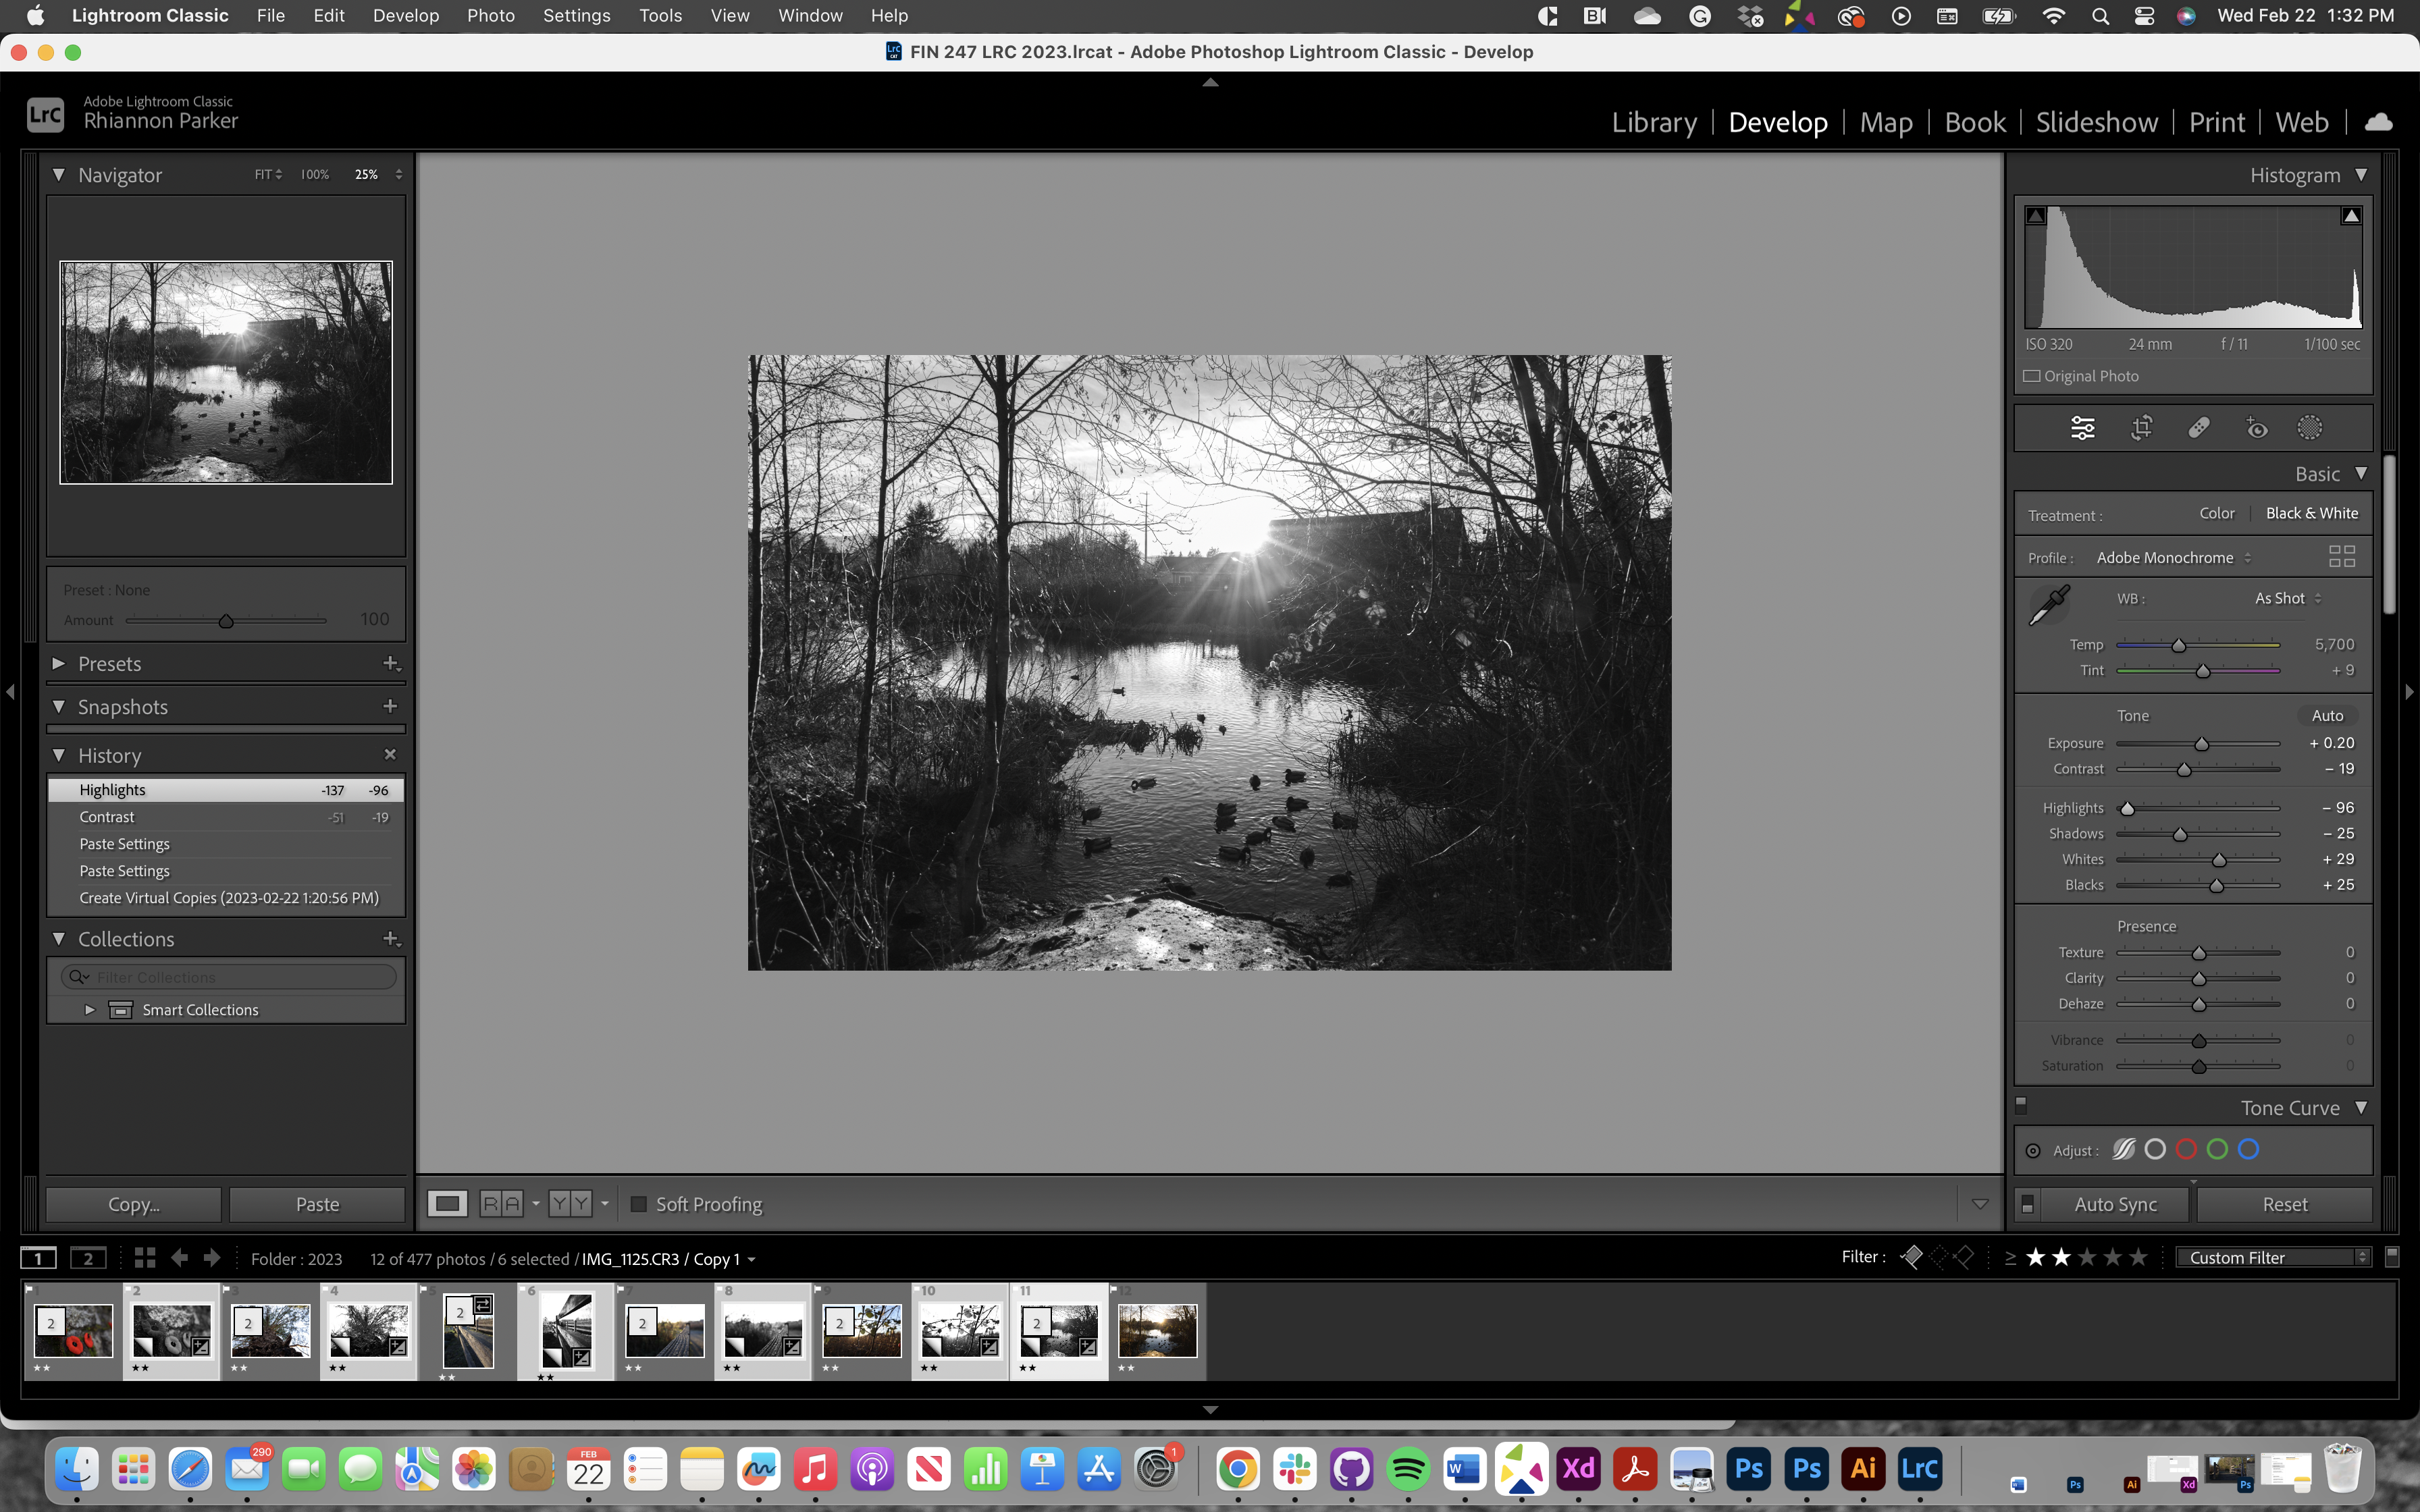
I wanted to turn some photos into black and white for this exercise. So created image copies of all the photos I wanted in black and white, then I turned one of the image copies into black and white and made some small adjustments to my exposure and added some grain. After I had done that I selected all of the image copies and synchronized the edits that I made. Finally, I did some final touch-ups on some of the exposers of the photos where it was necessary.
